Water Conservation Kit
We know that if we do a little bit together it will be a lot for each other.
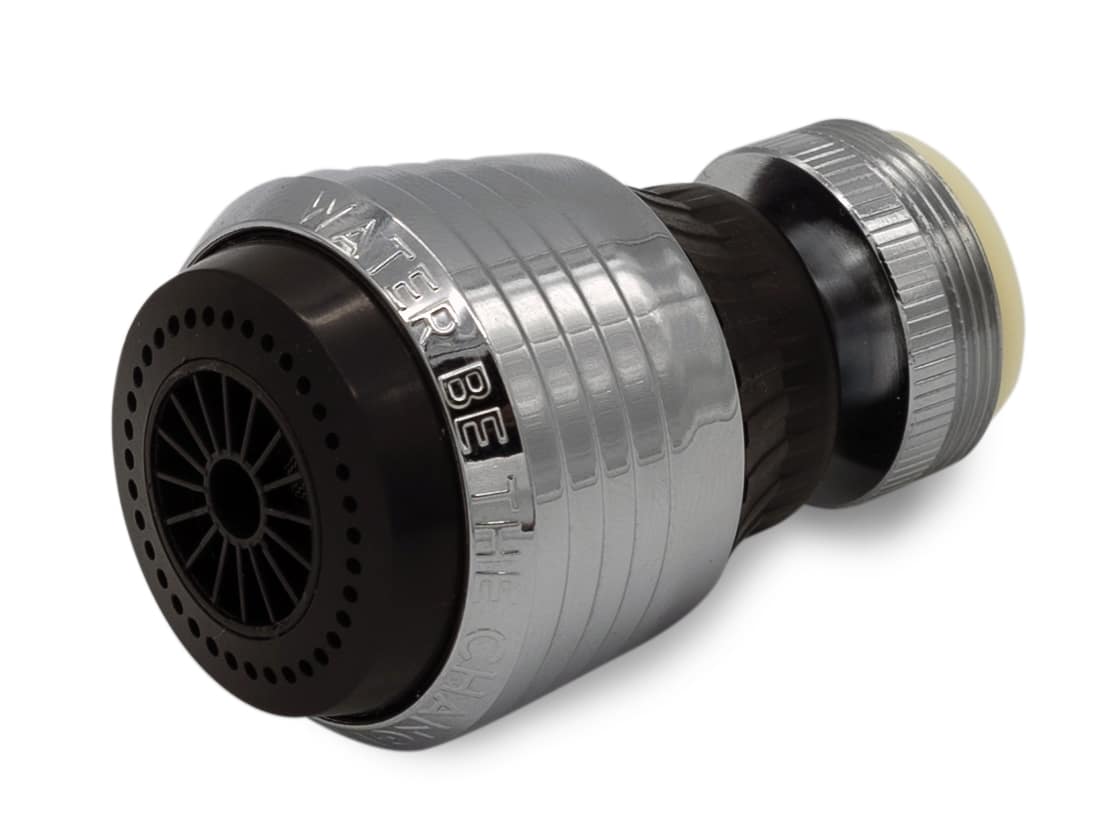
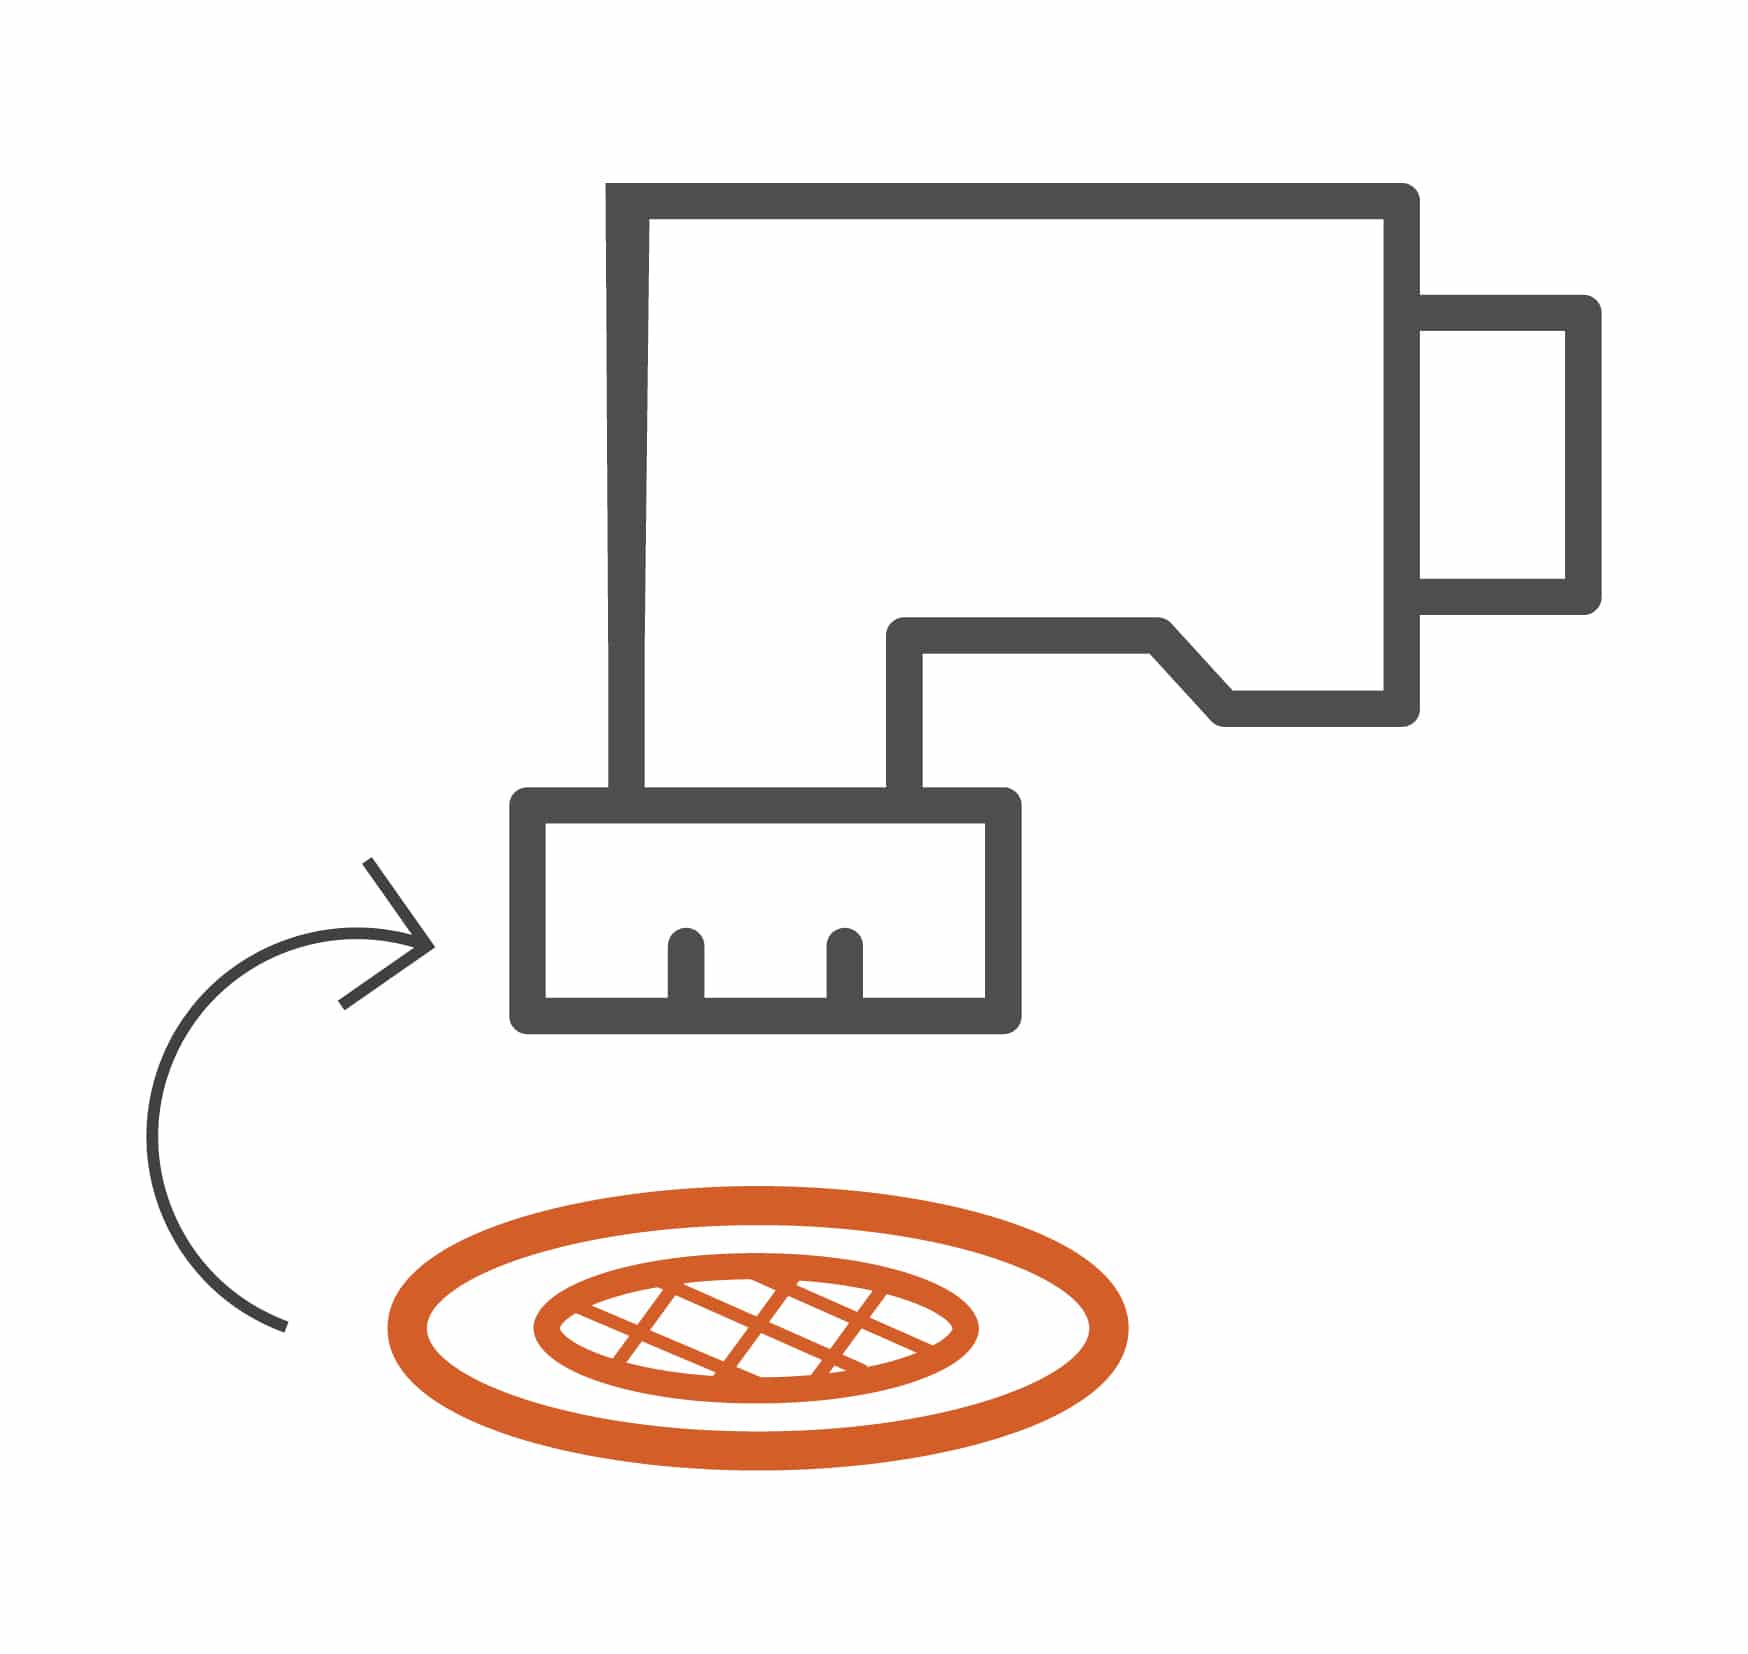
Dual Spray Swivel Faucet Aerator
![]() Place an old towel or rag over the drain in the sink to prevent anything falling down the drain.
Place an old towel or rag over the drain in the sink to prevent anything falling down the drain.
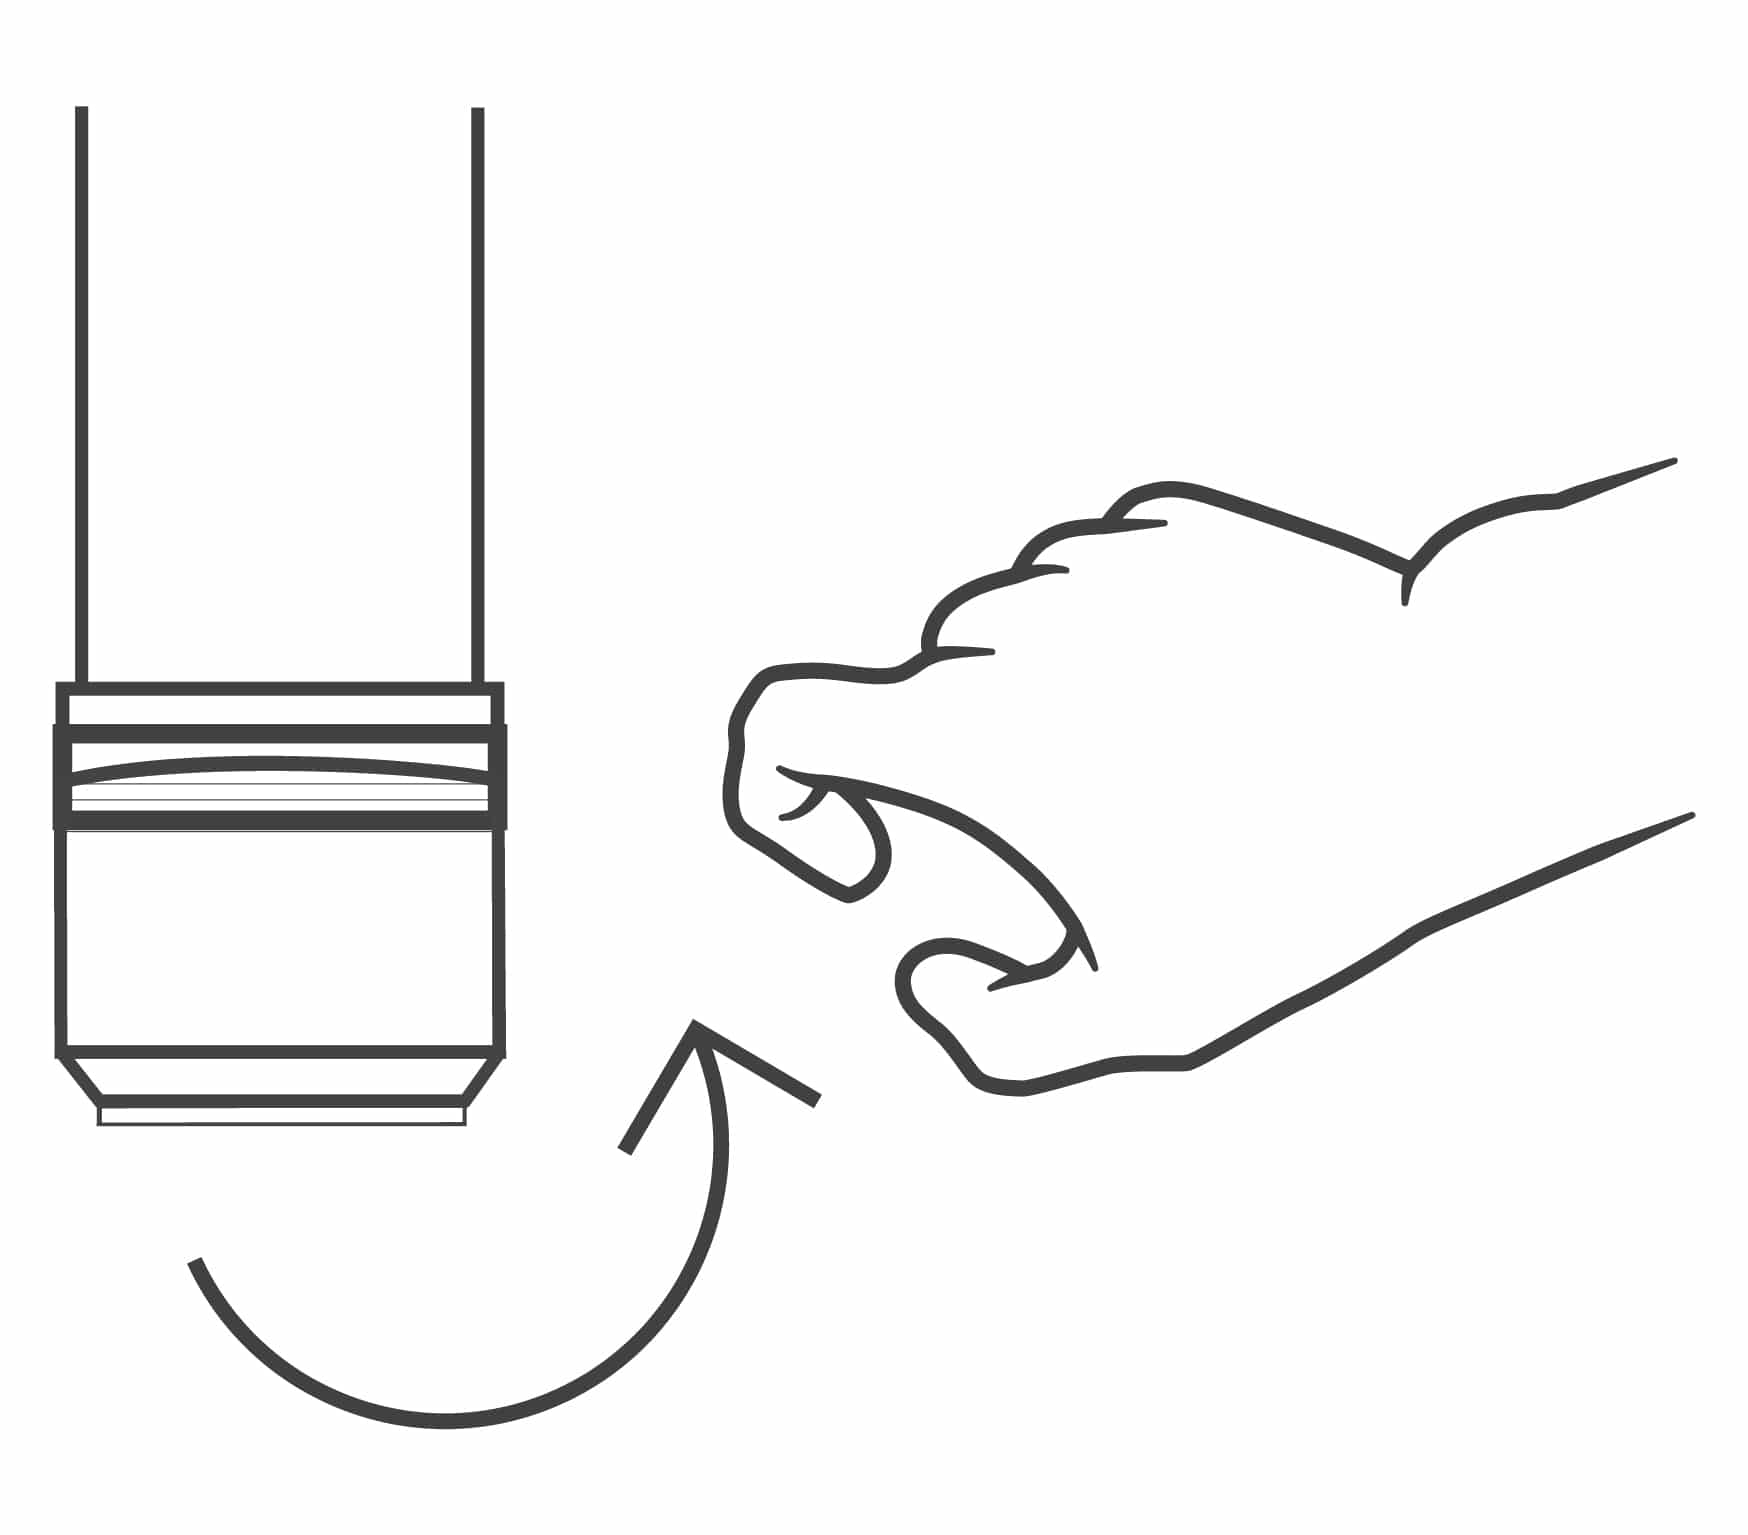
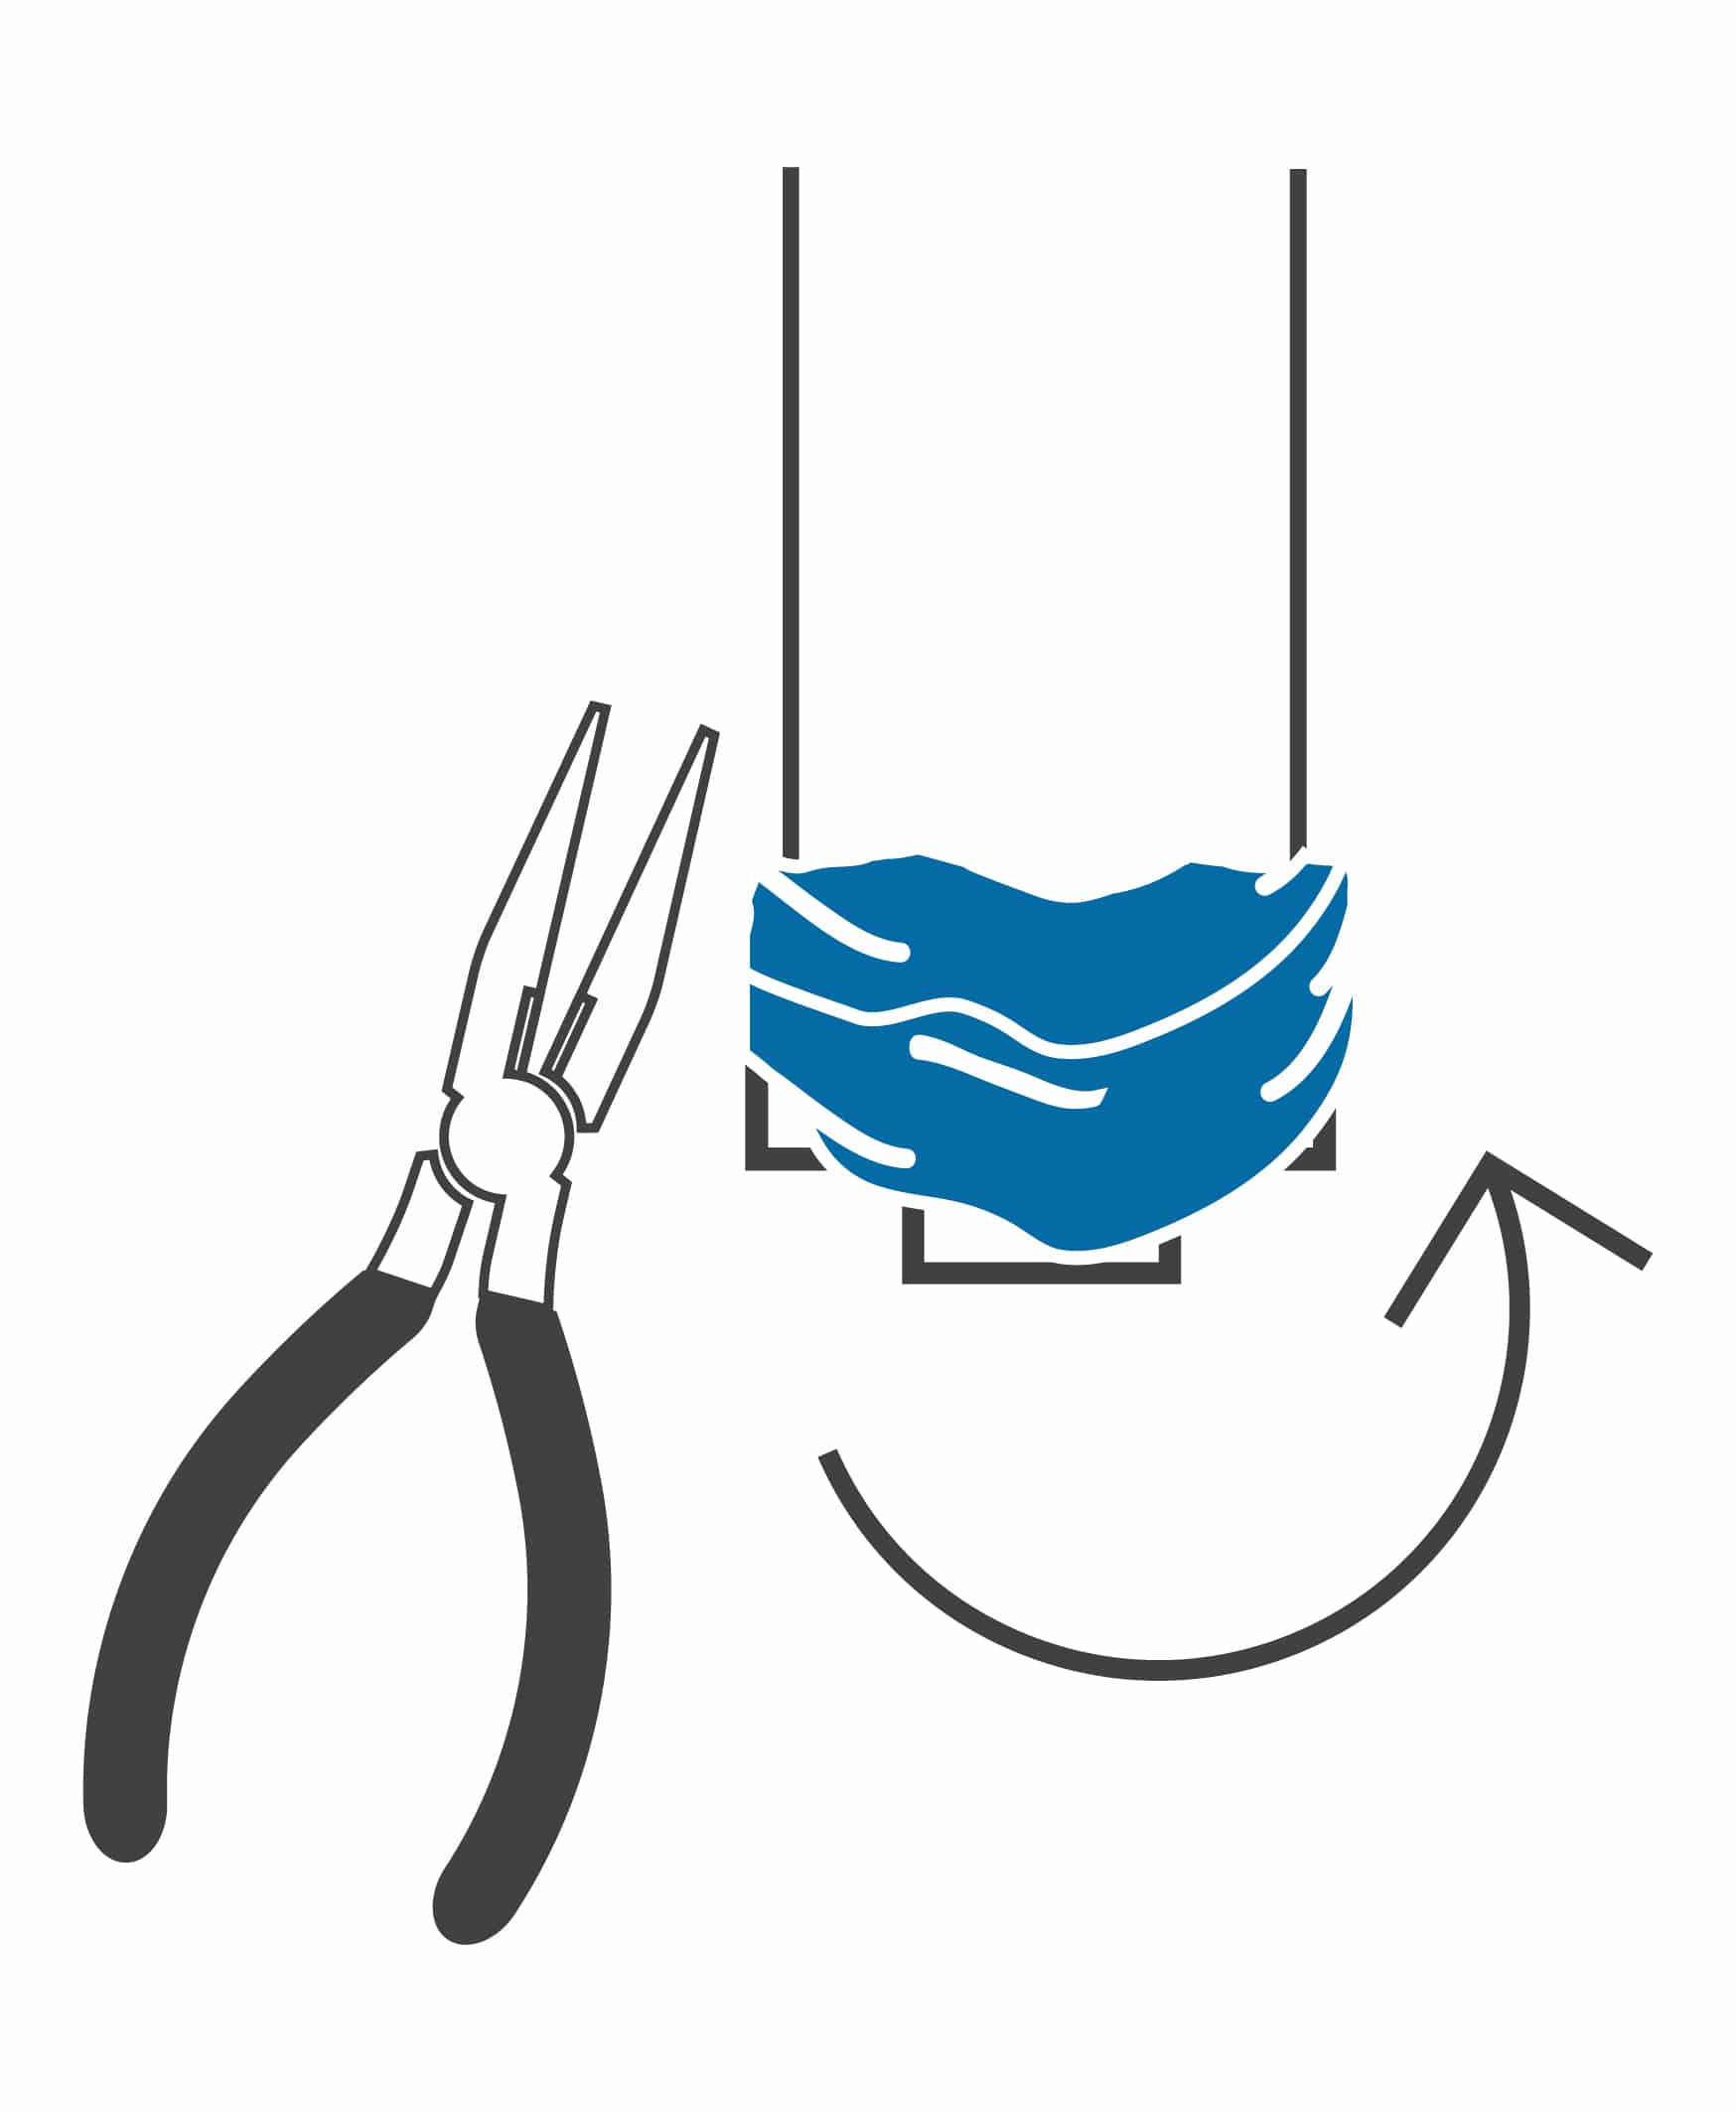 Cover the old aerator with an old towel or rag and remove using tongue and groove pliers.
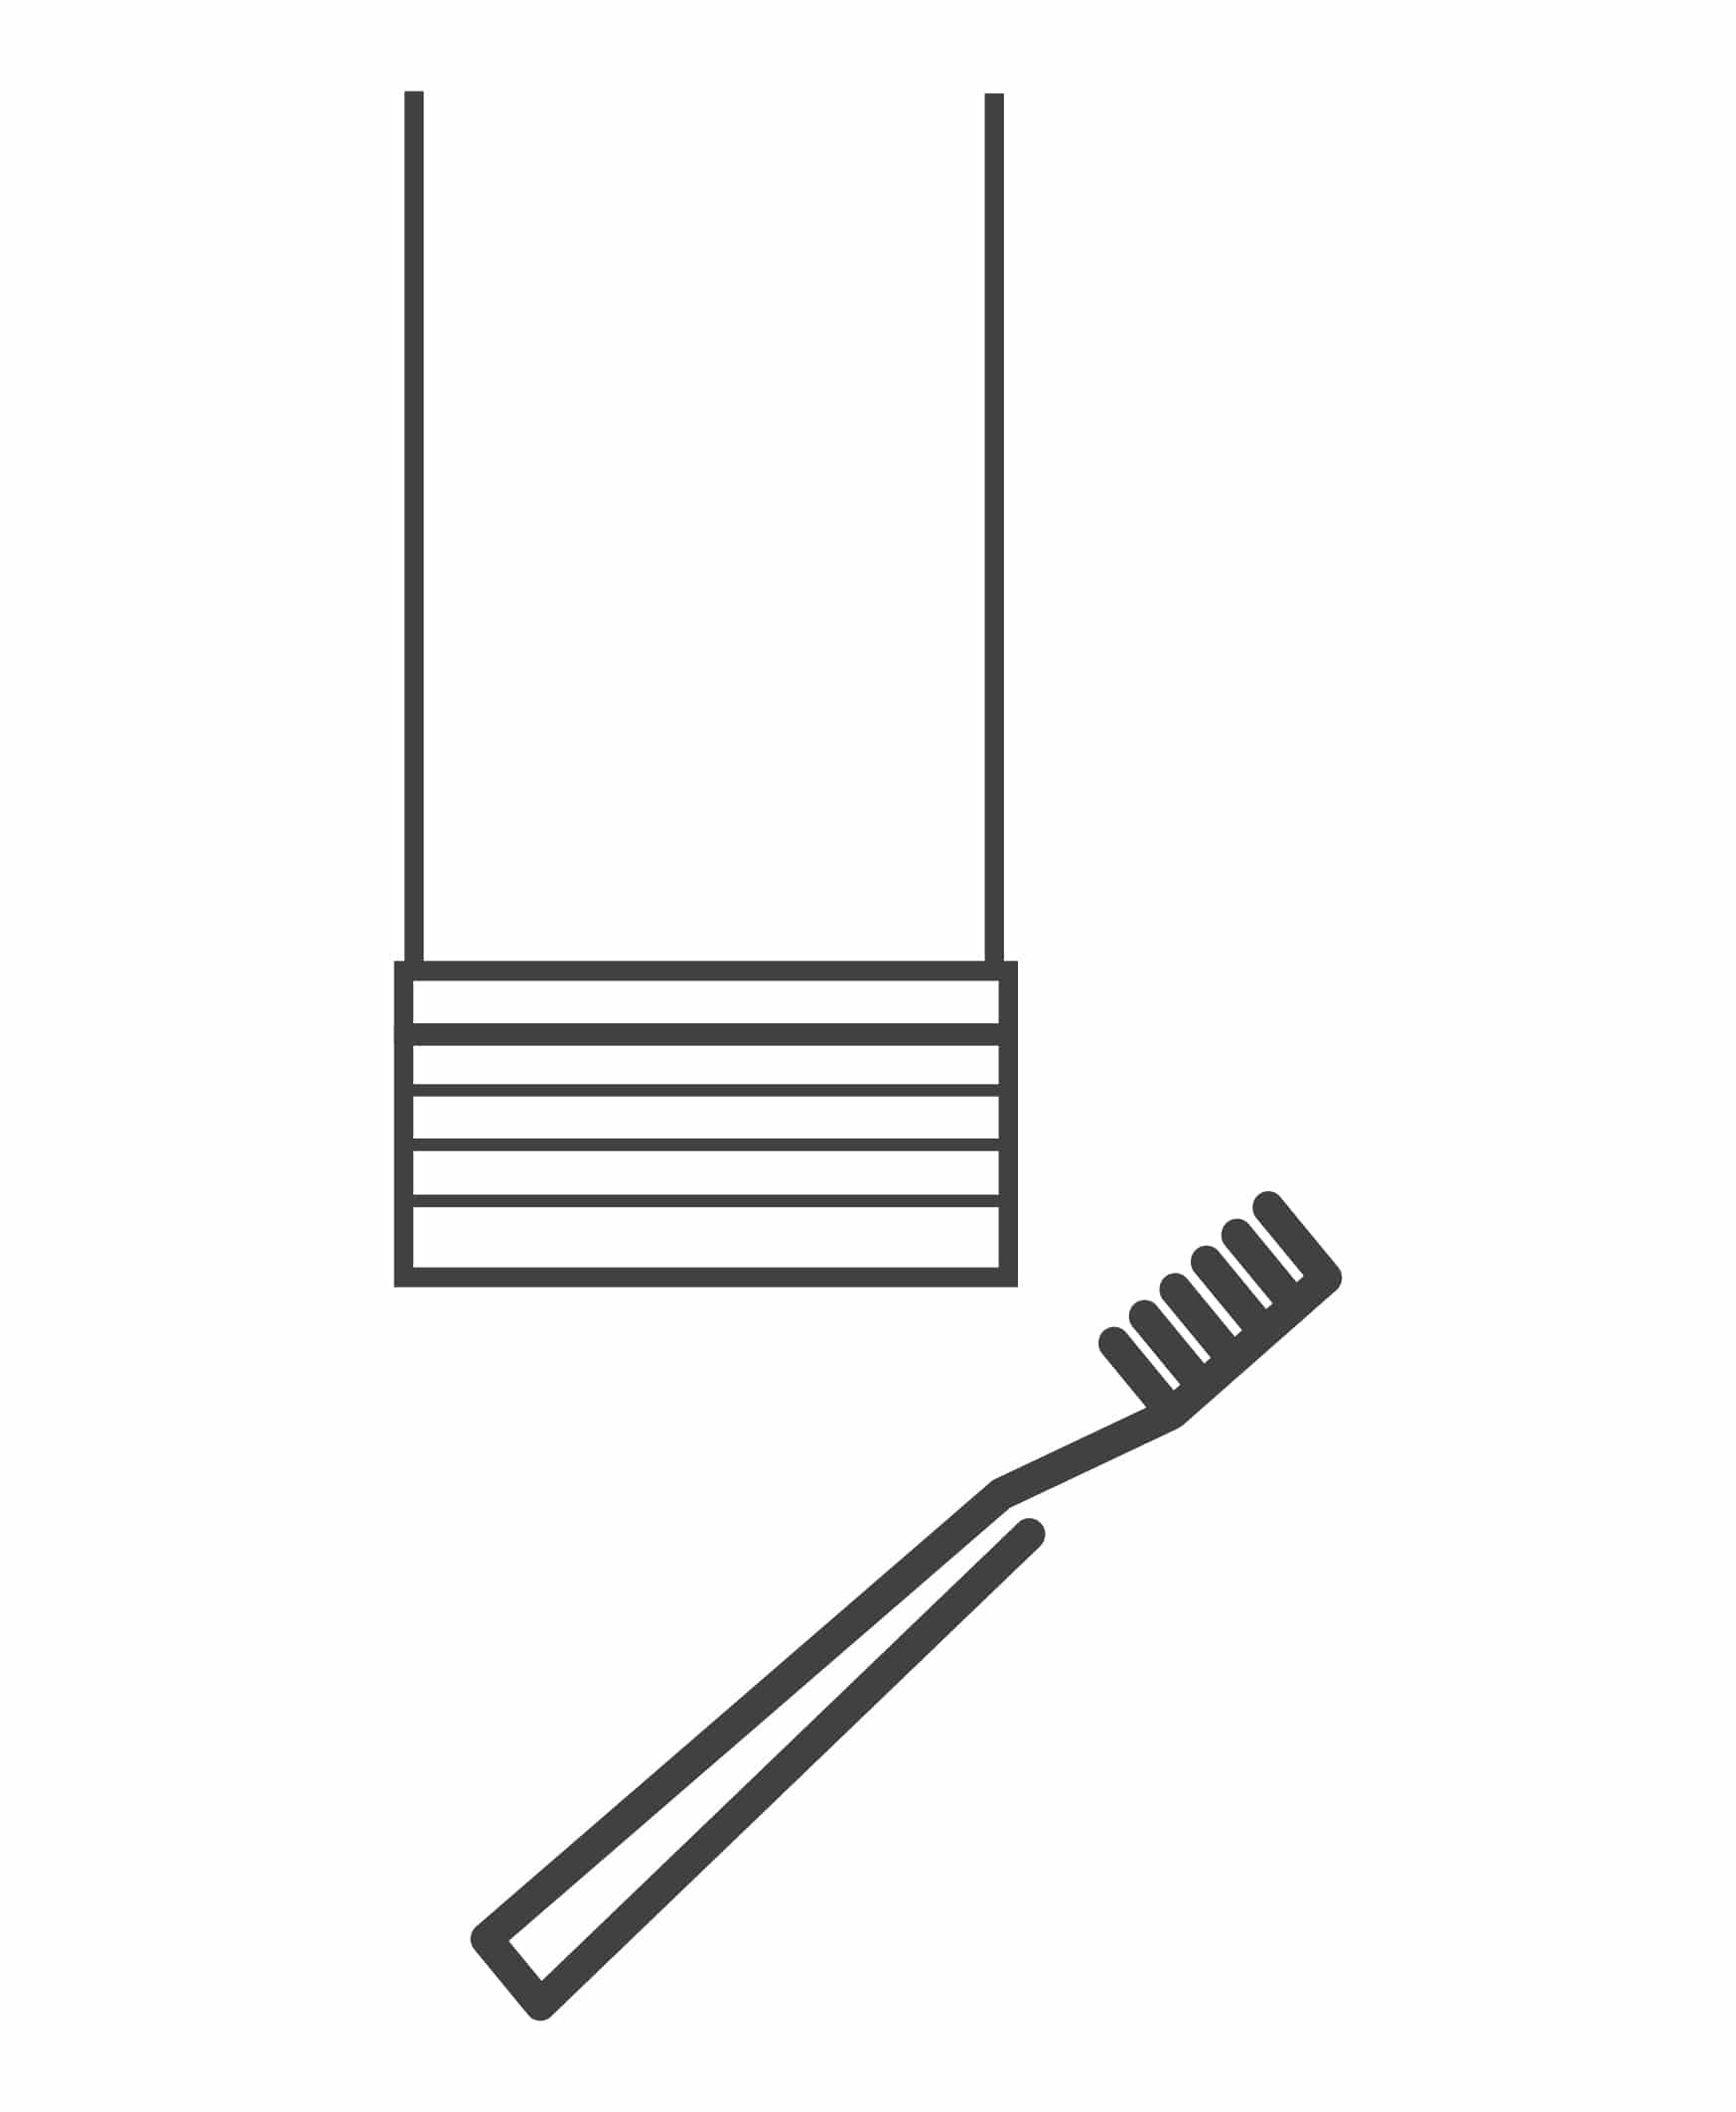 Use an old toothbrush dipped in vinegar to clean the threaded area of the faucet, and then dry with a rag.
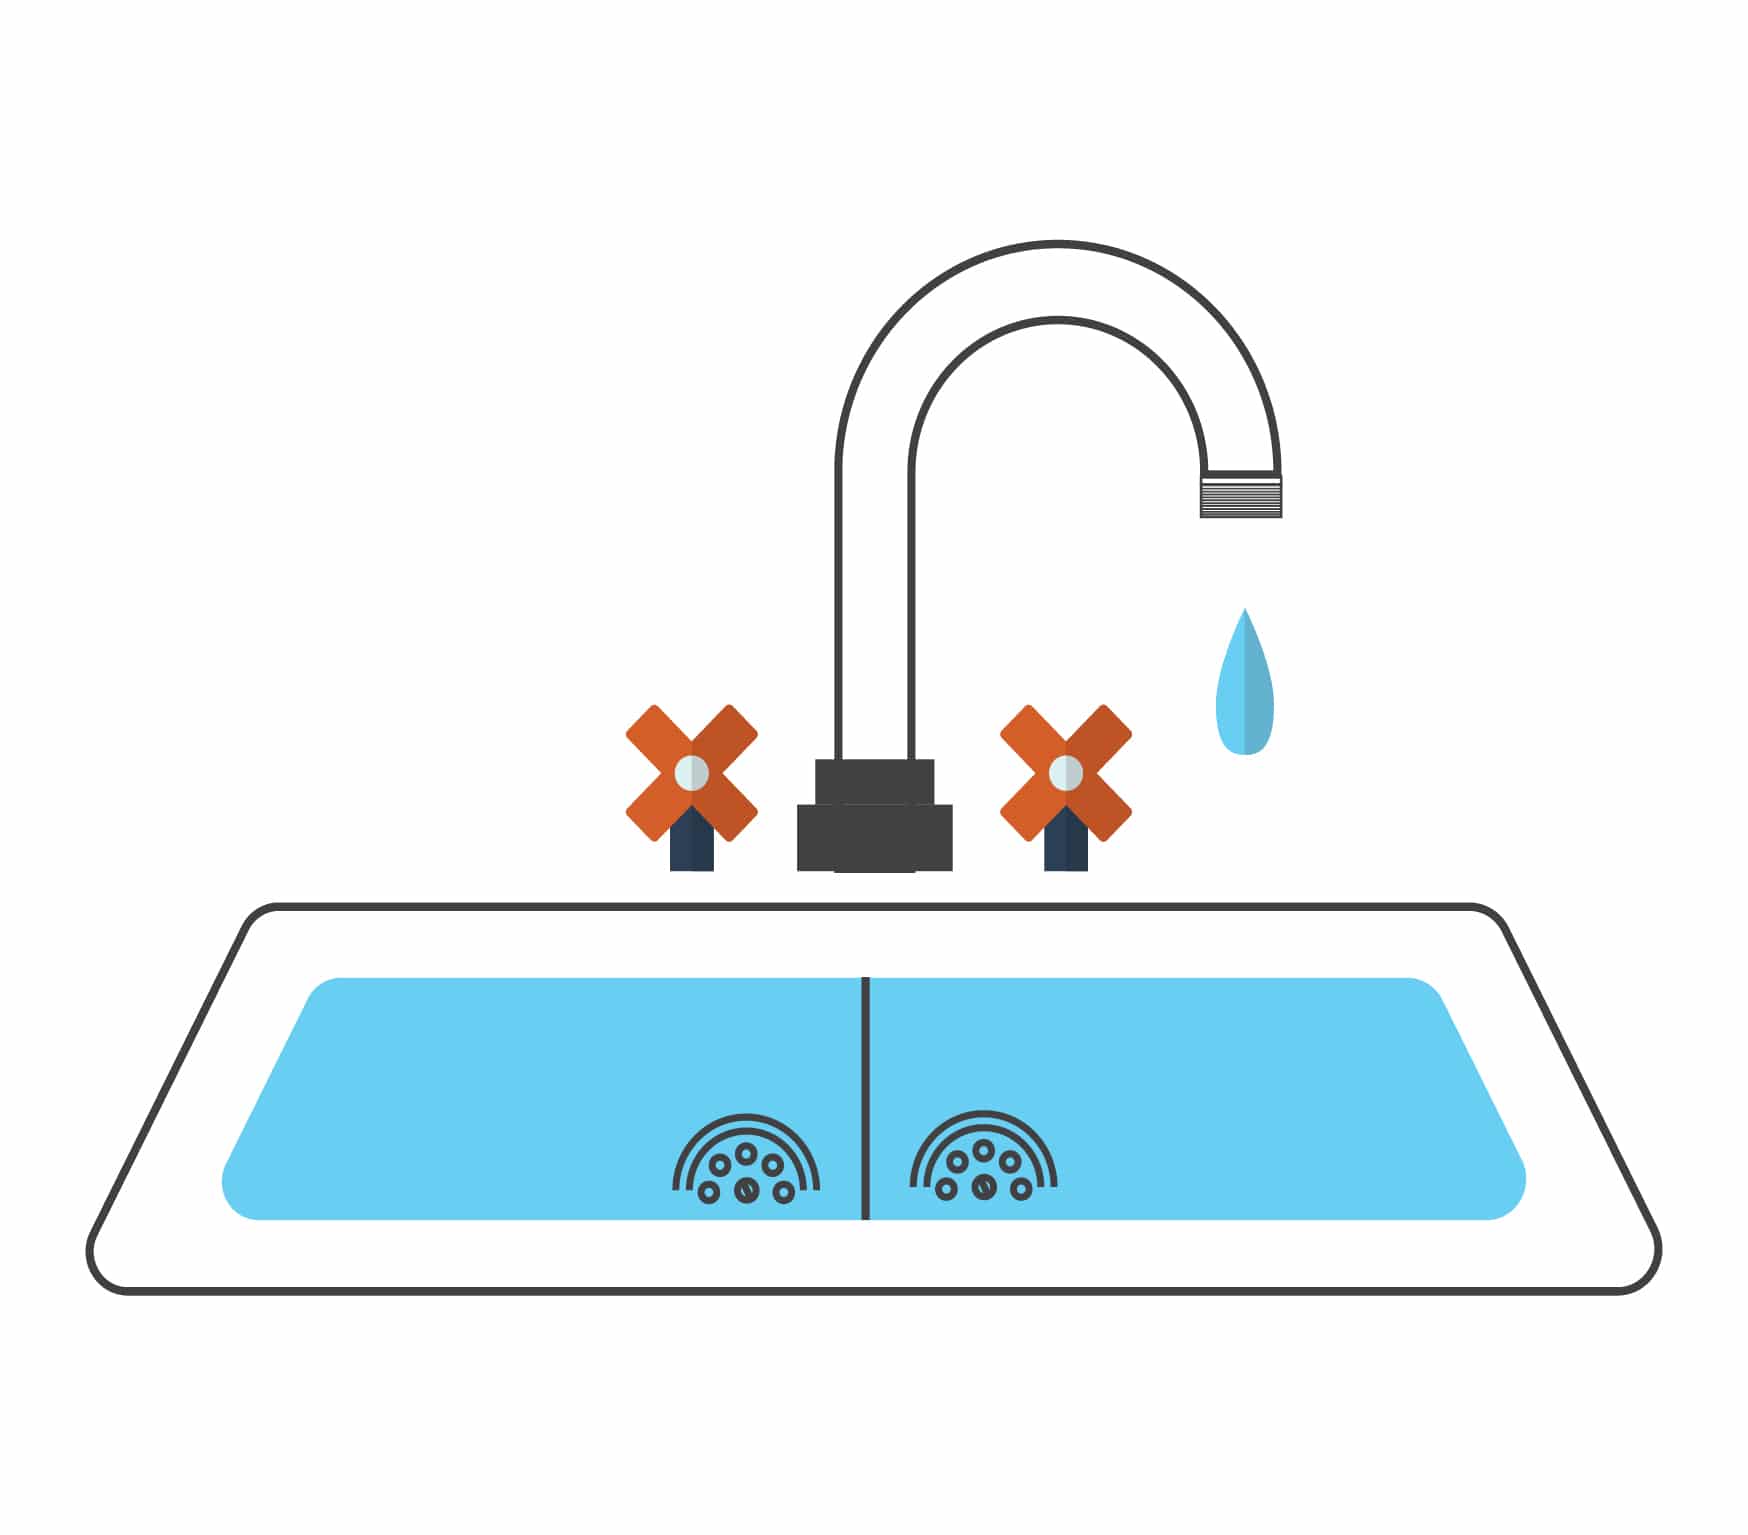 Turn on the water and run for 5 to 10 seconds. This will flush out any residue that might have come loose inside the faucet.
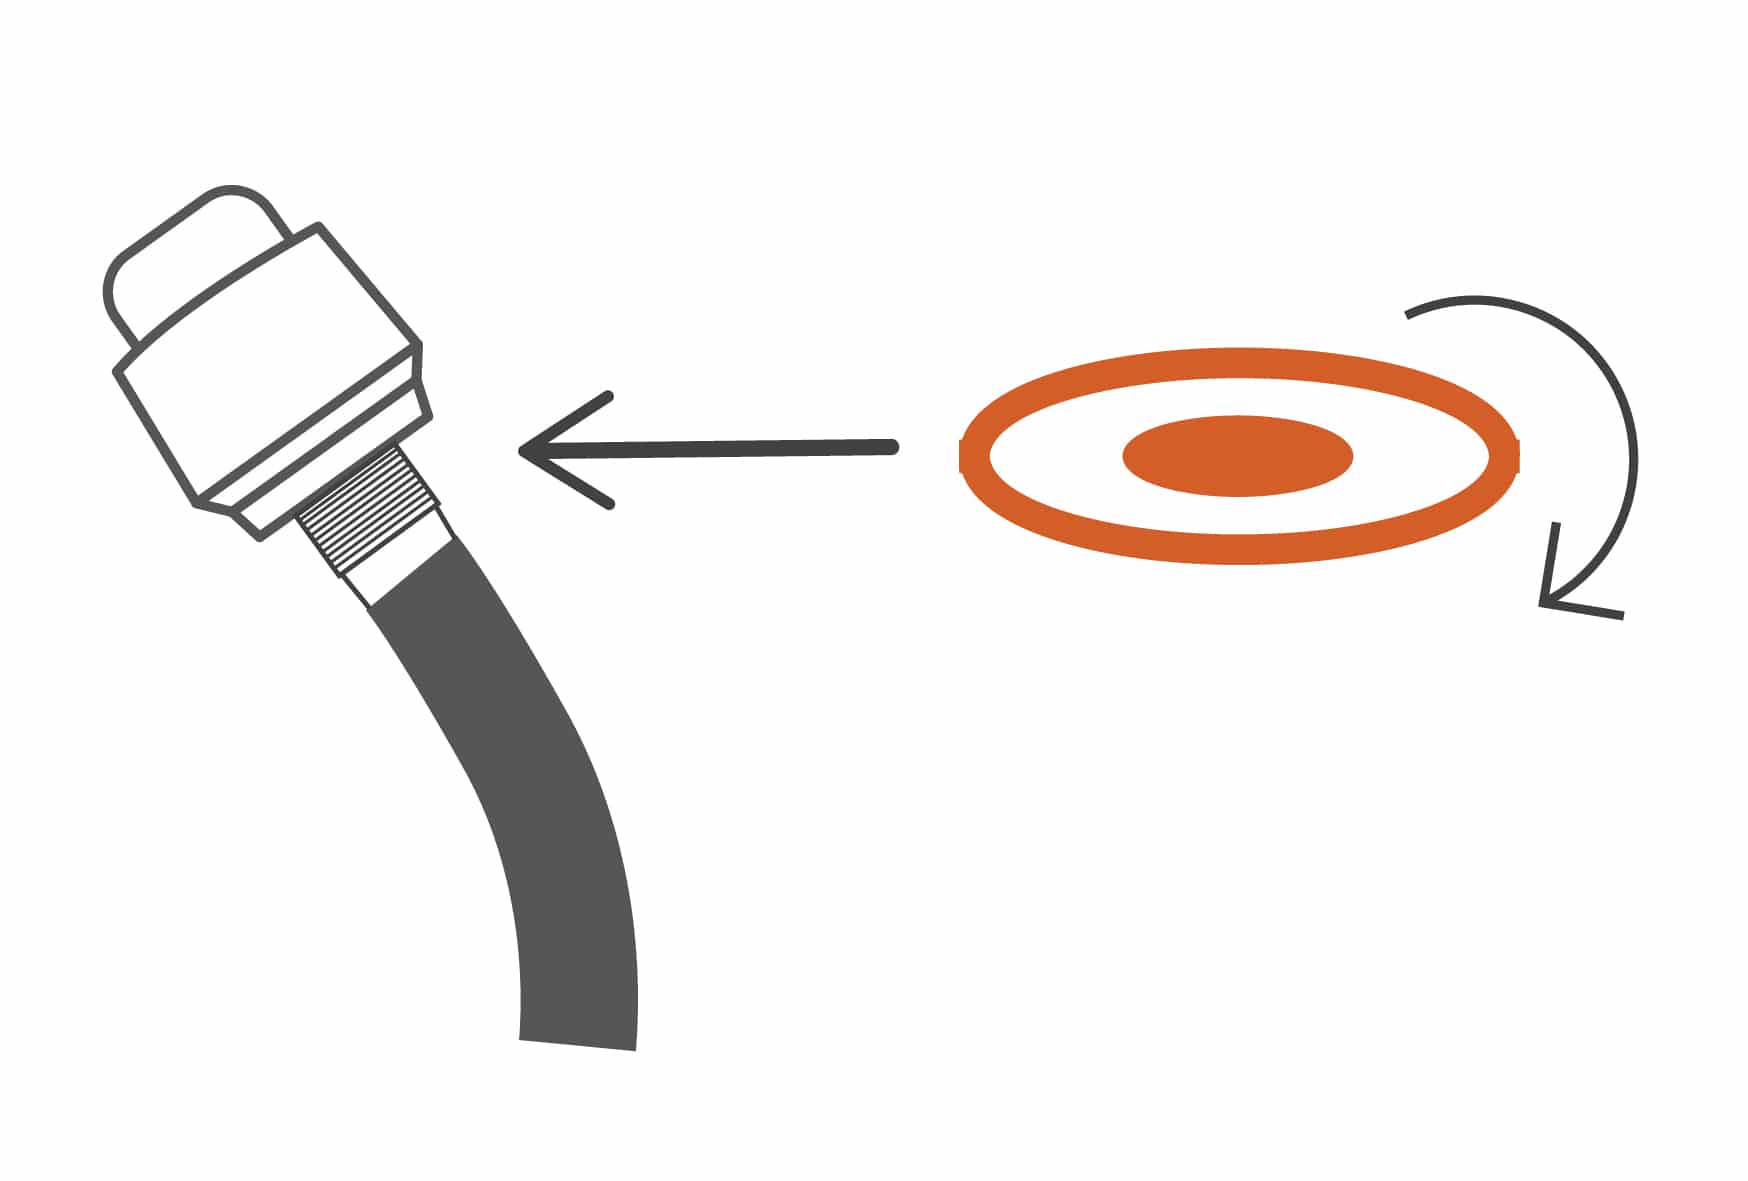
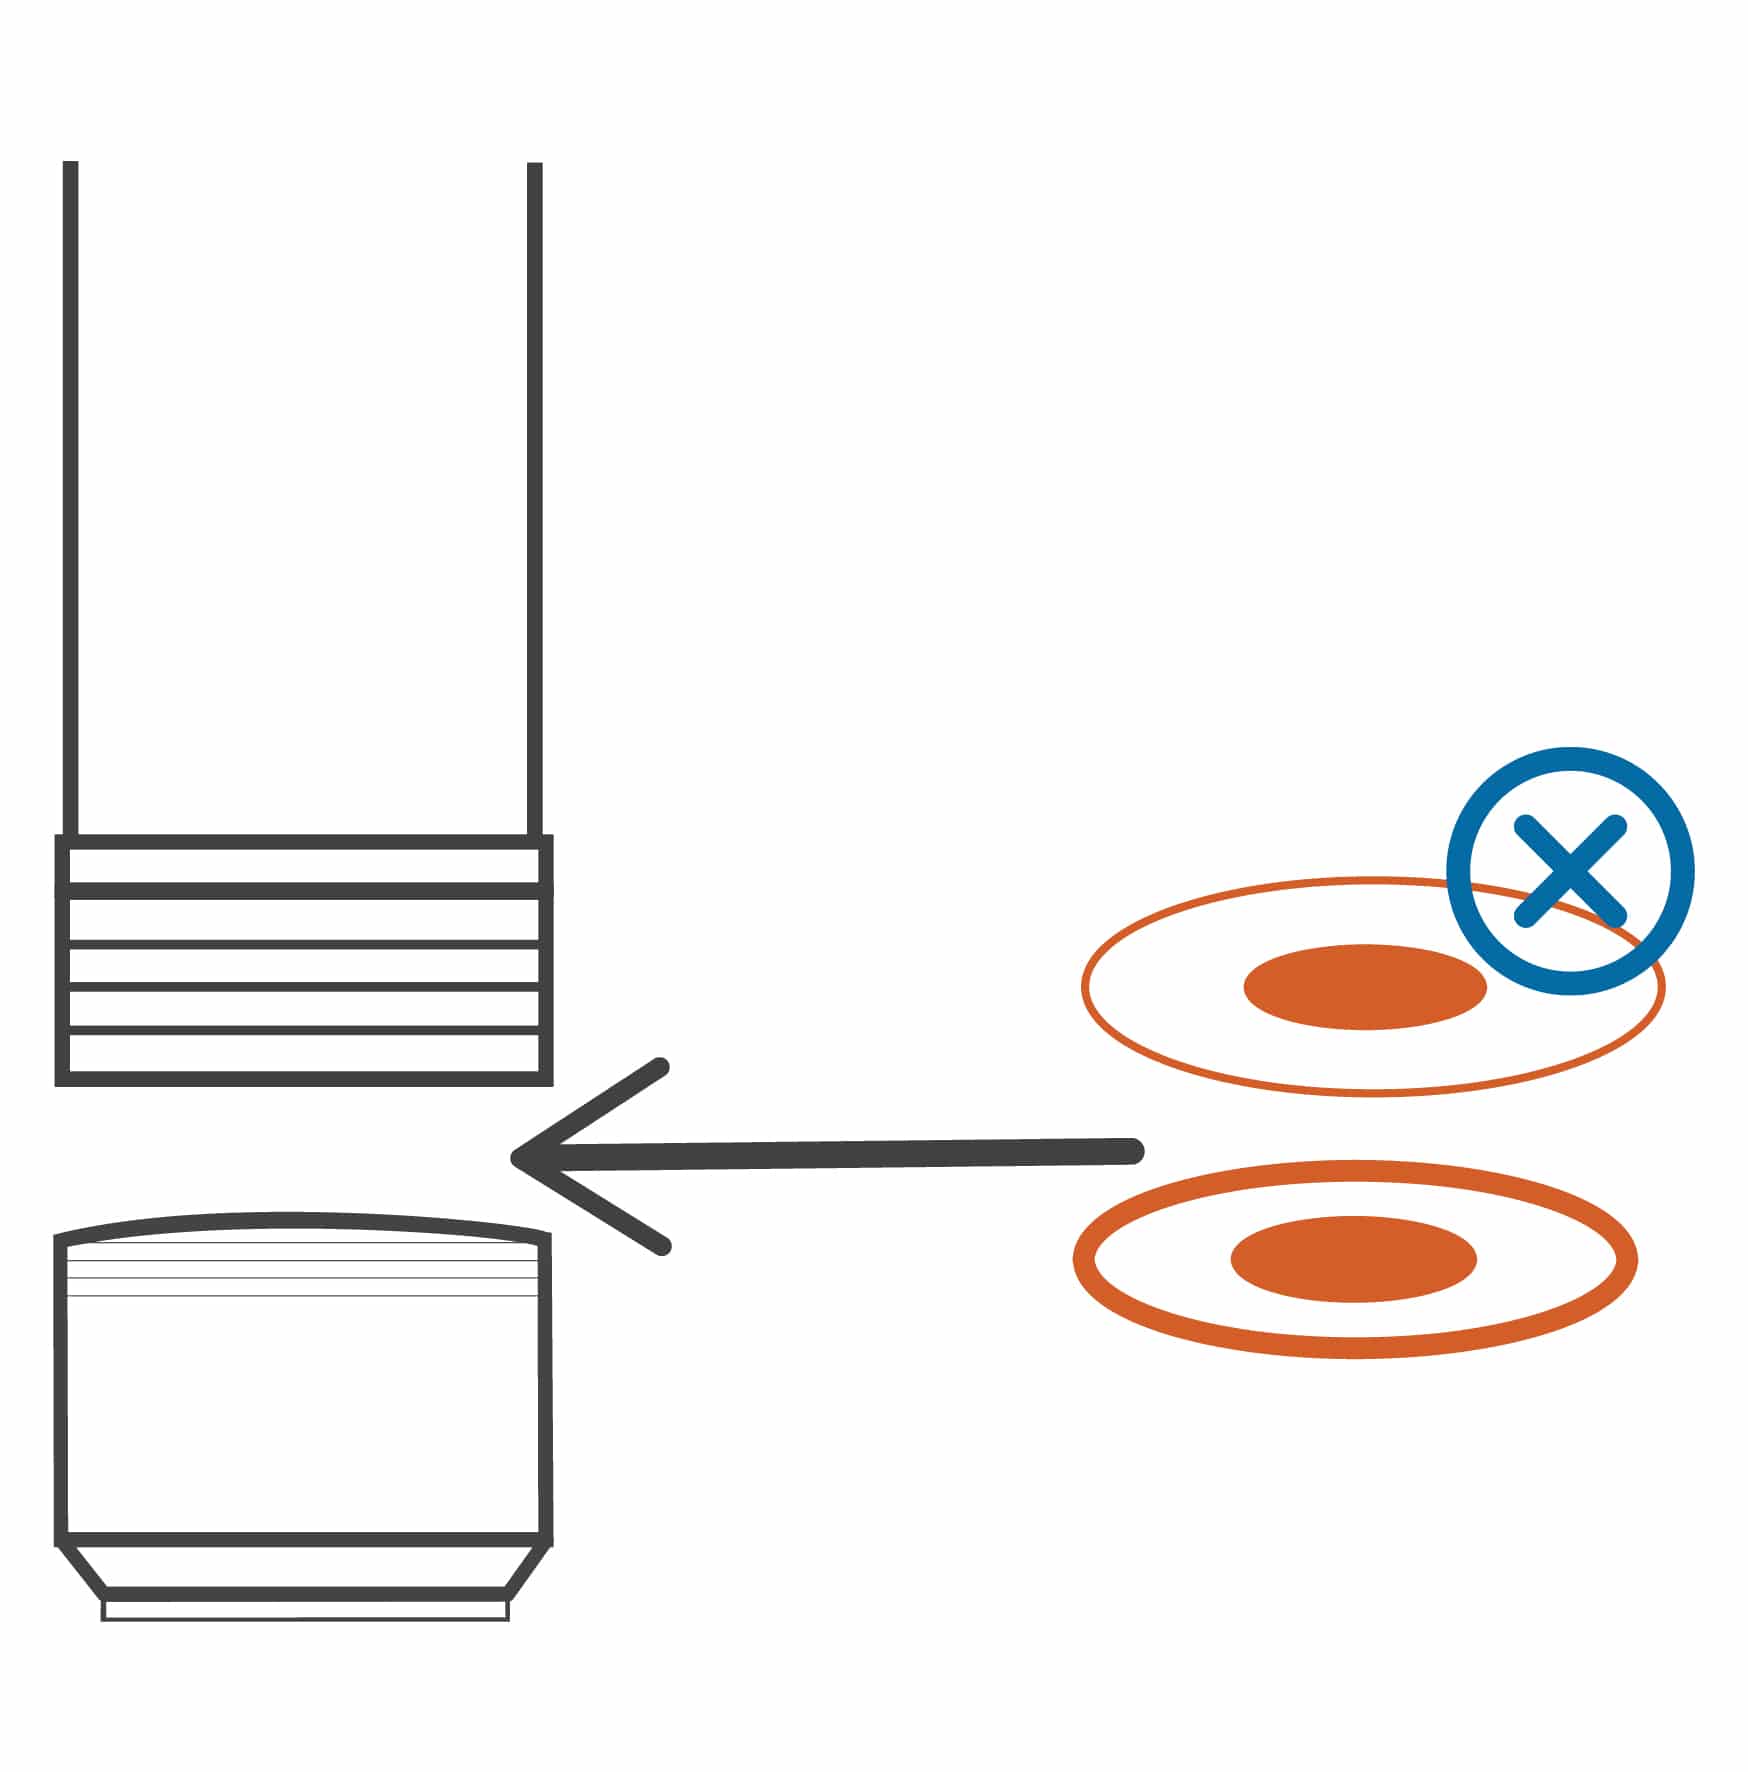
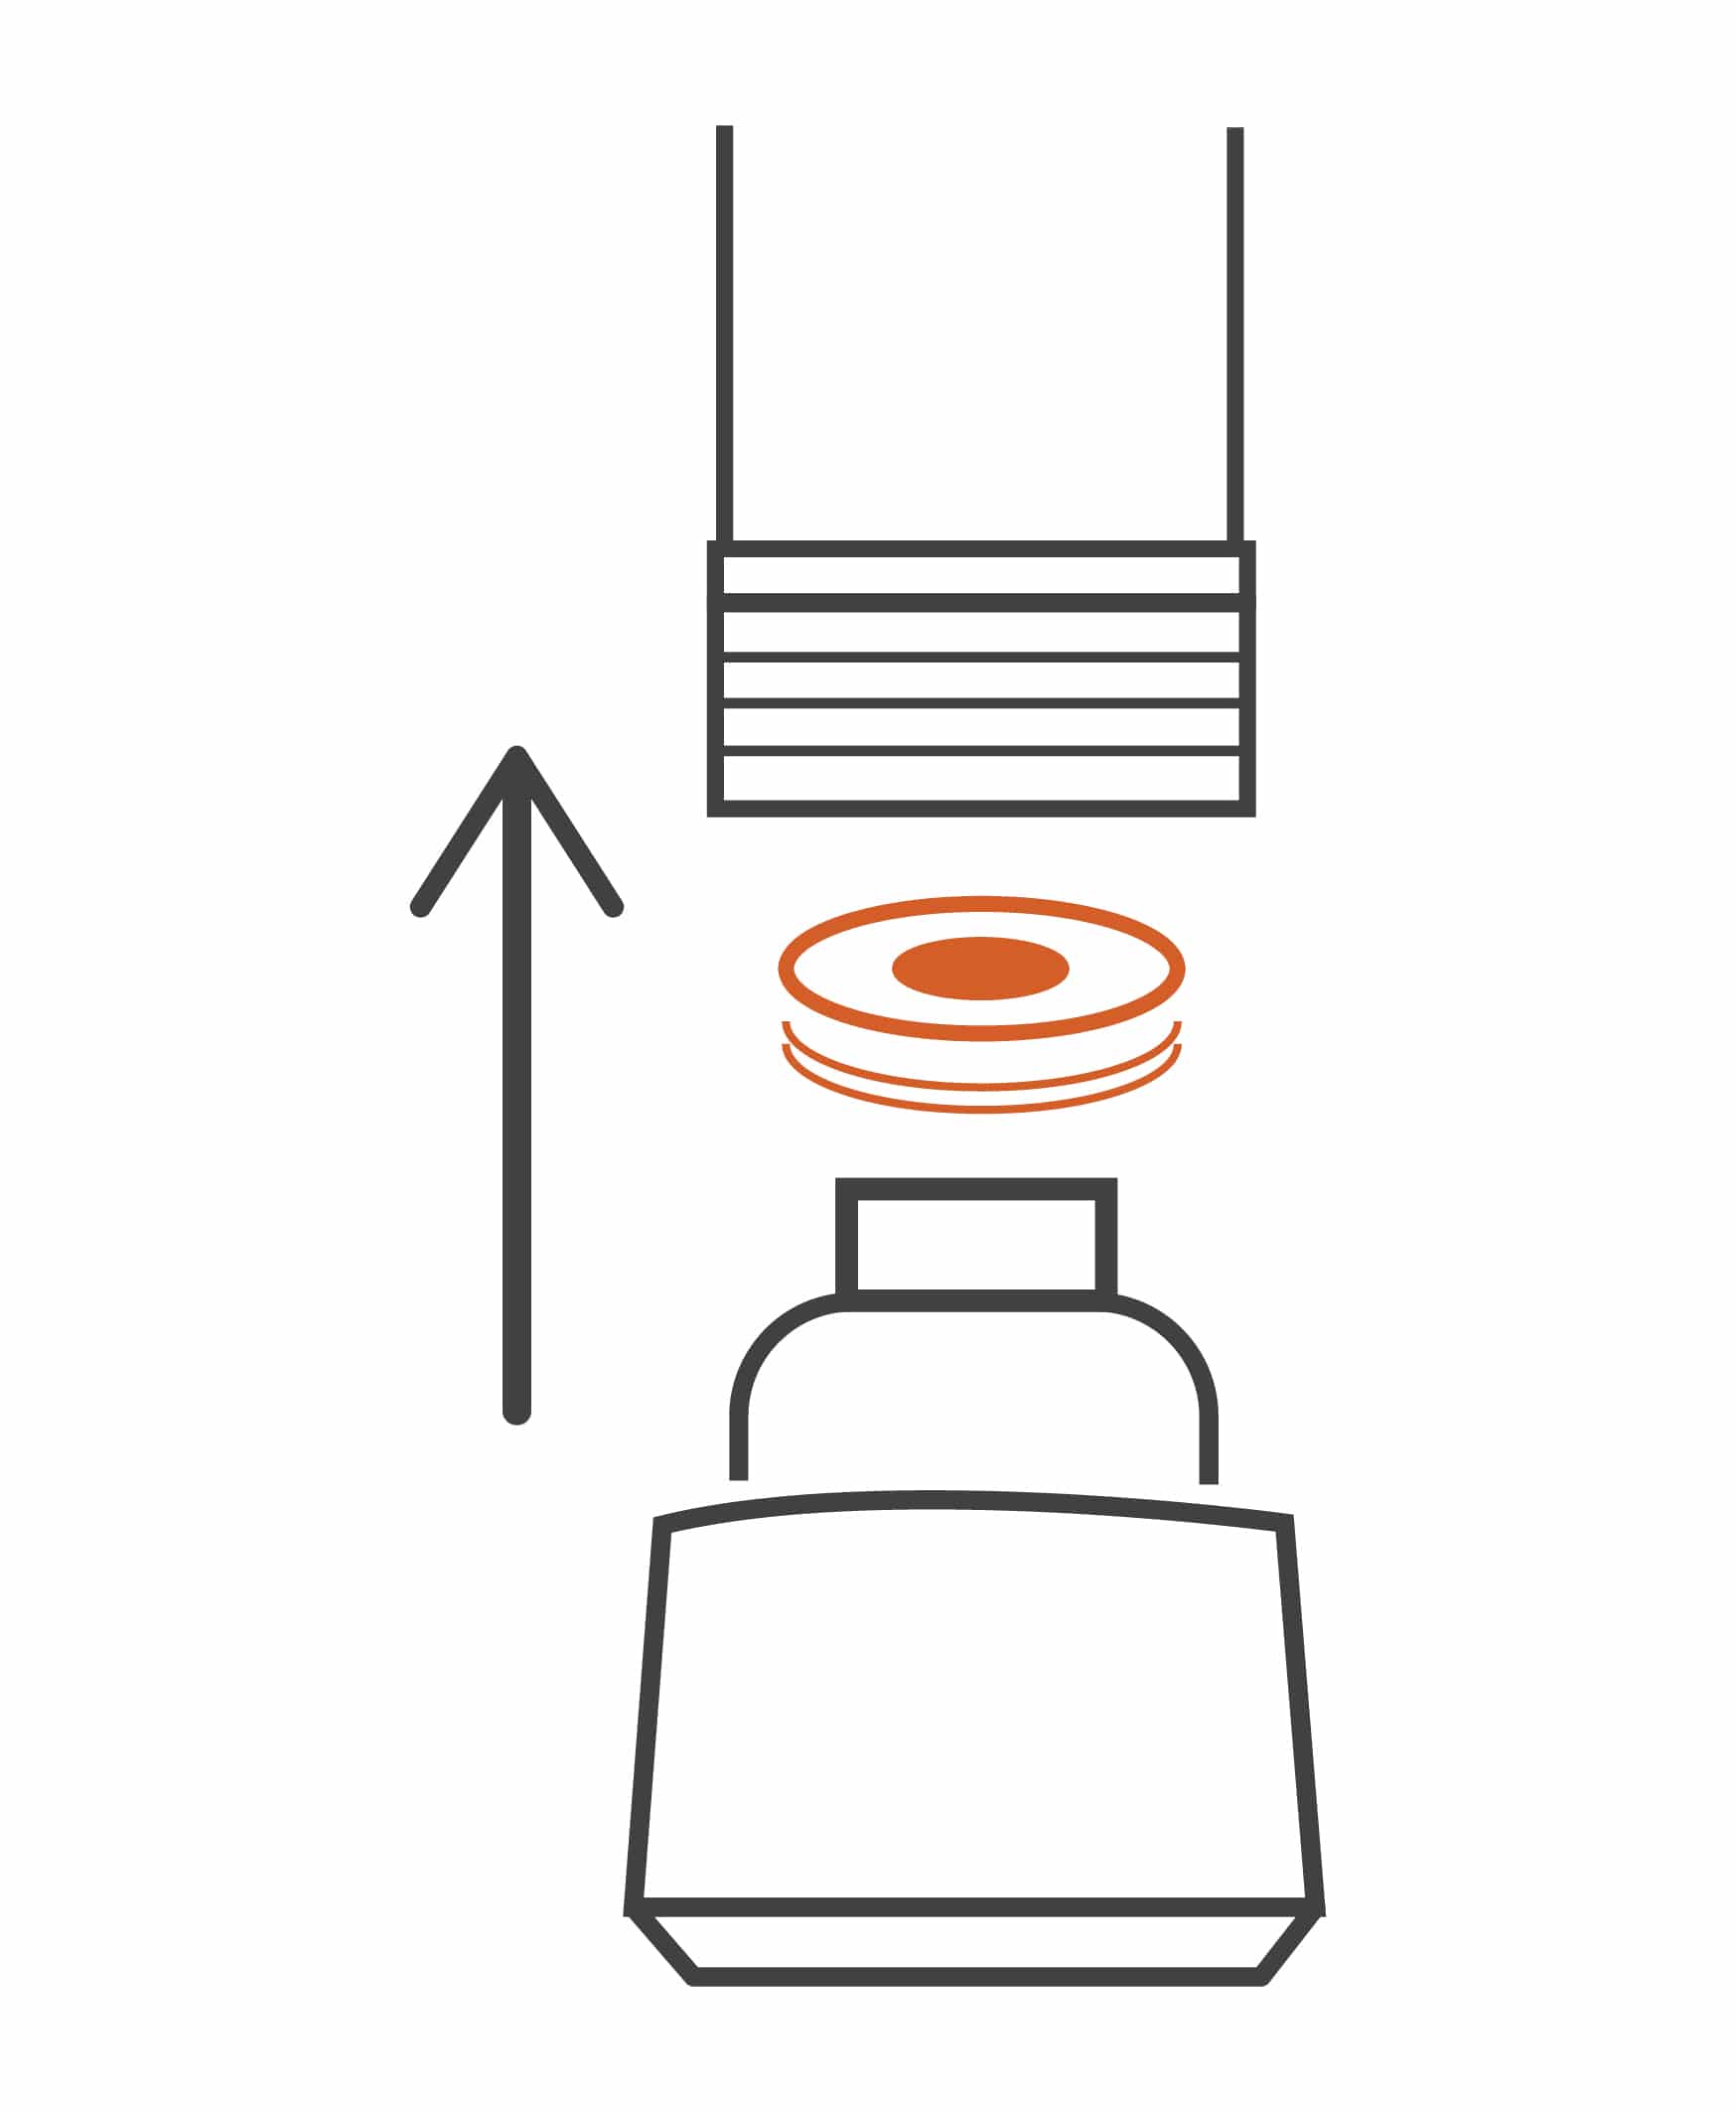 Remove the kitchen faucet aerator from the kit. Dry the faucet threads. Place the rubber washer/s inside the aerator.
NOTE: The flip aerator is designed for use with inside and outside threaded faucets.
• External Threads: Use one rubber washer.
• Internal Threads: Use two rubber washers.
 Screw on the new kitchen faucet aerator clockwise and hand tighten until snug. Do not over-tighten.
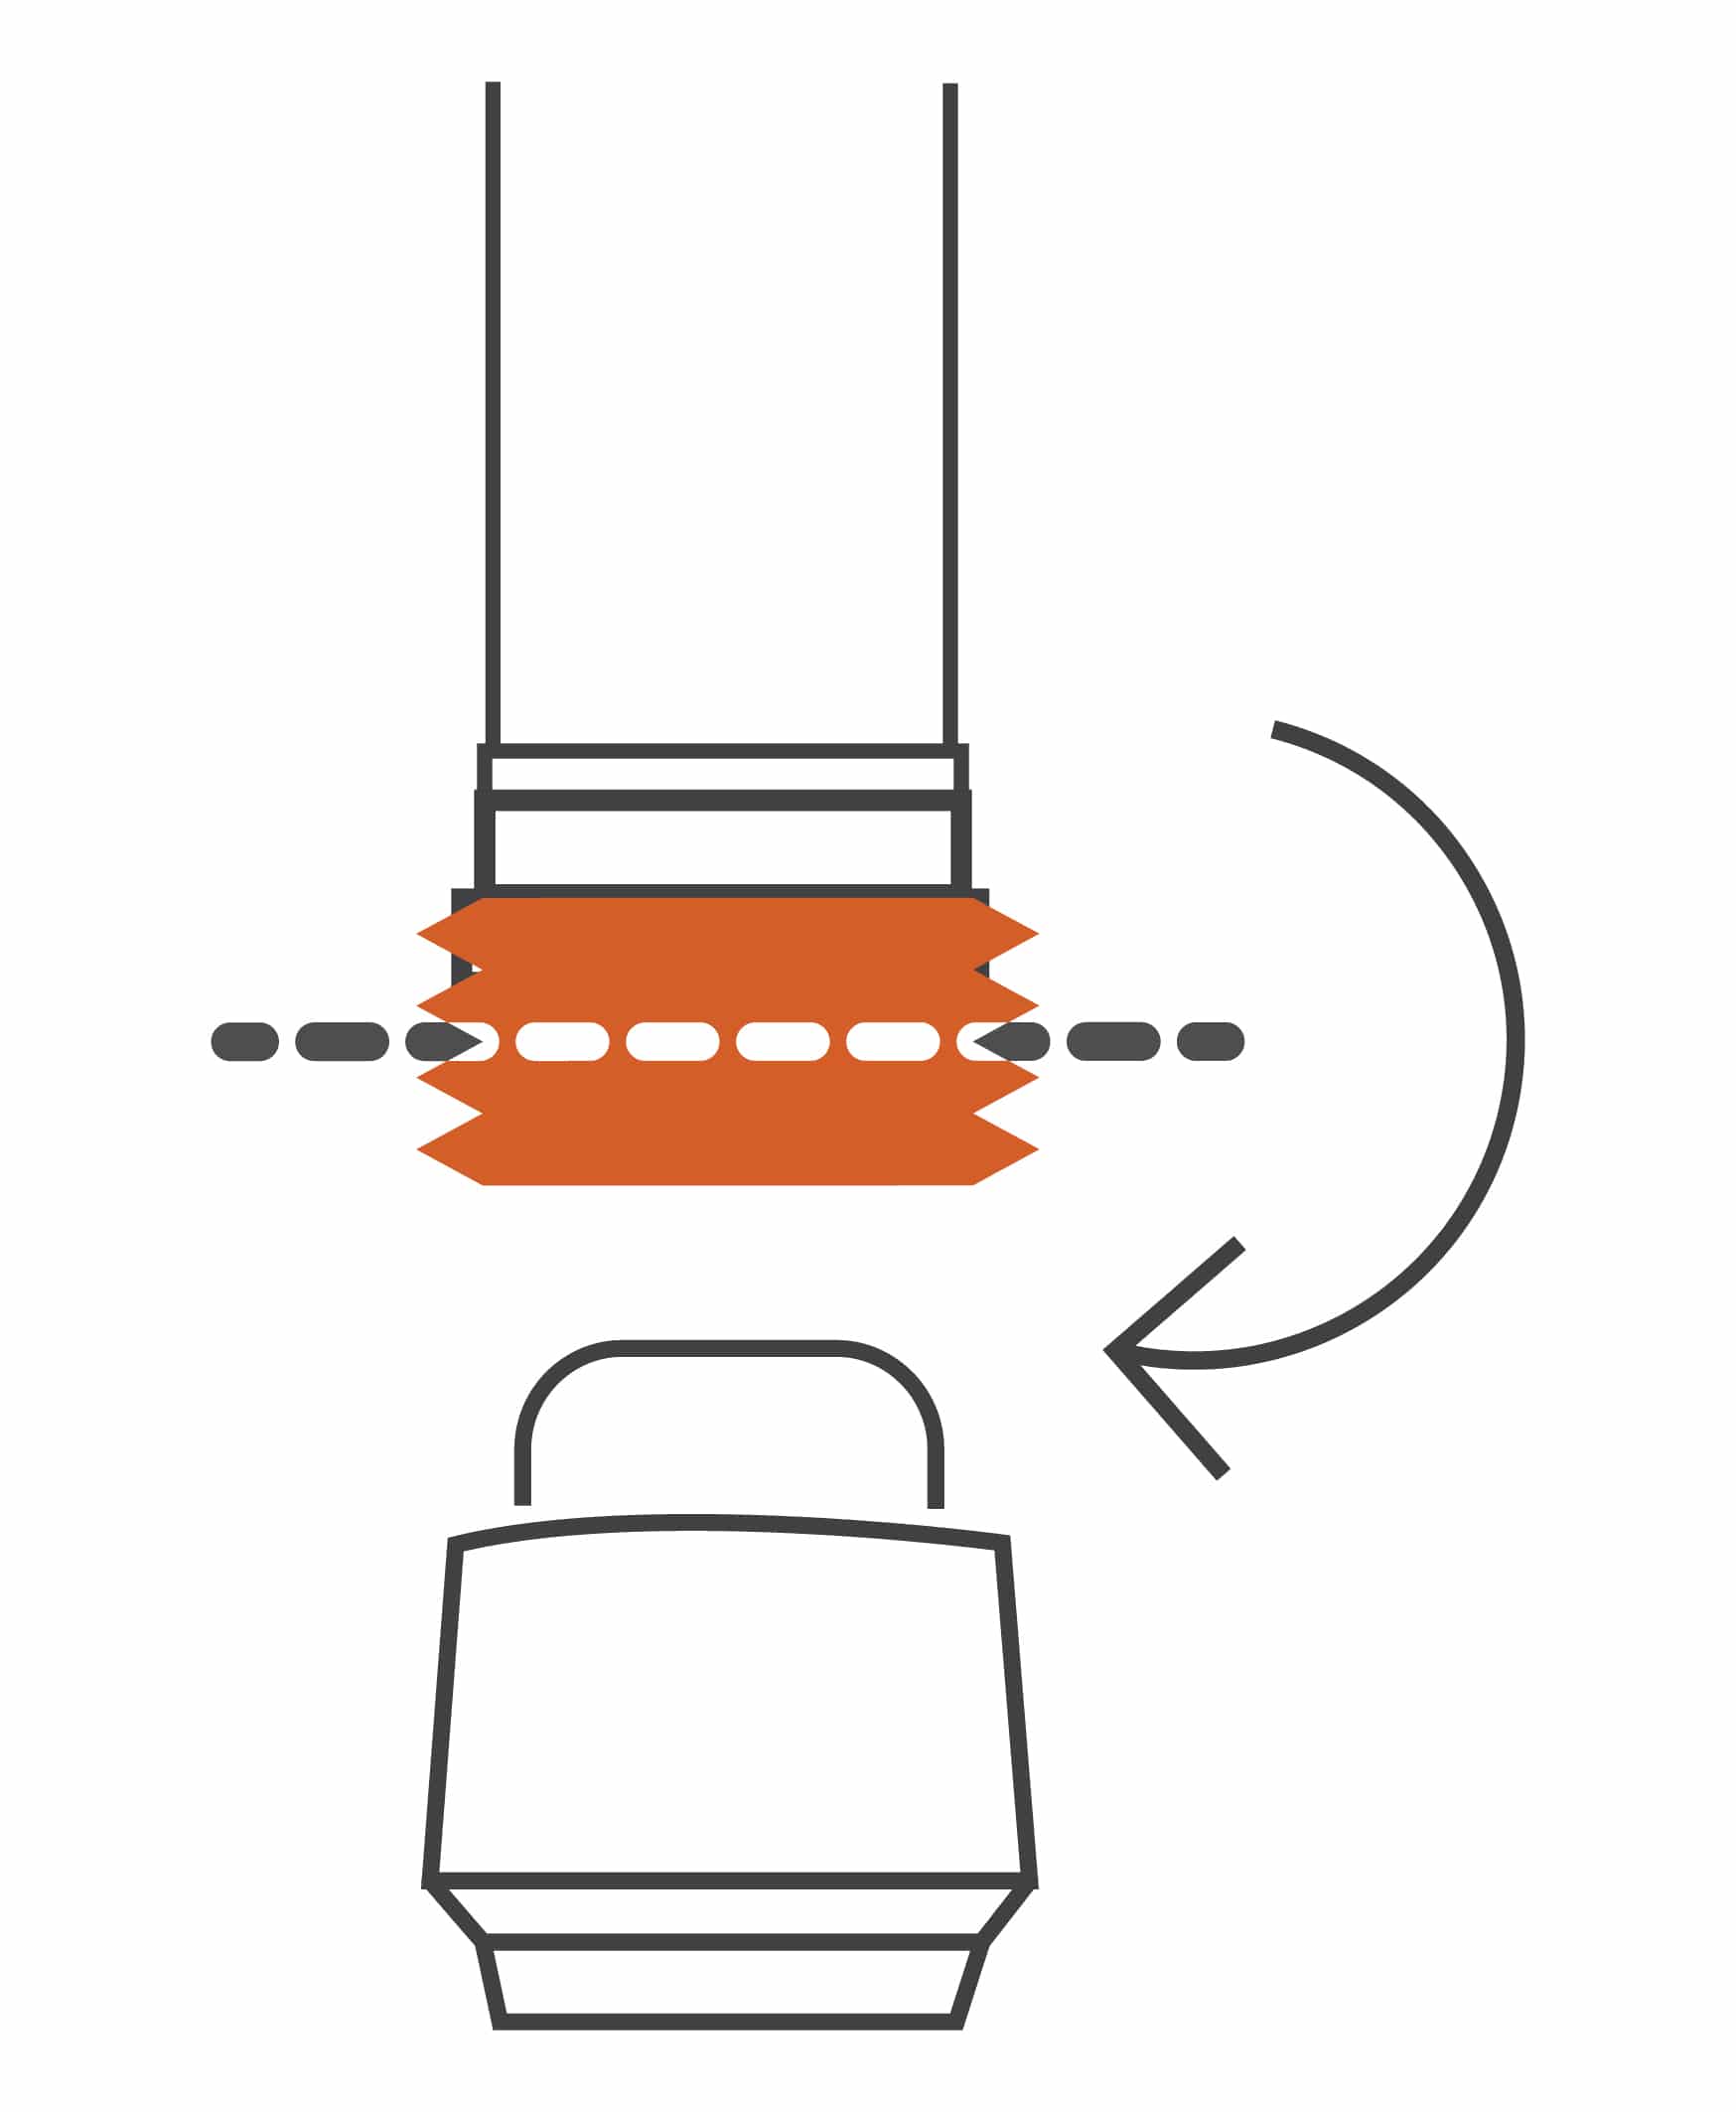 Turn on the faucet and check for leaks. If it leaks, add some Teflon Tape in a clockwise direction to the threads of the aerator.
NOTE: The aerator will not completely stop the flow of water. This is to prevent buildup of hot water that might pose a threat to children.
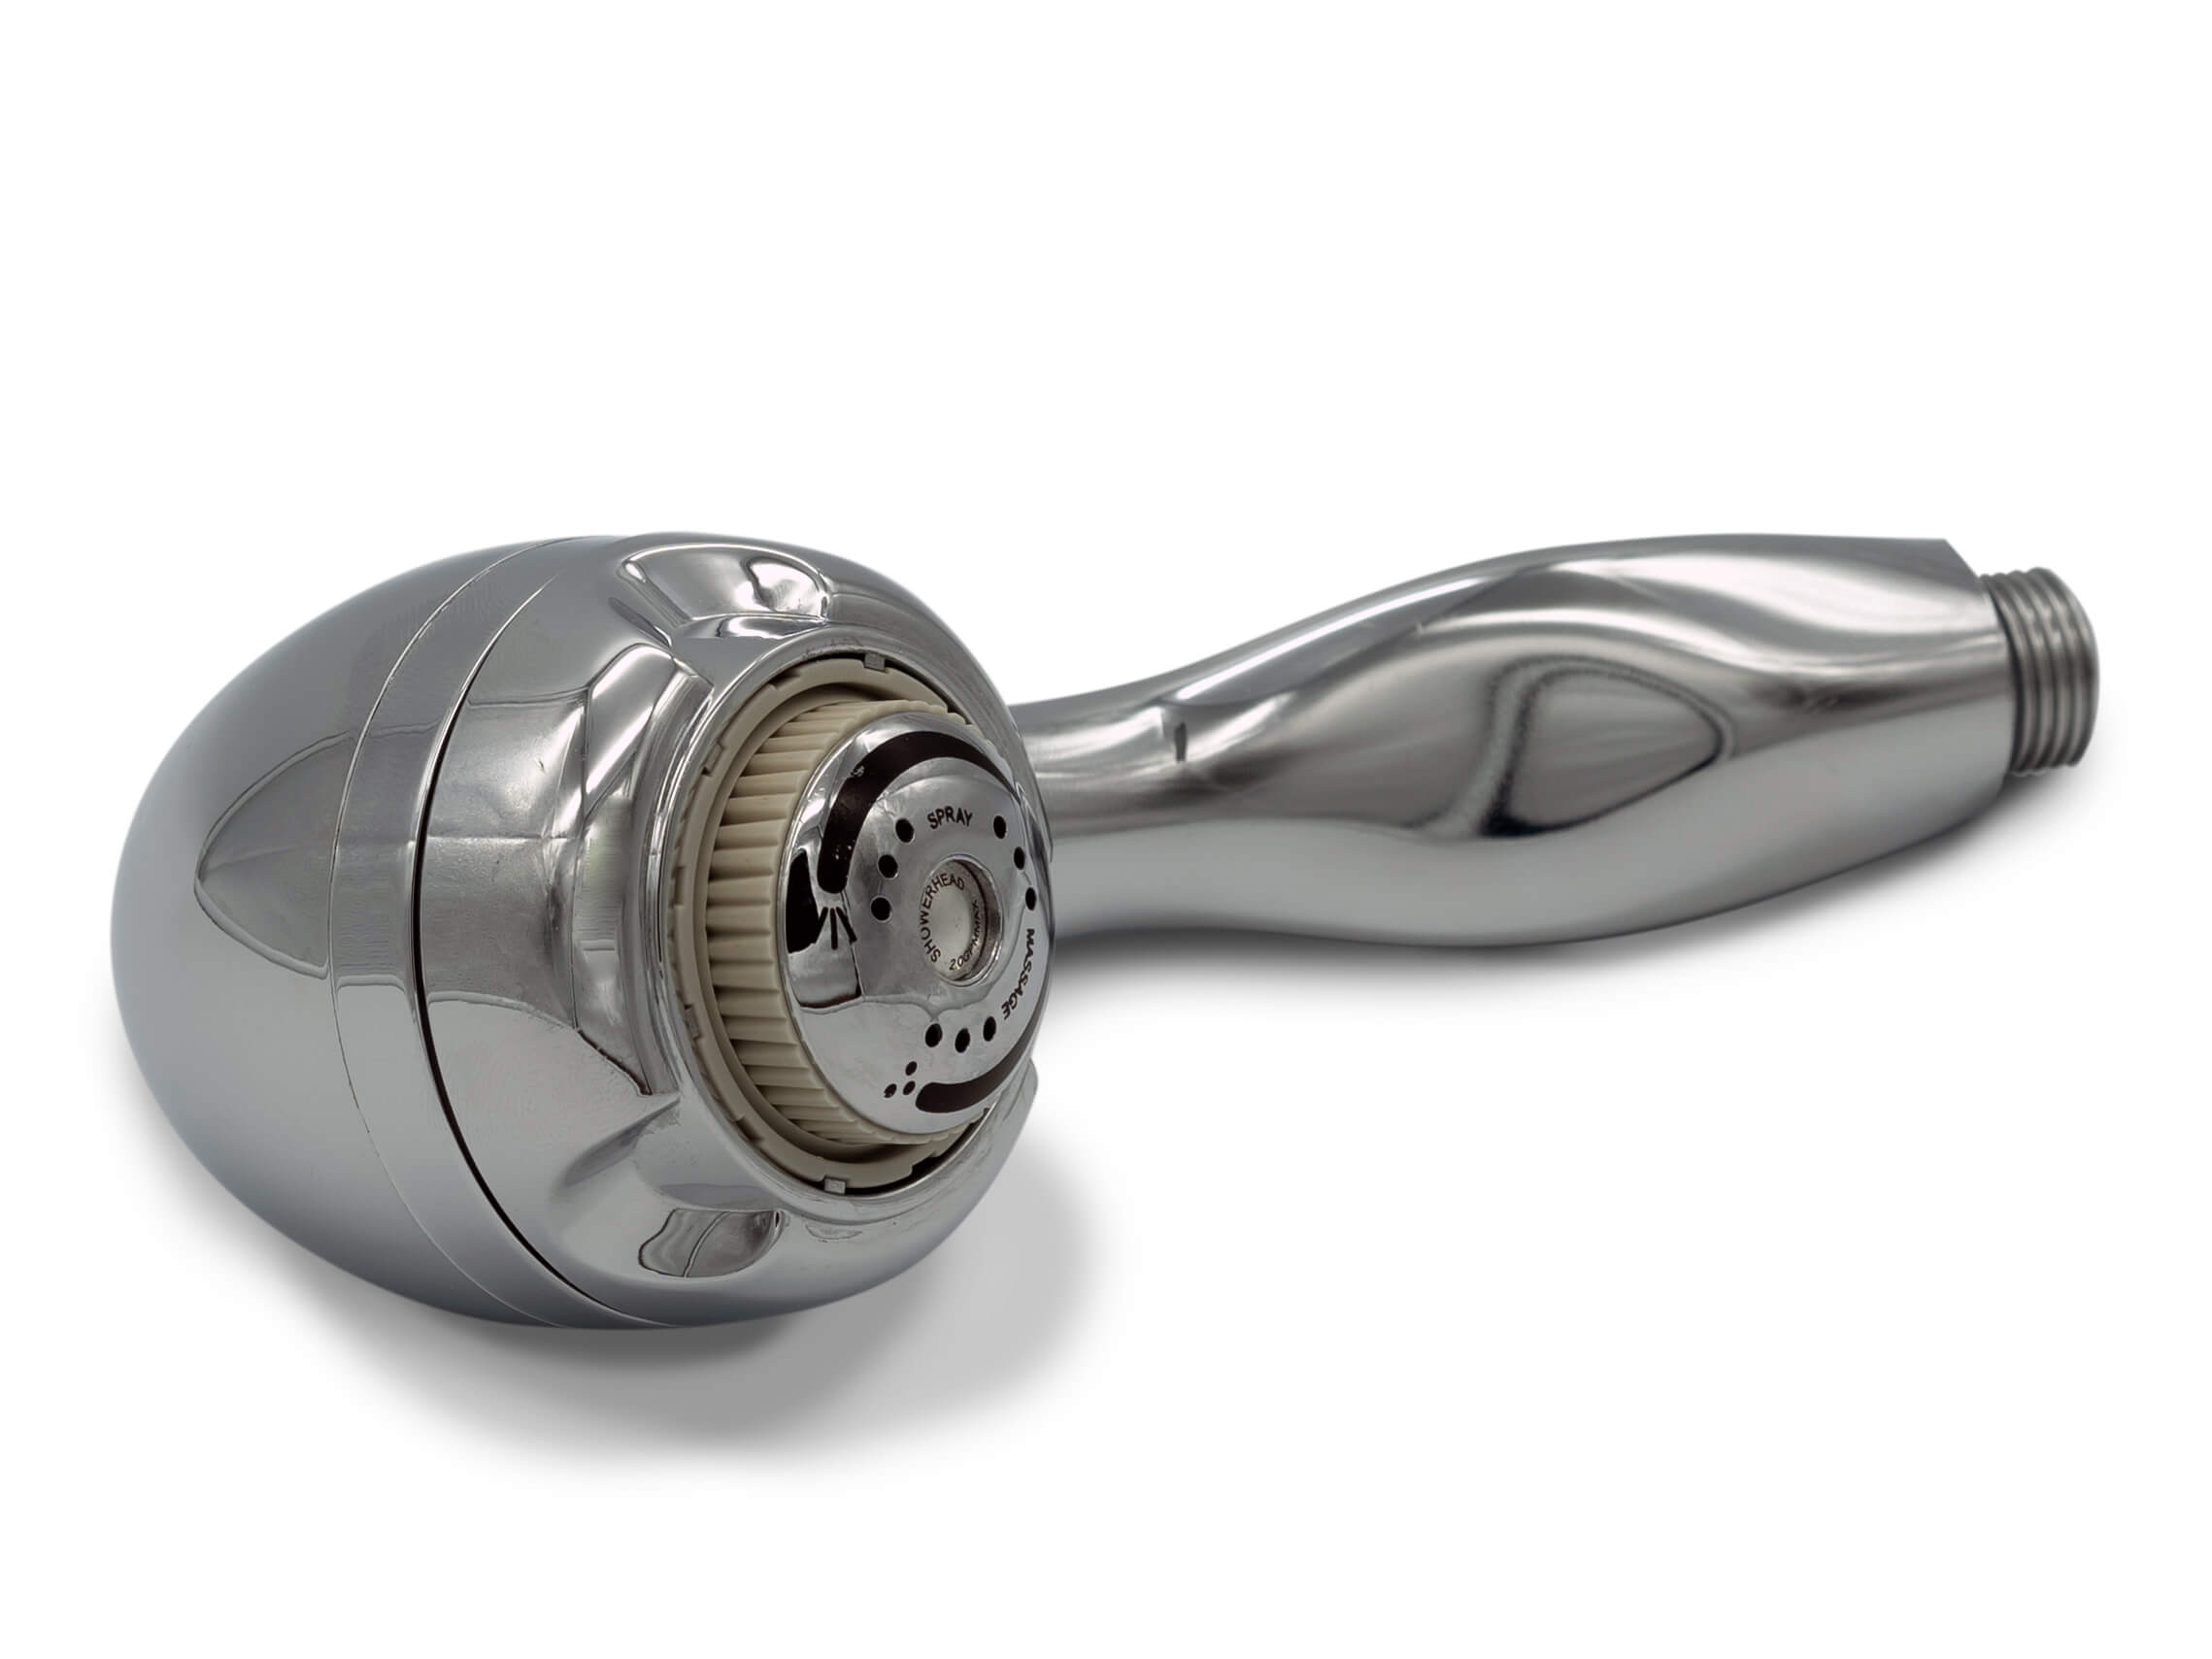
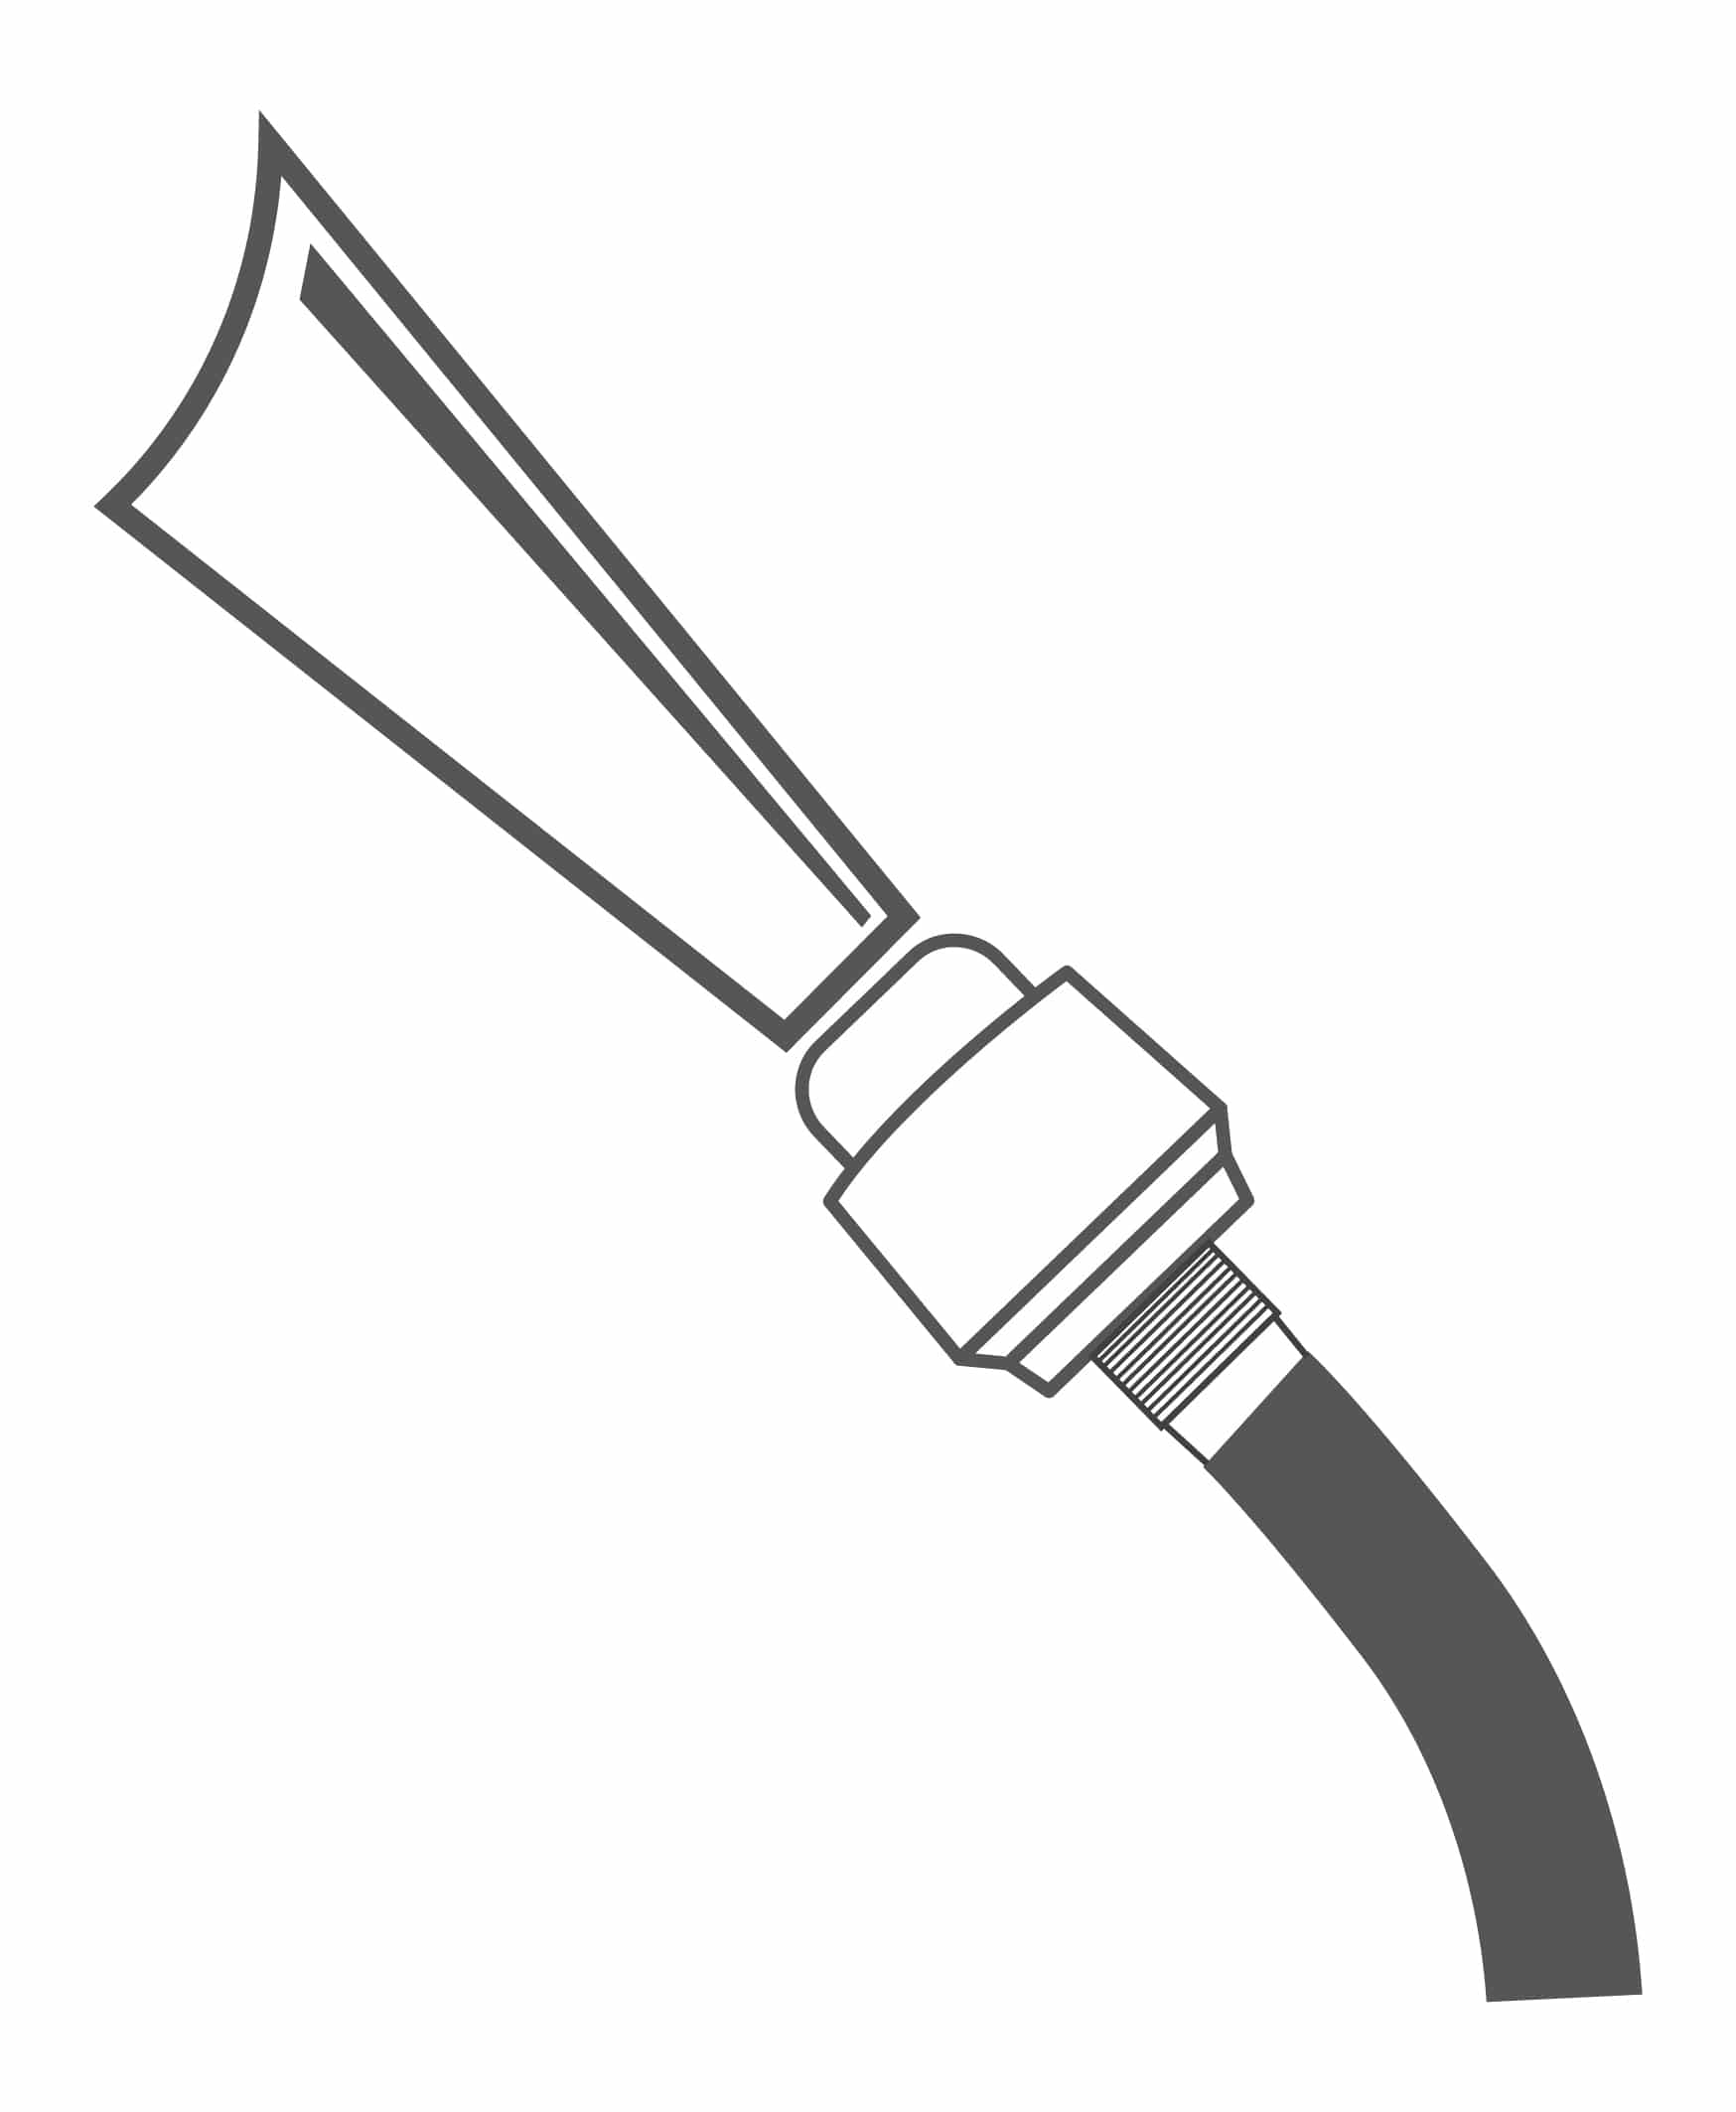
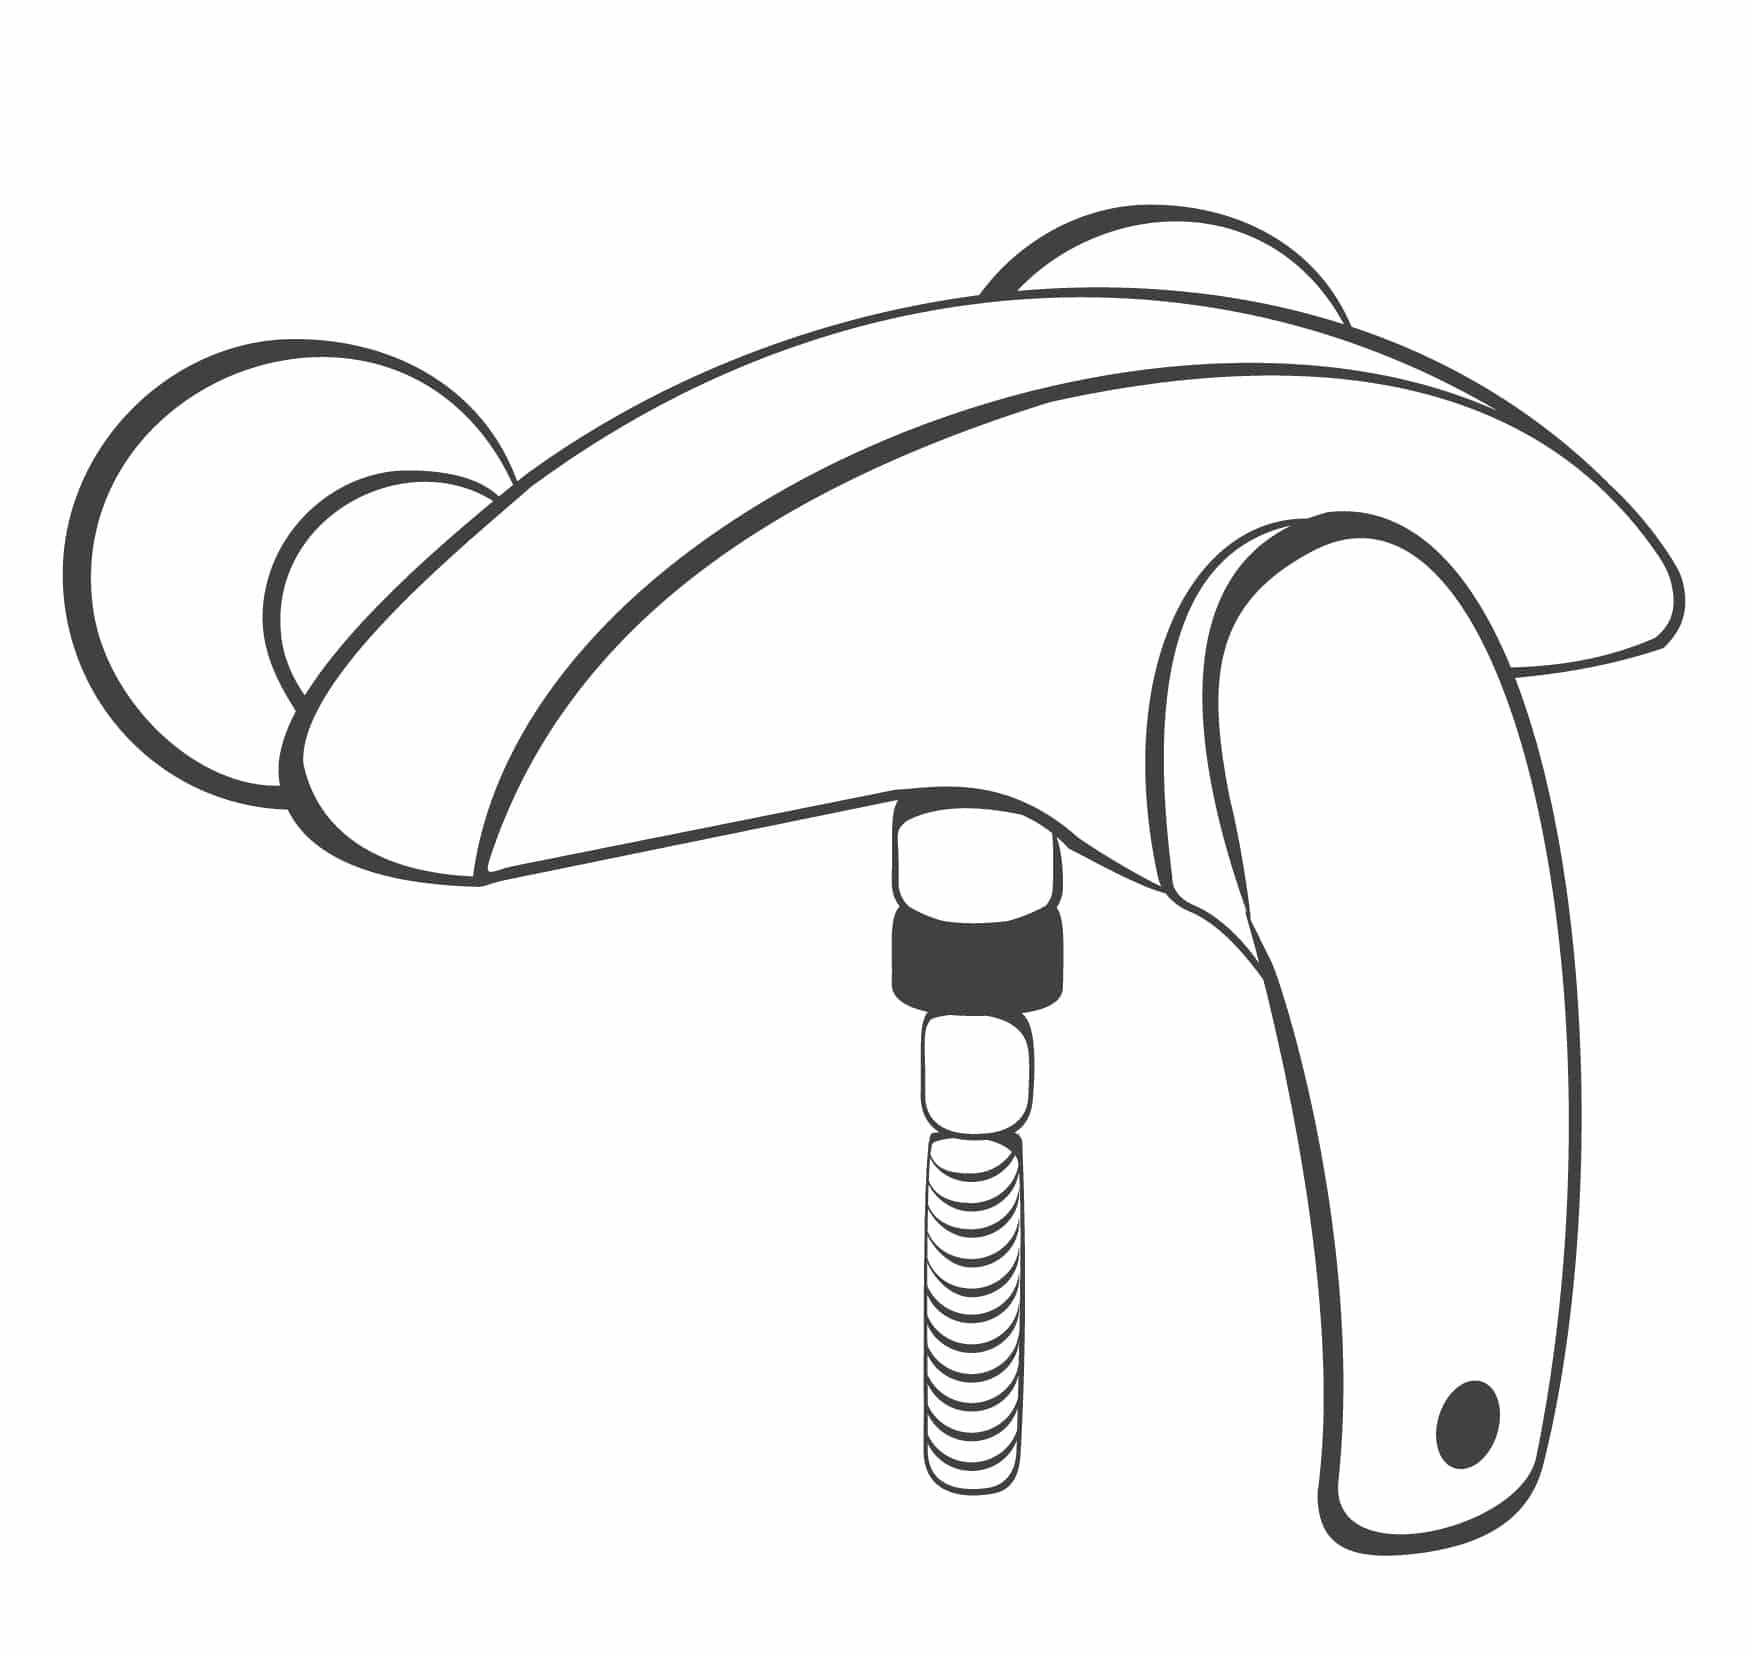
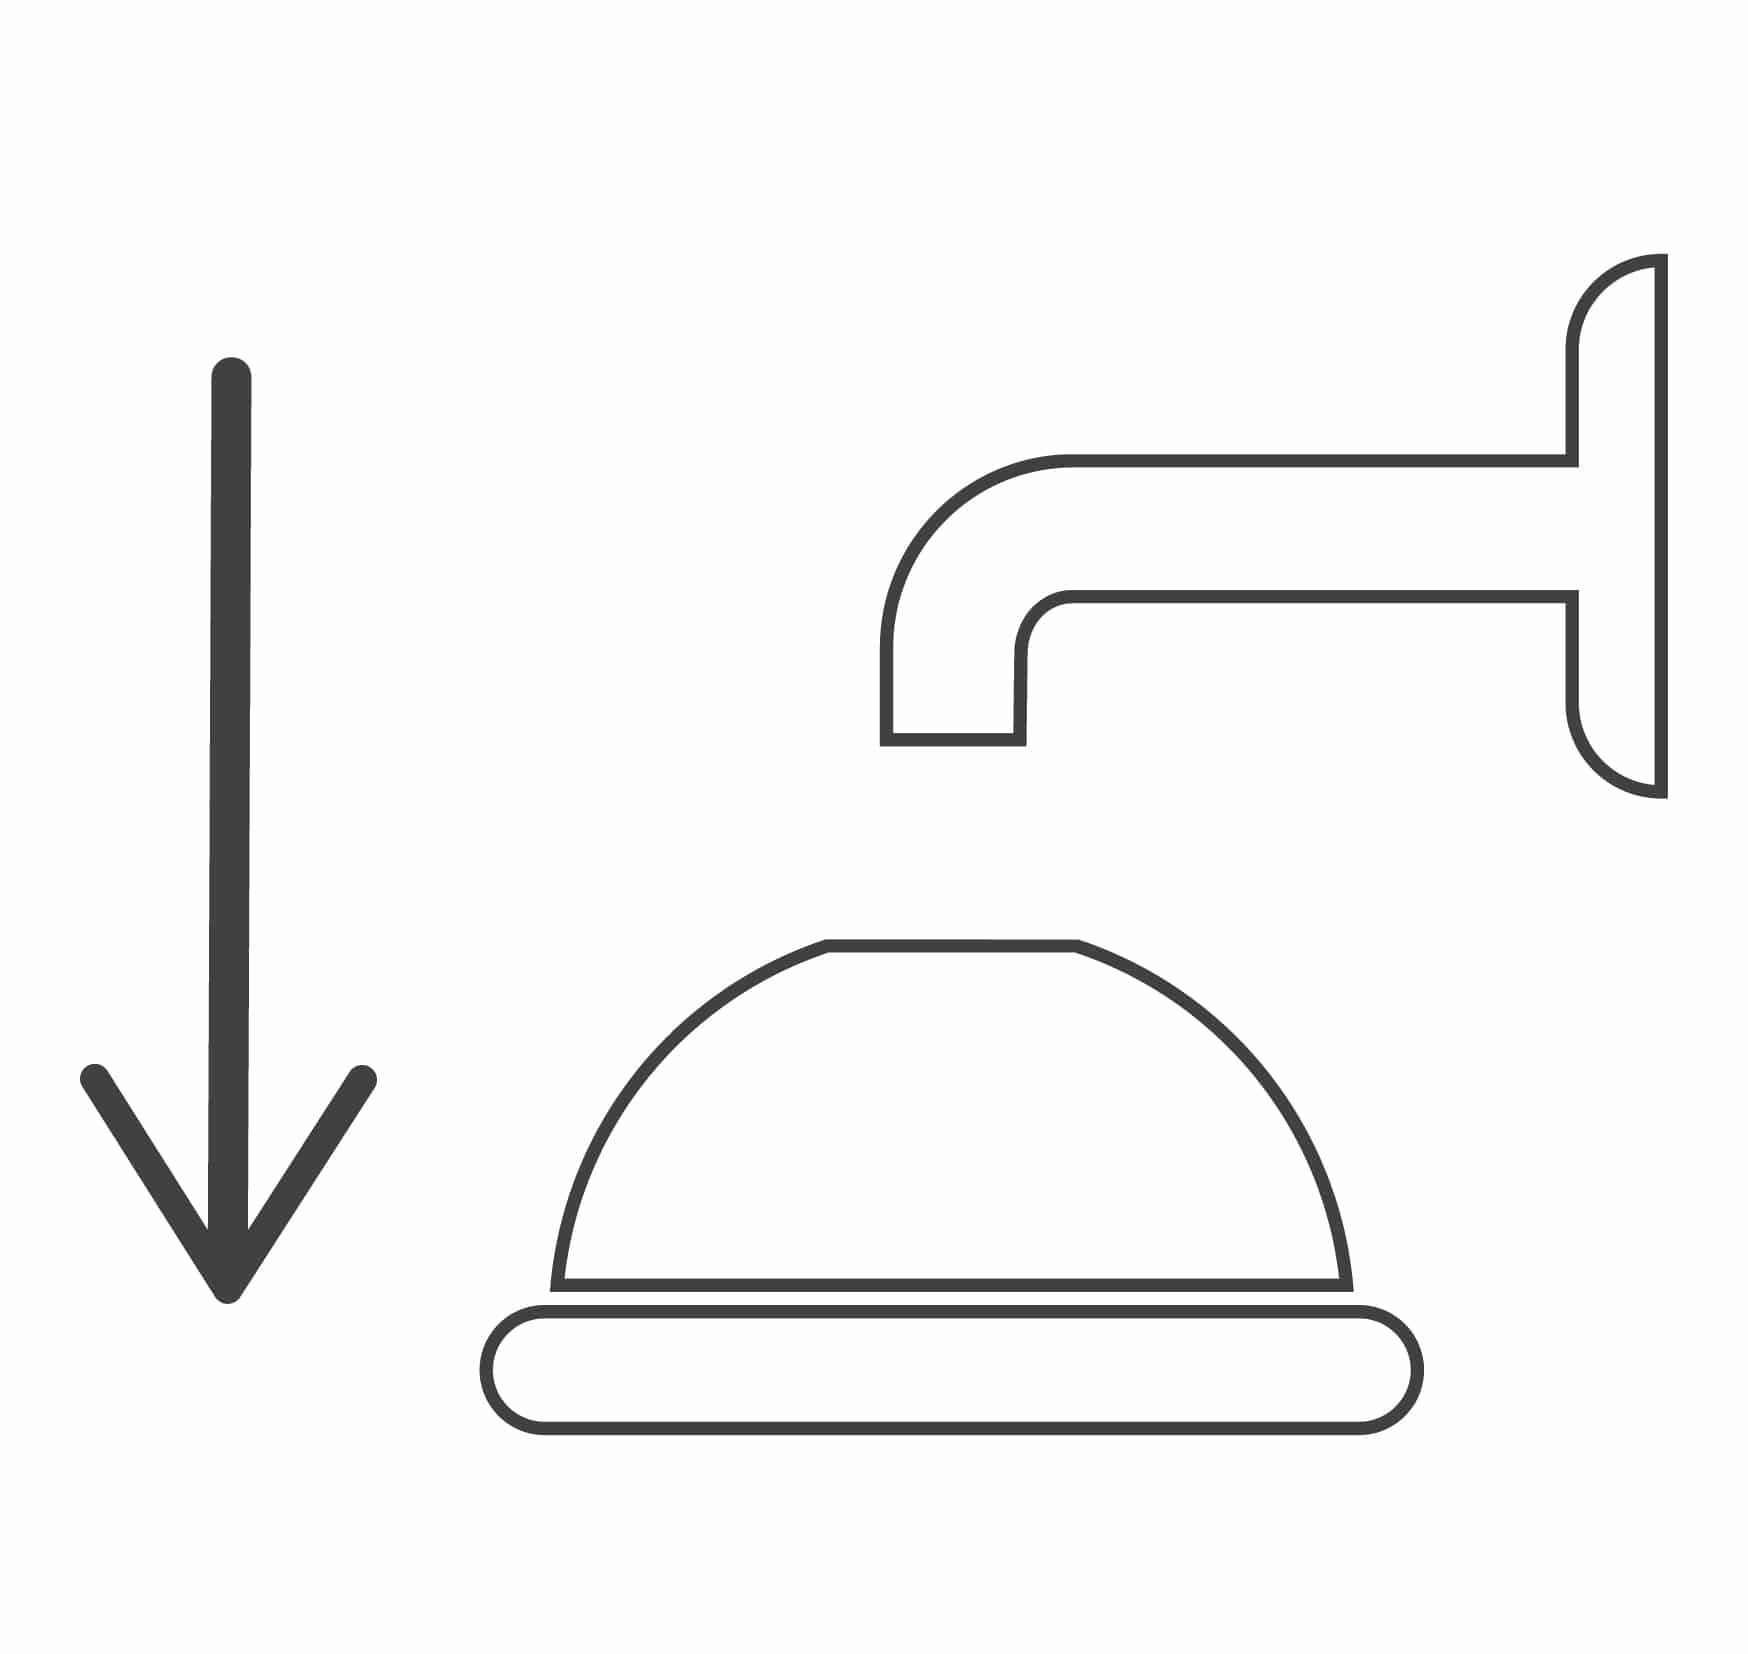
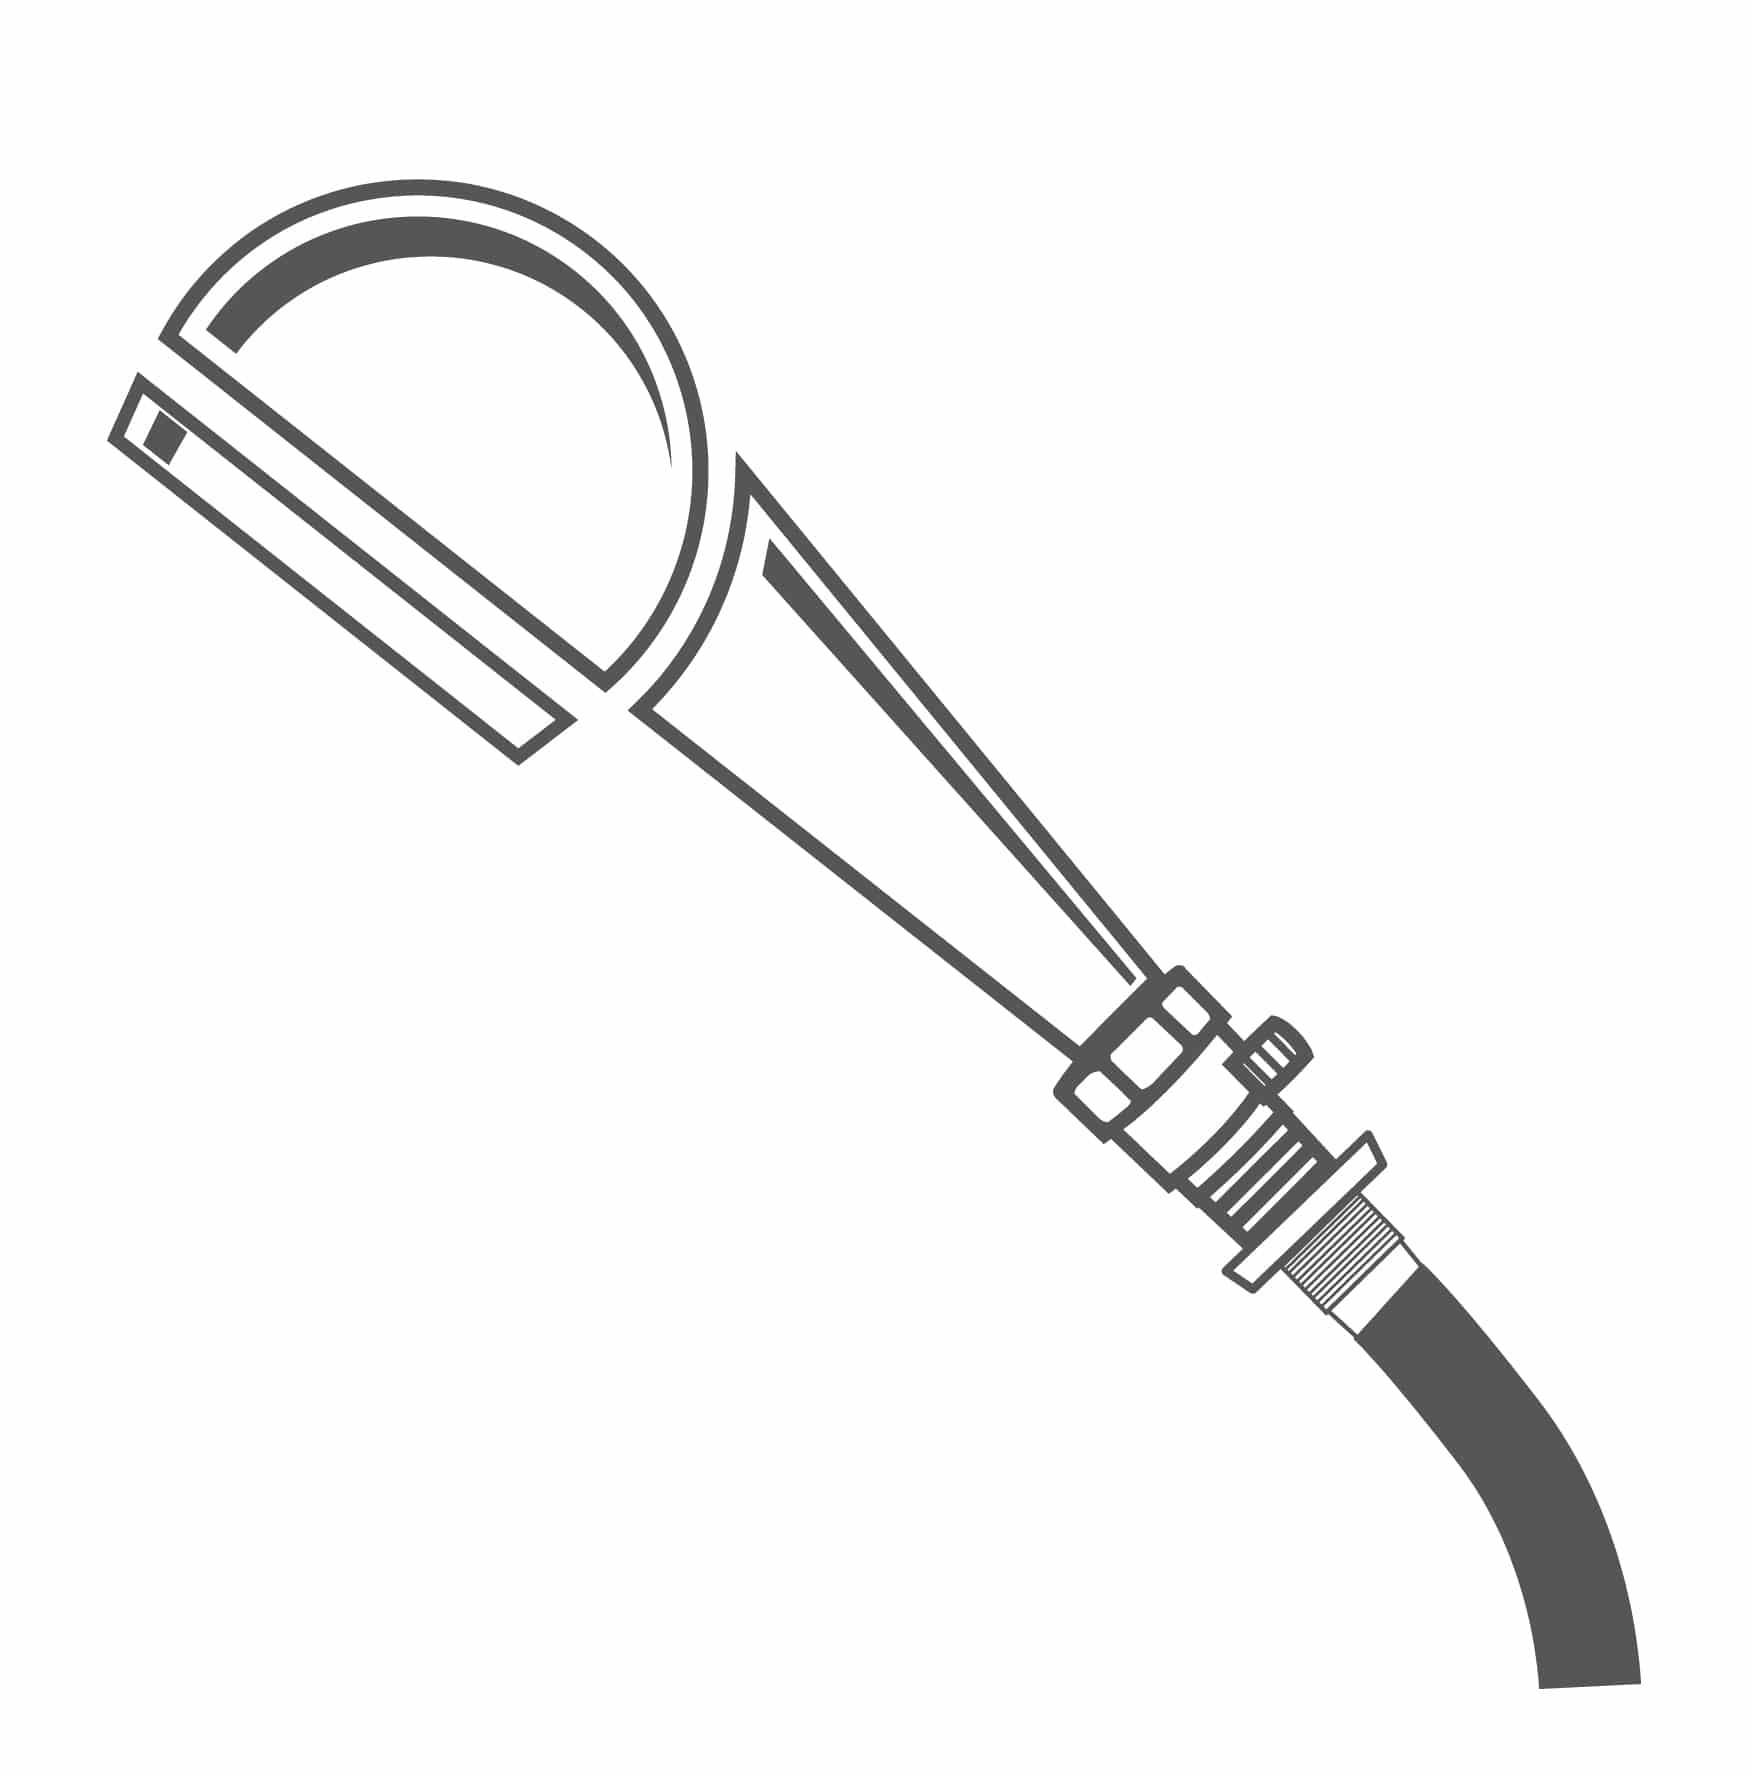
Handheld Showerhead
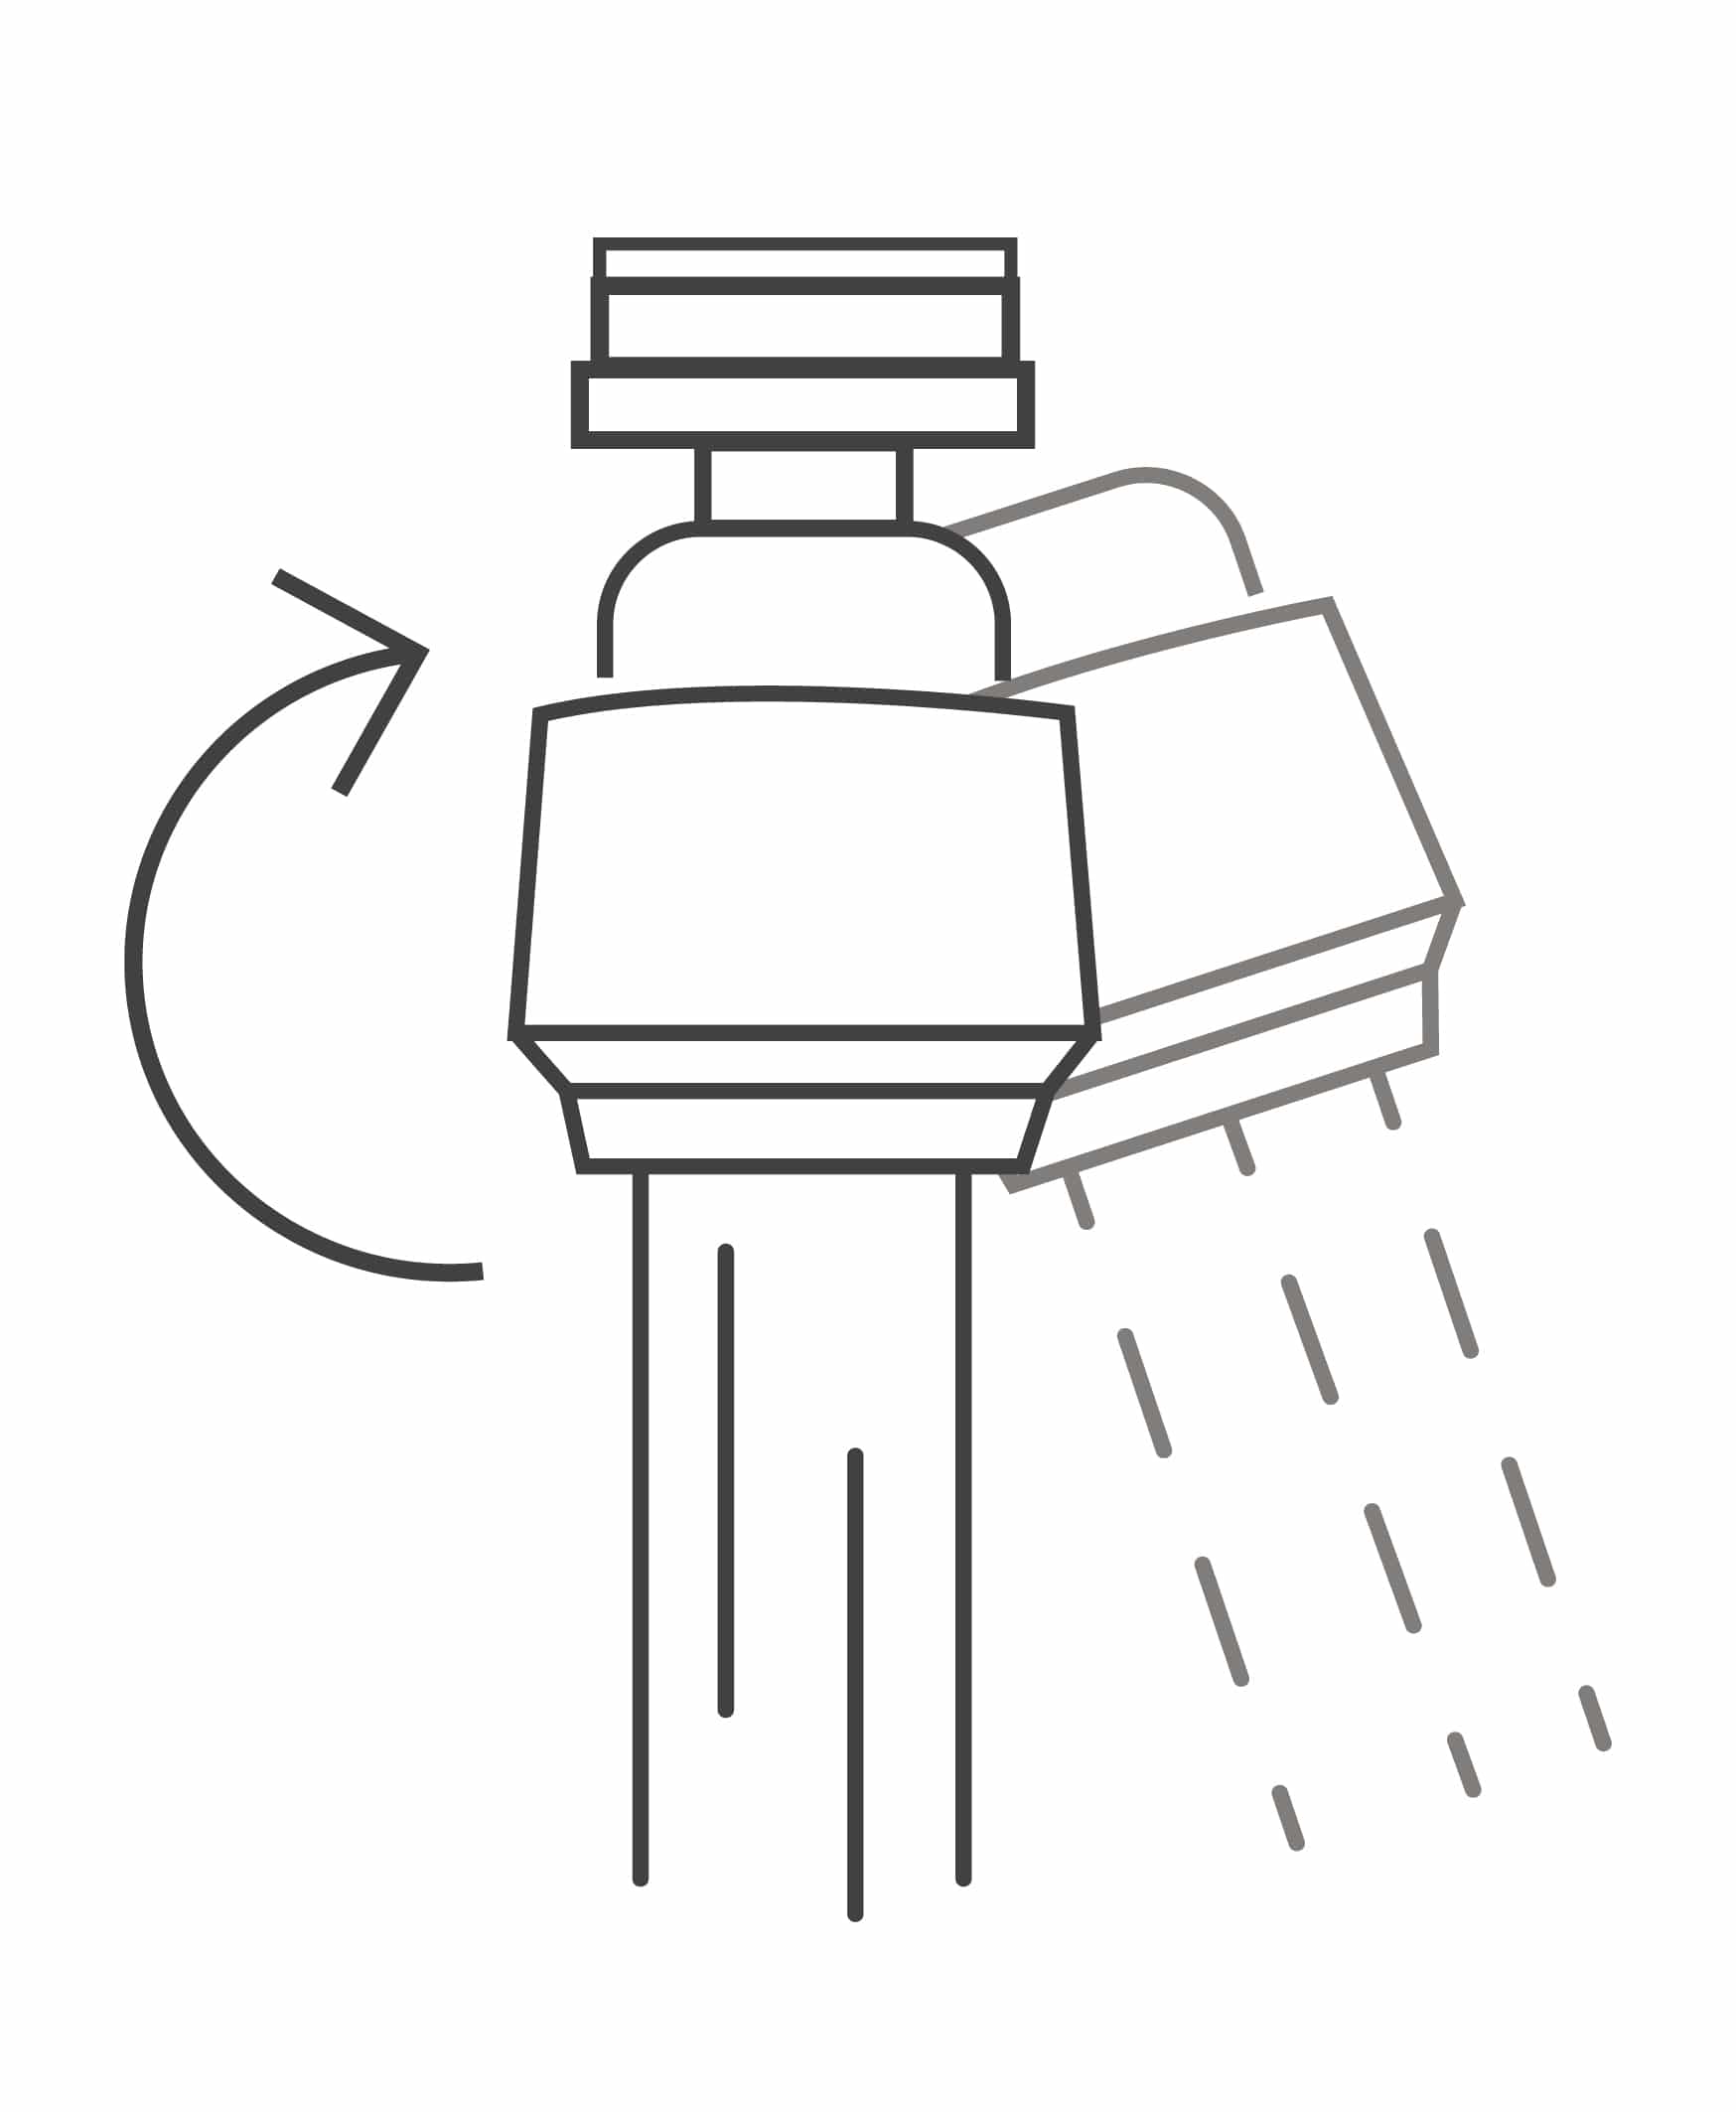
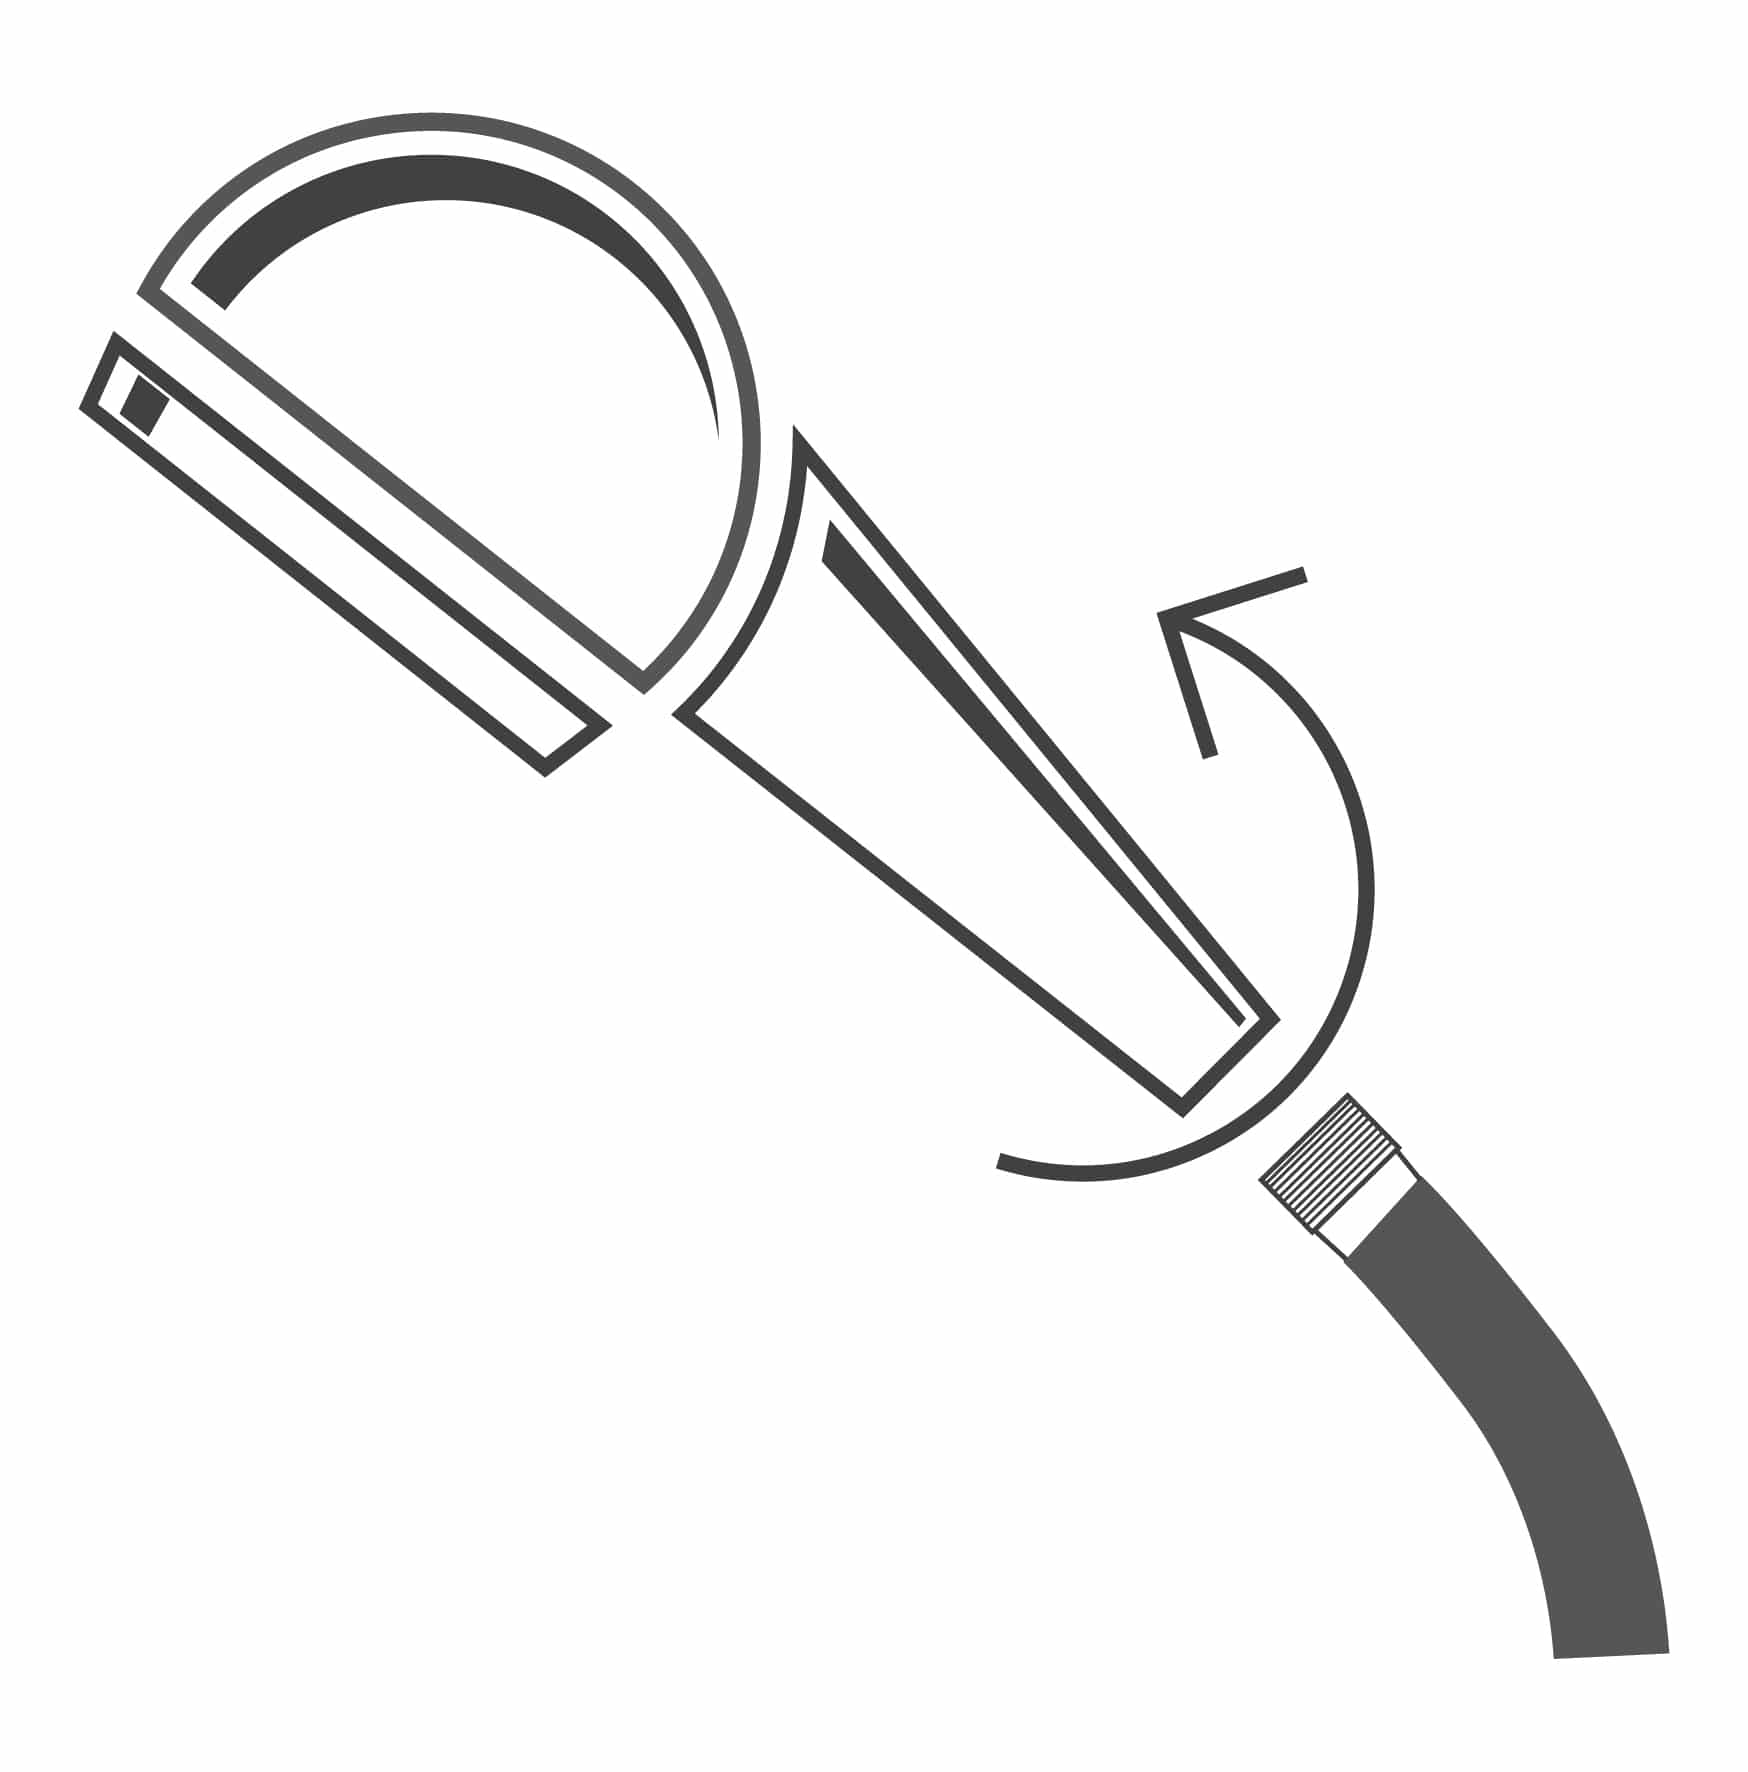 Remove the old showerhead from the shower arm by turning it counter-clockwise.
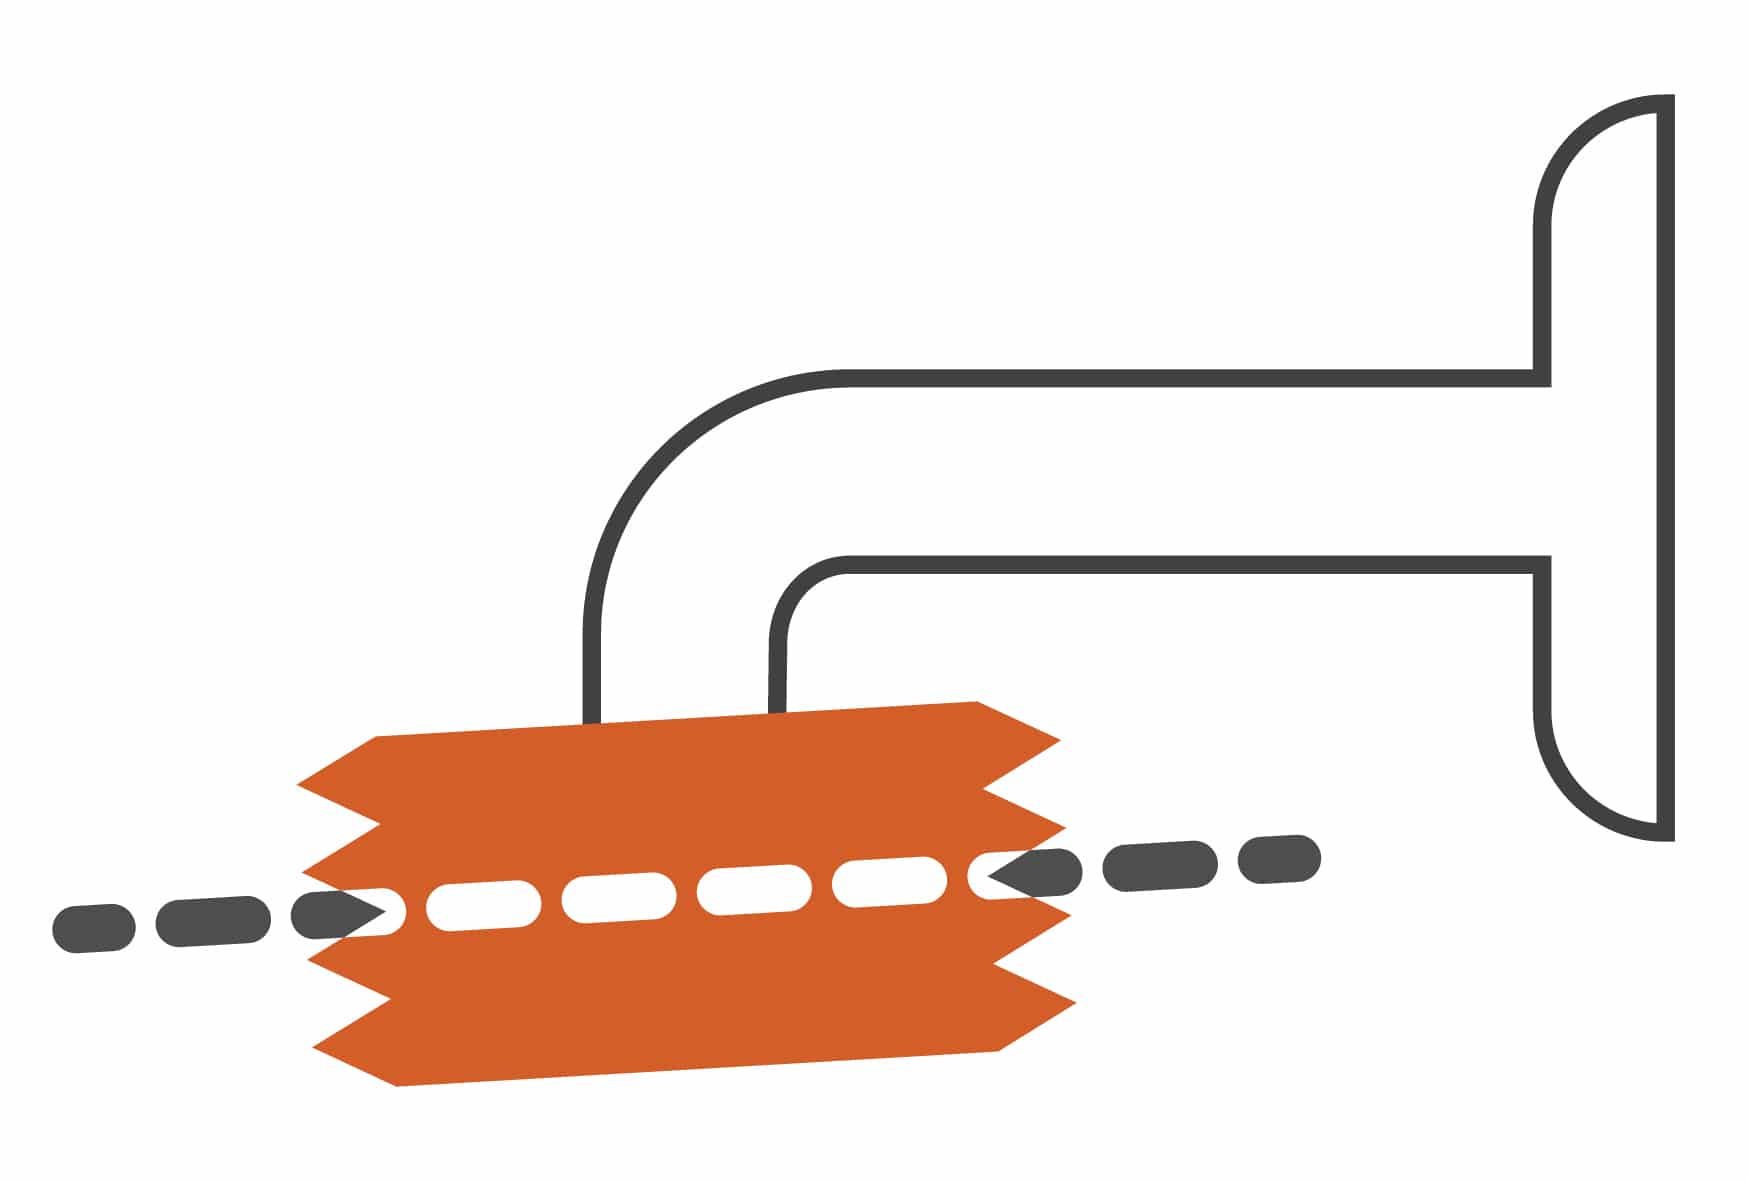
 Clean the shower arm threads, then turn on the water to wash out the pipe.
 Clean the shower arm threads, then turn on the water to wash out the pipe.
 Apply a few layers of plumber’s tape directly to the shower arm threads in a clockwise direction to create a watertight seal.
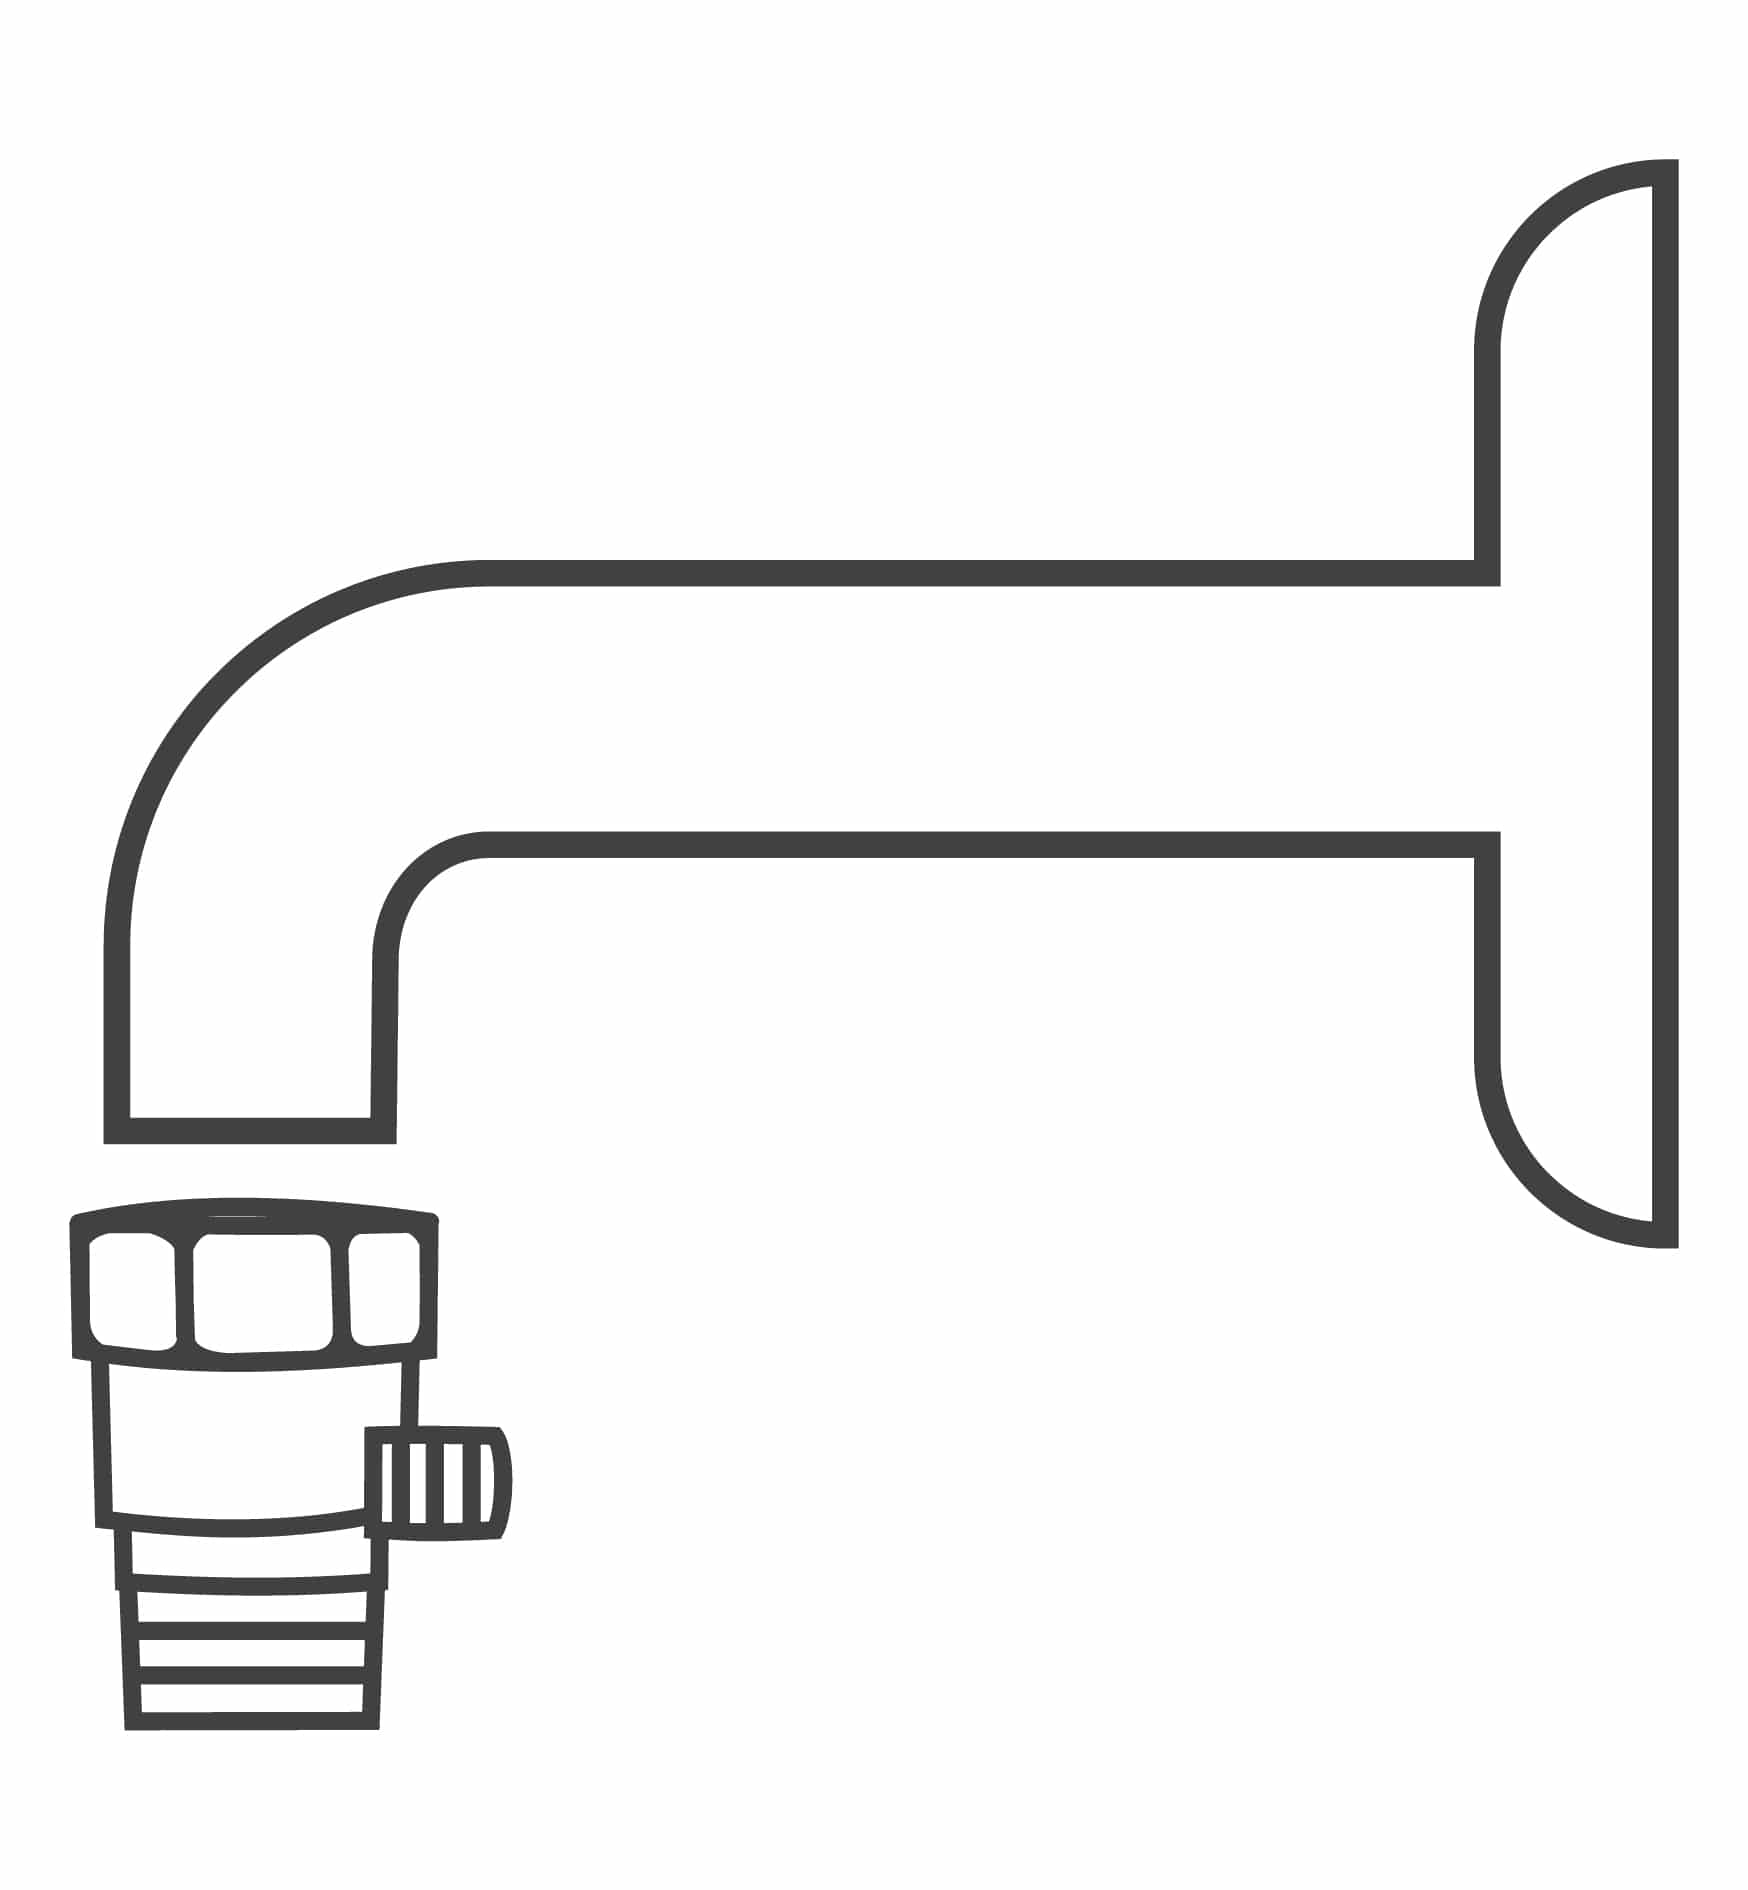
 Check that there is a screen washer in the bracket. Attach the bracket to the shower arm.
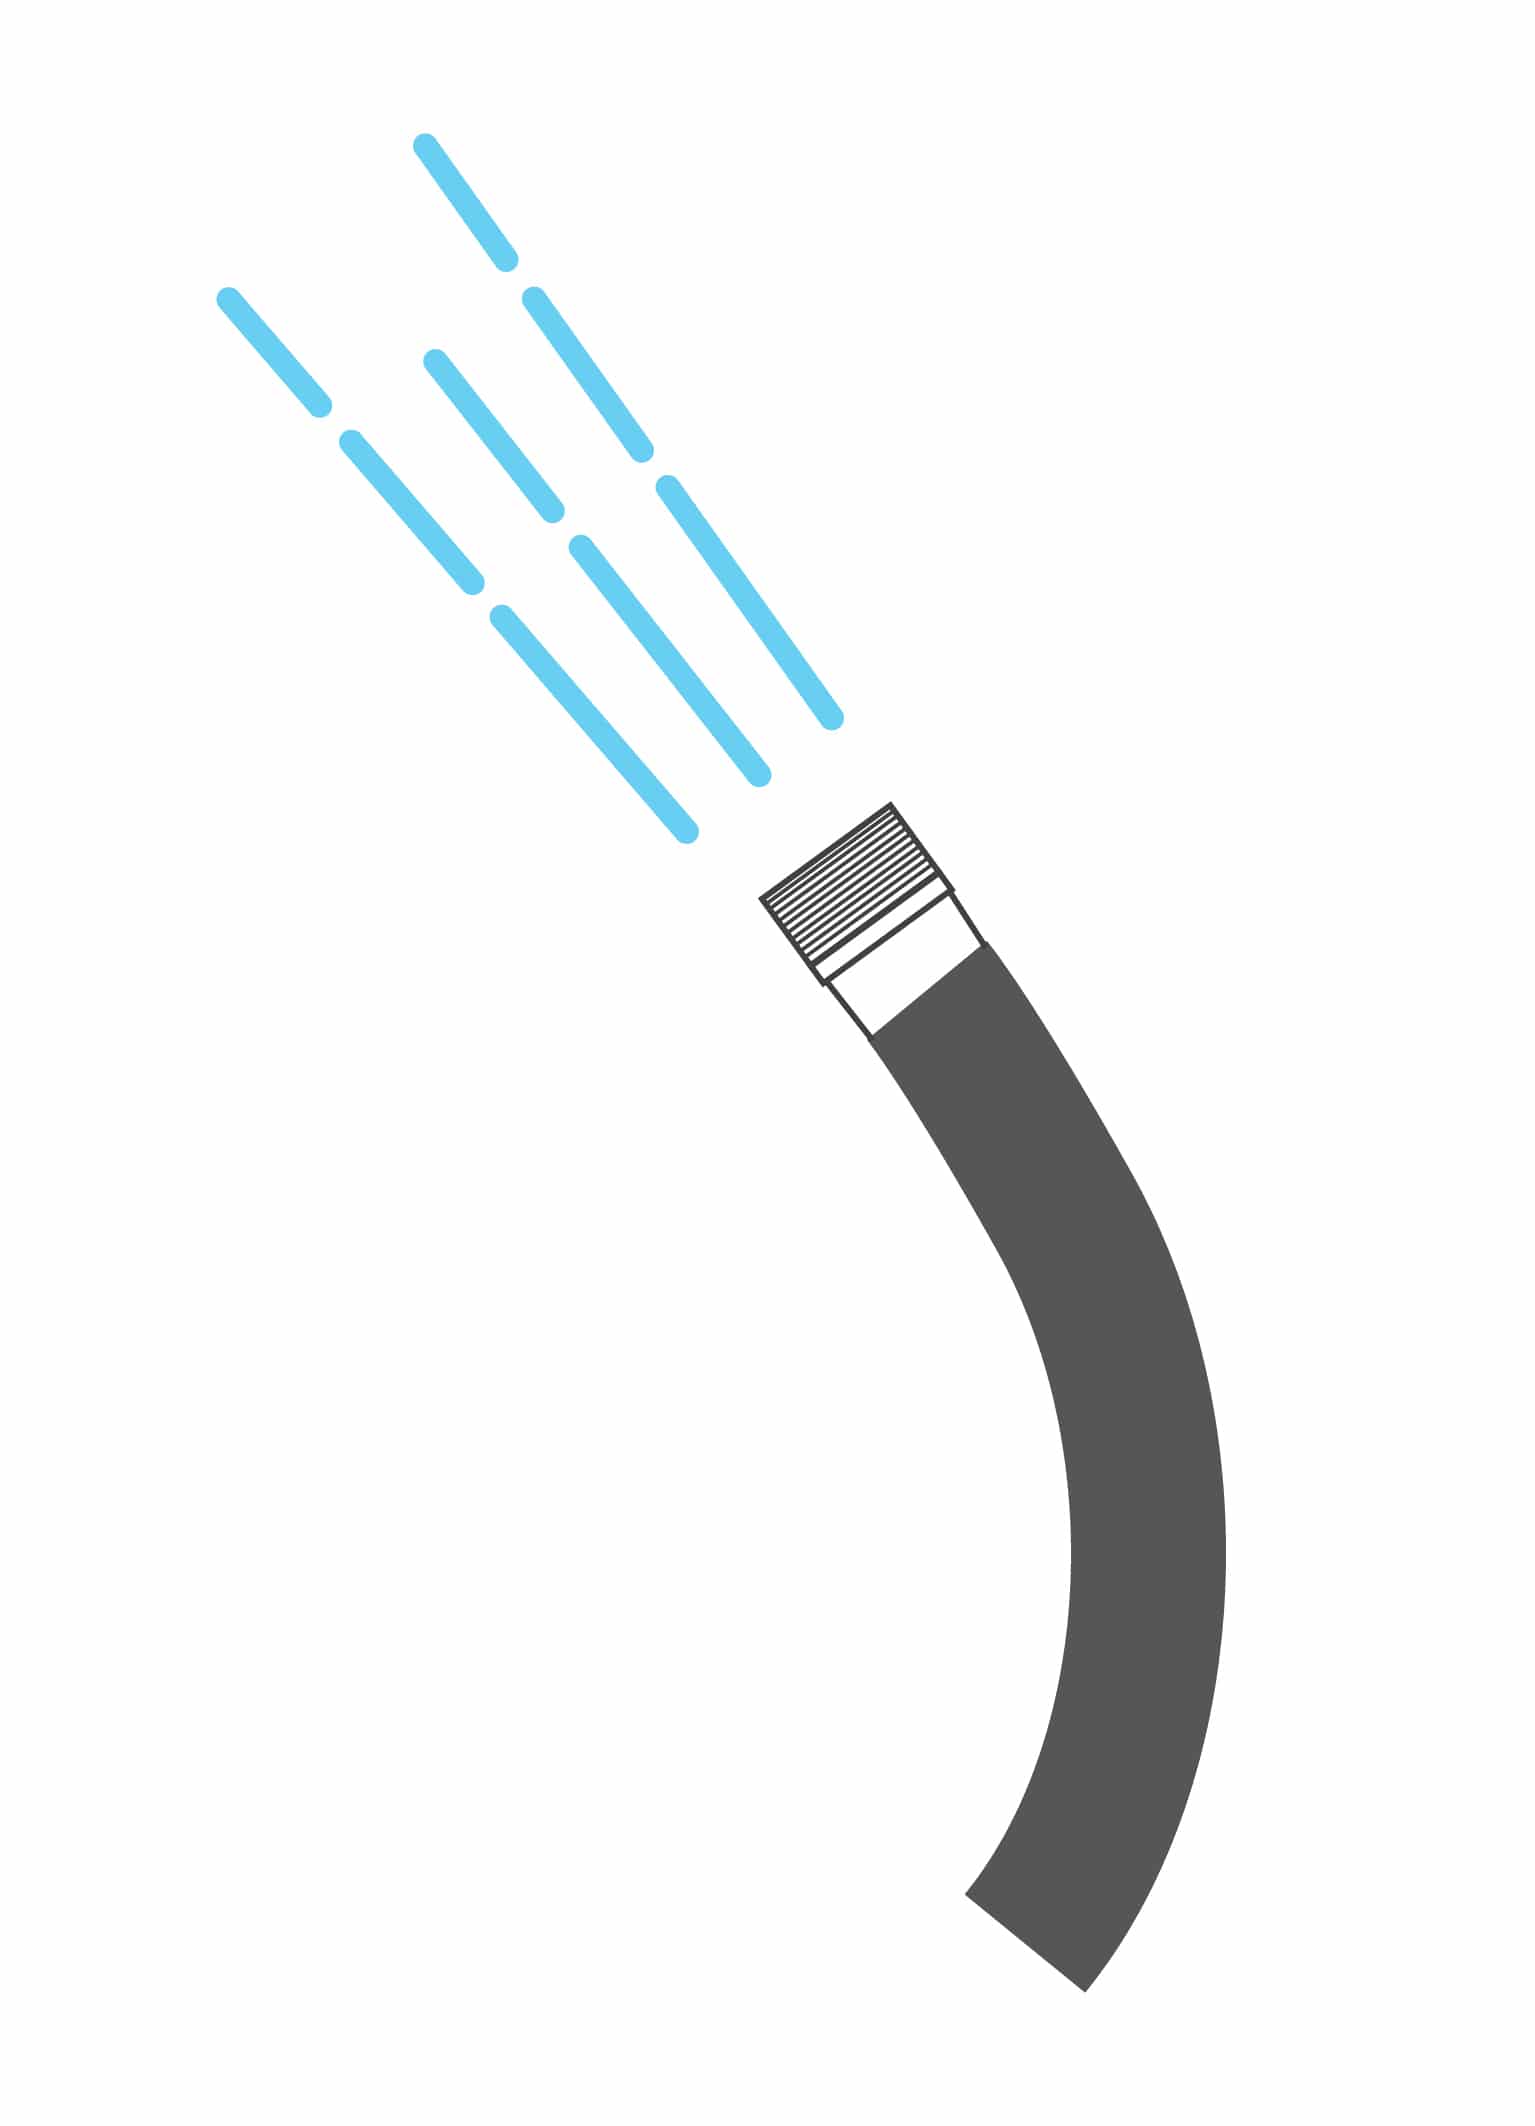
 and connect the hose to the bottom of the bracket by turning it by hand, clockwise to the arm.
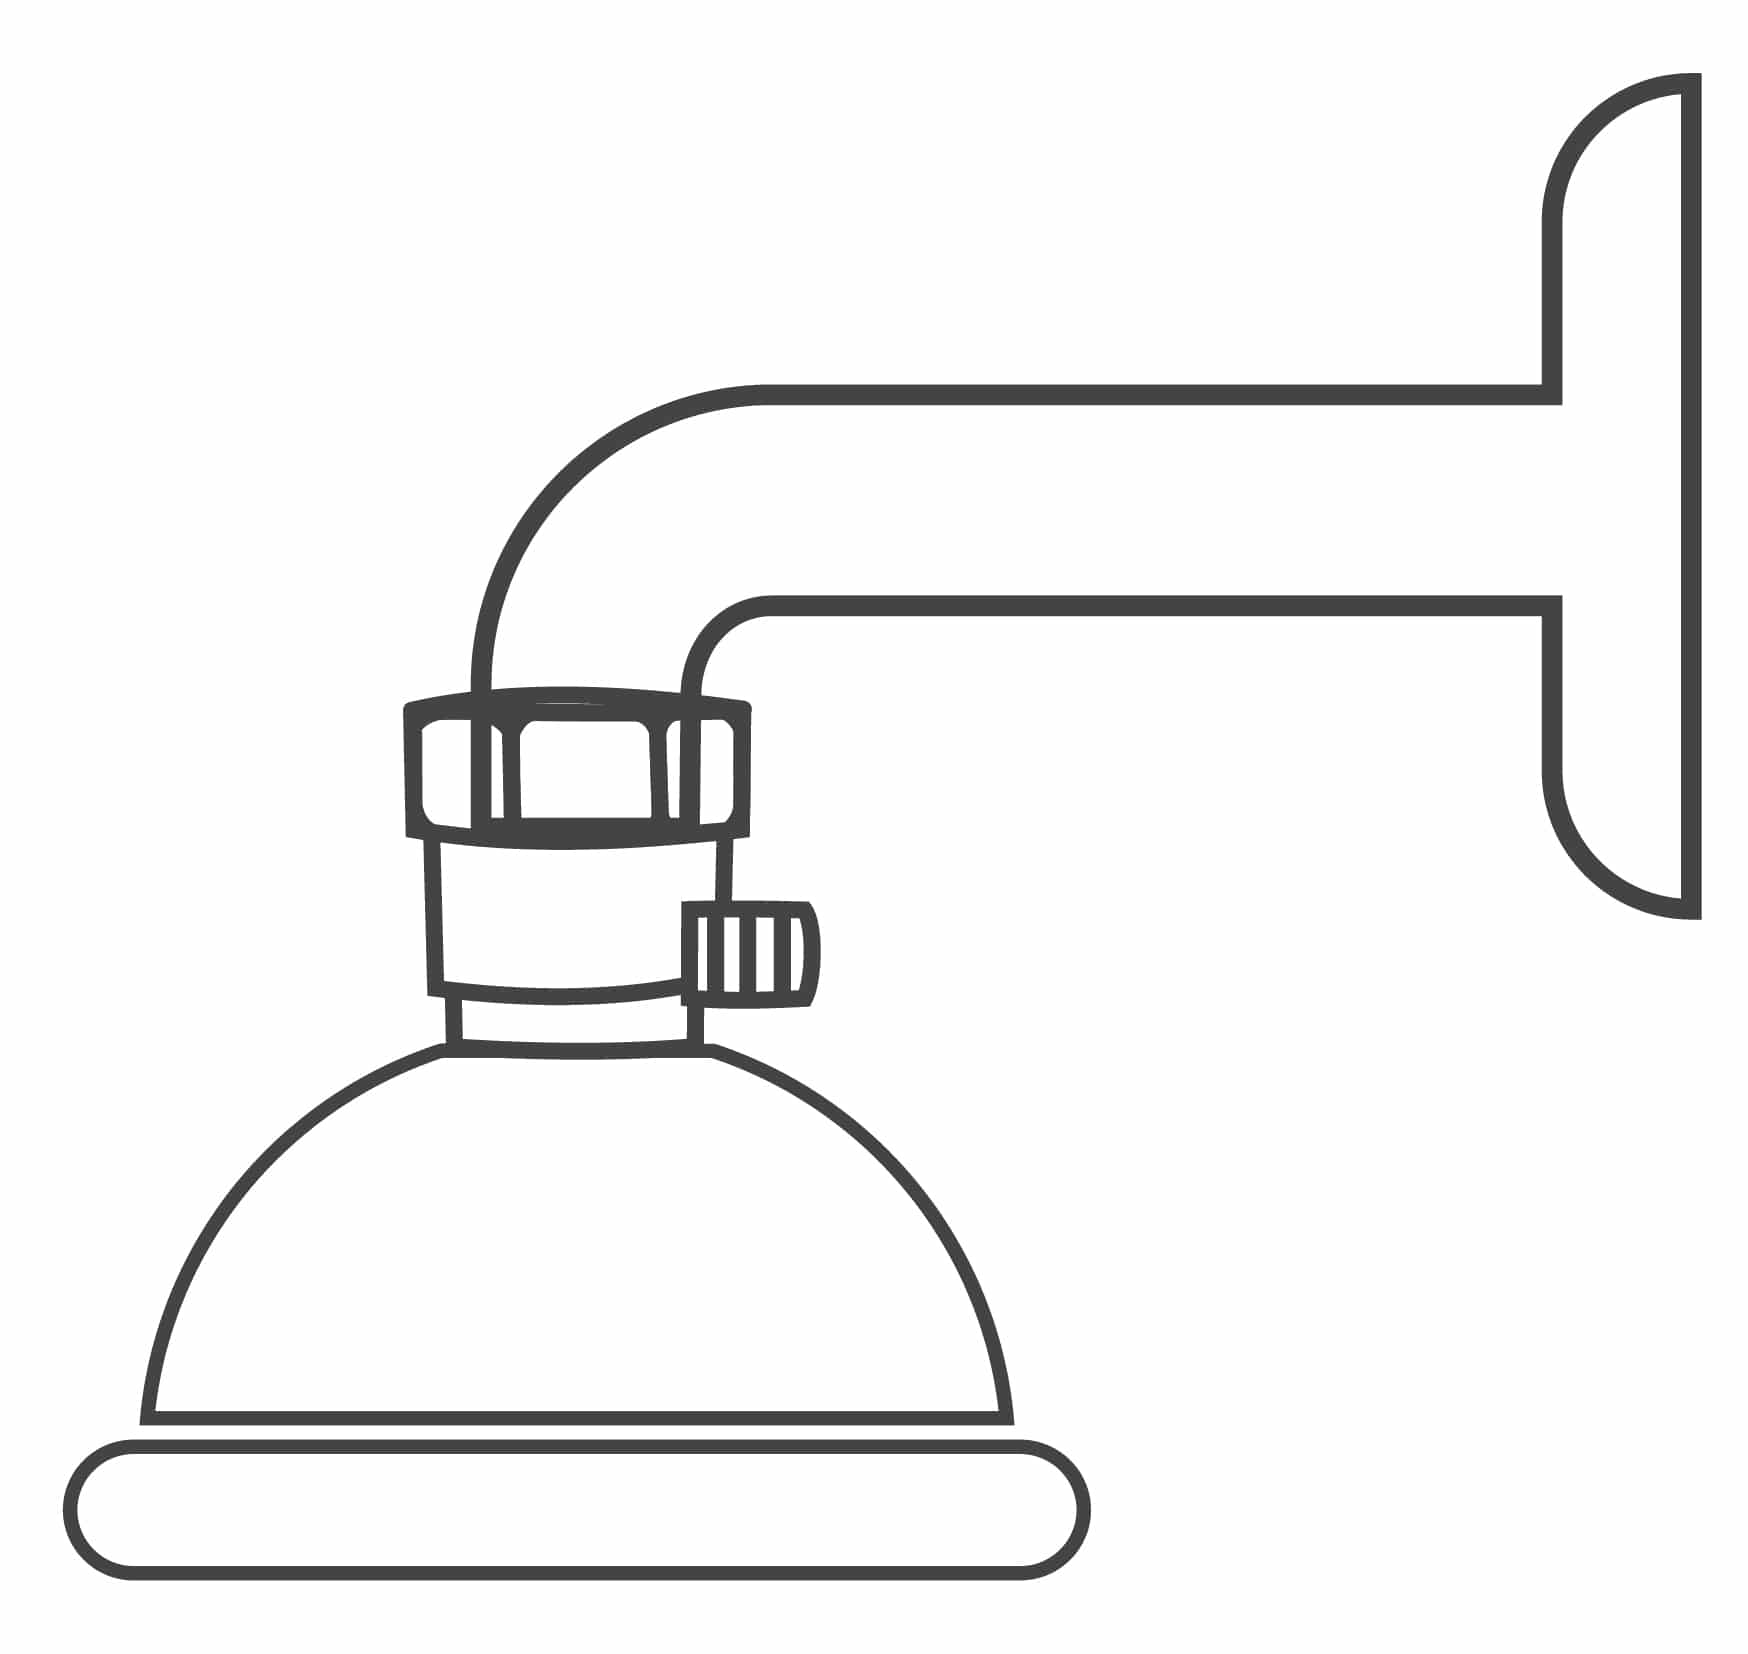
 Place one rubber washer into the other end of the hose and attach it to the showerhead wand.
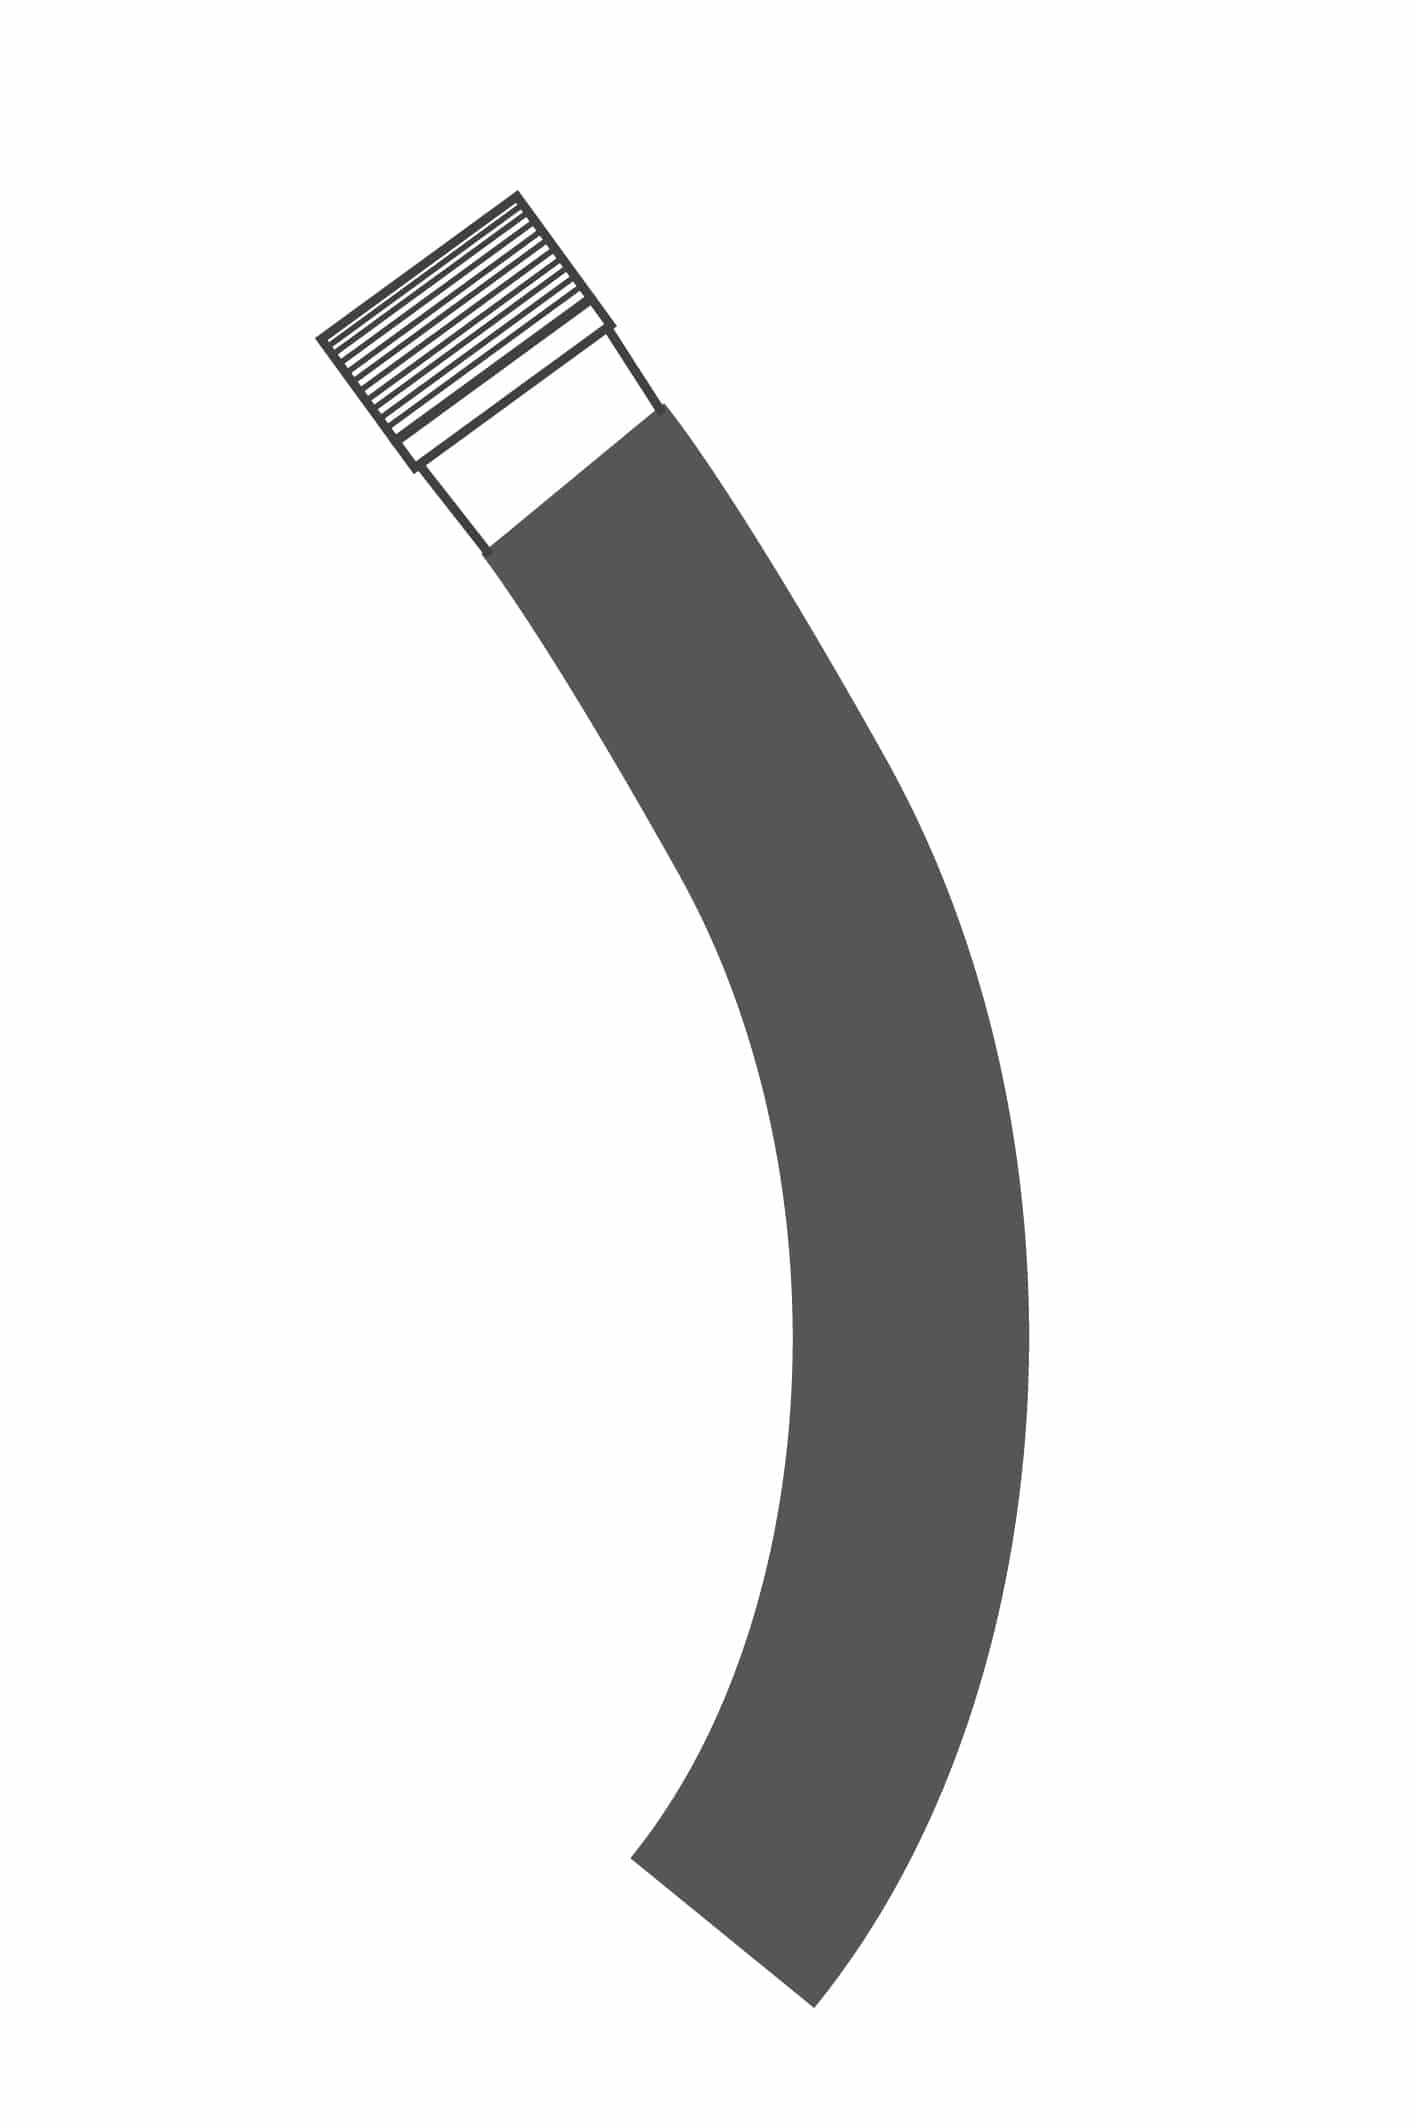
 Tighten all fittings until it snug. DO NOT OVERTIGHTEN.
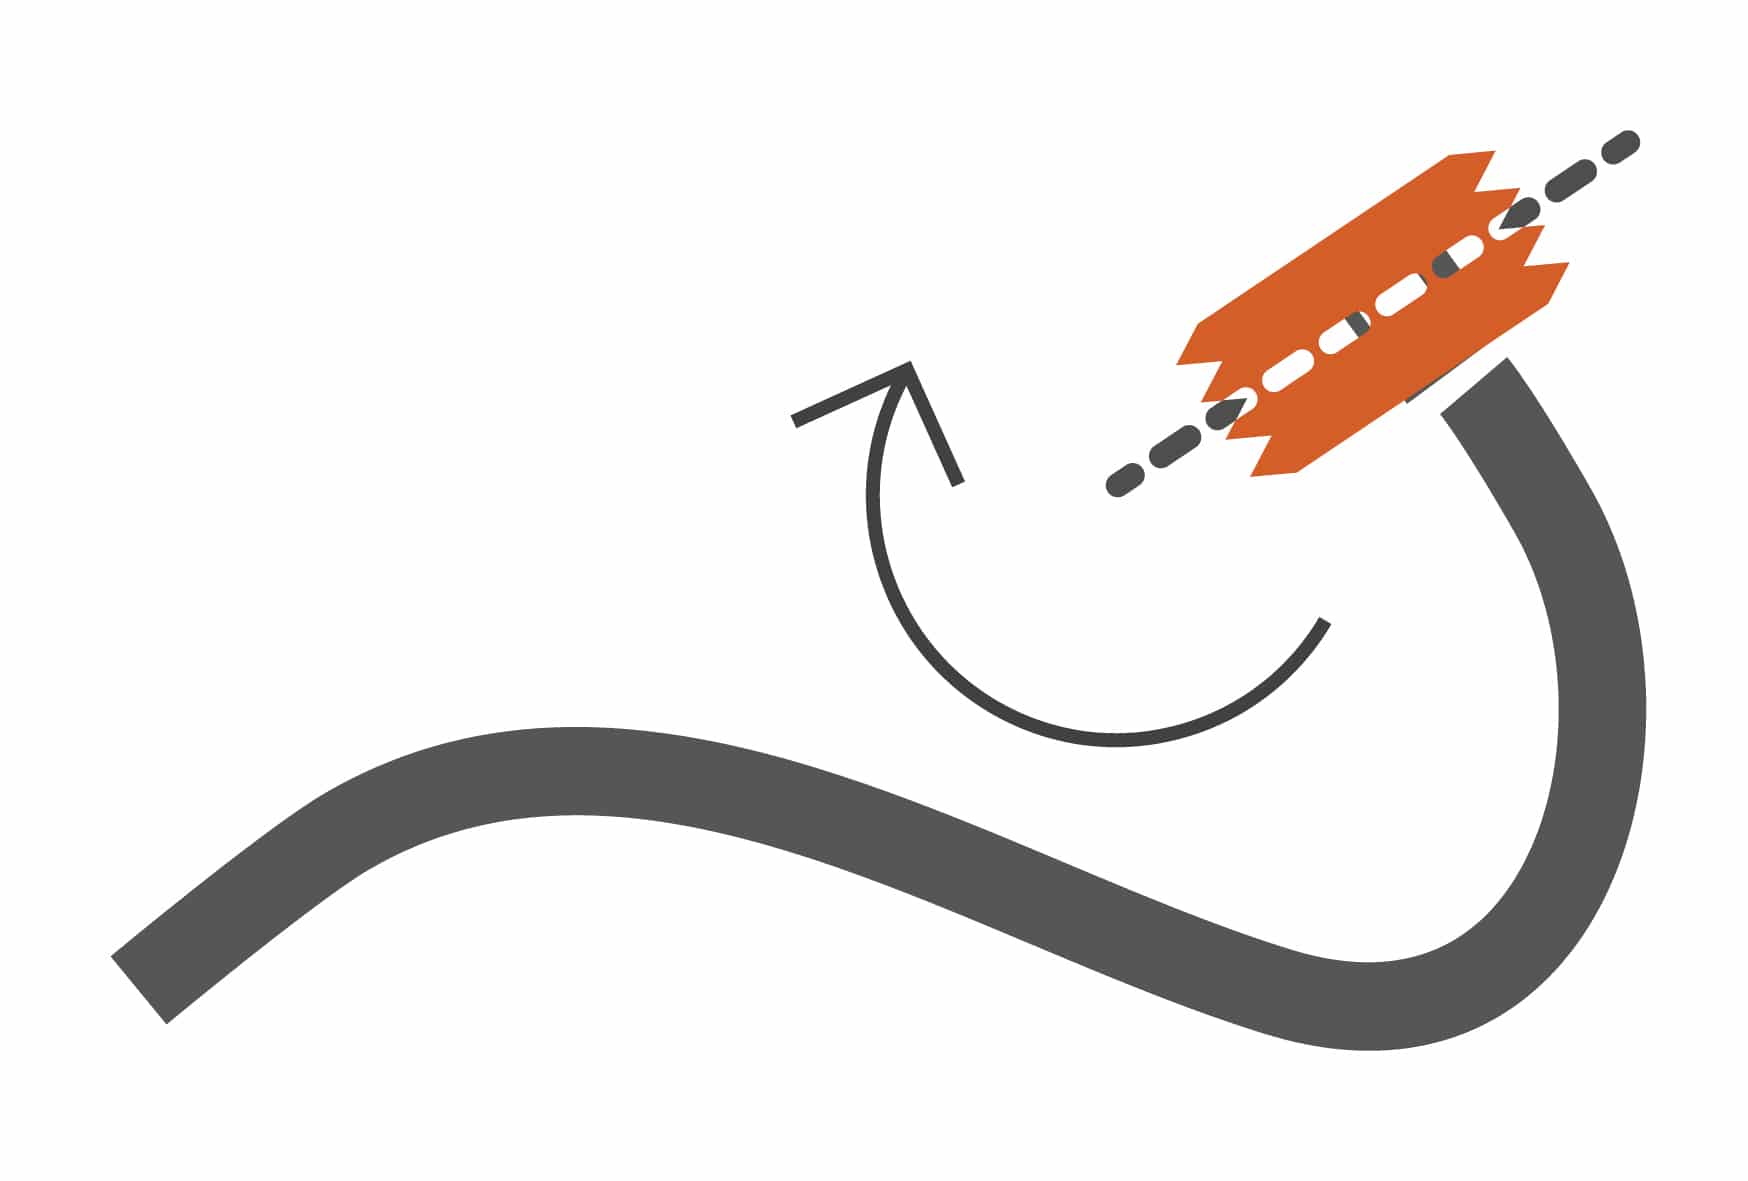
NOTE: Some shower arms include a ball where the head connects. Either replace this type of arm or use an adapter, available from any hardware store, ironmonger or home centre.
TO CLEAN: Unscrew showerhead and remove foreign particles. Soak nozzle in hydrogen peroxide or vinegar.

Dual Thread Aerator
 Remove old aerator from faucet. Pliers may be required. Use cloth to protect the finish.
 Before installing new aerator, turn on water to wash out faucet. Turn off water.
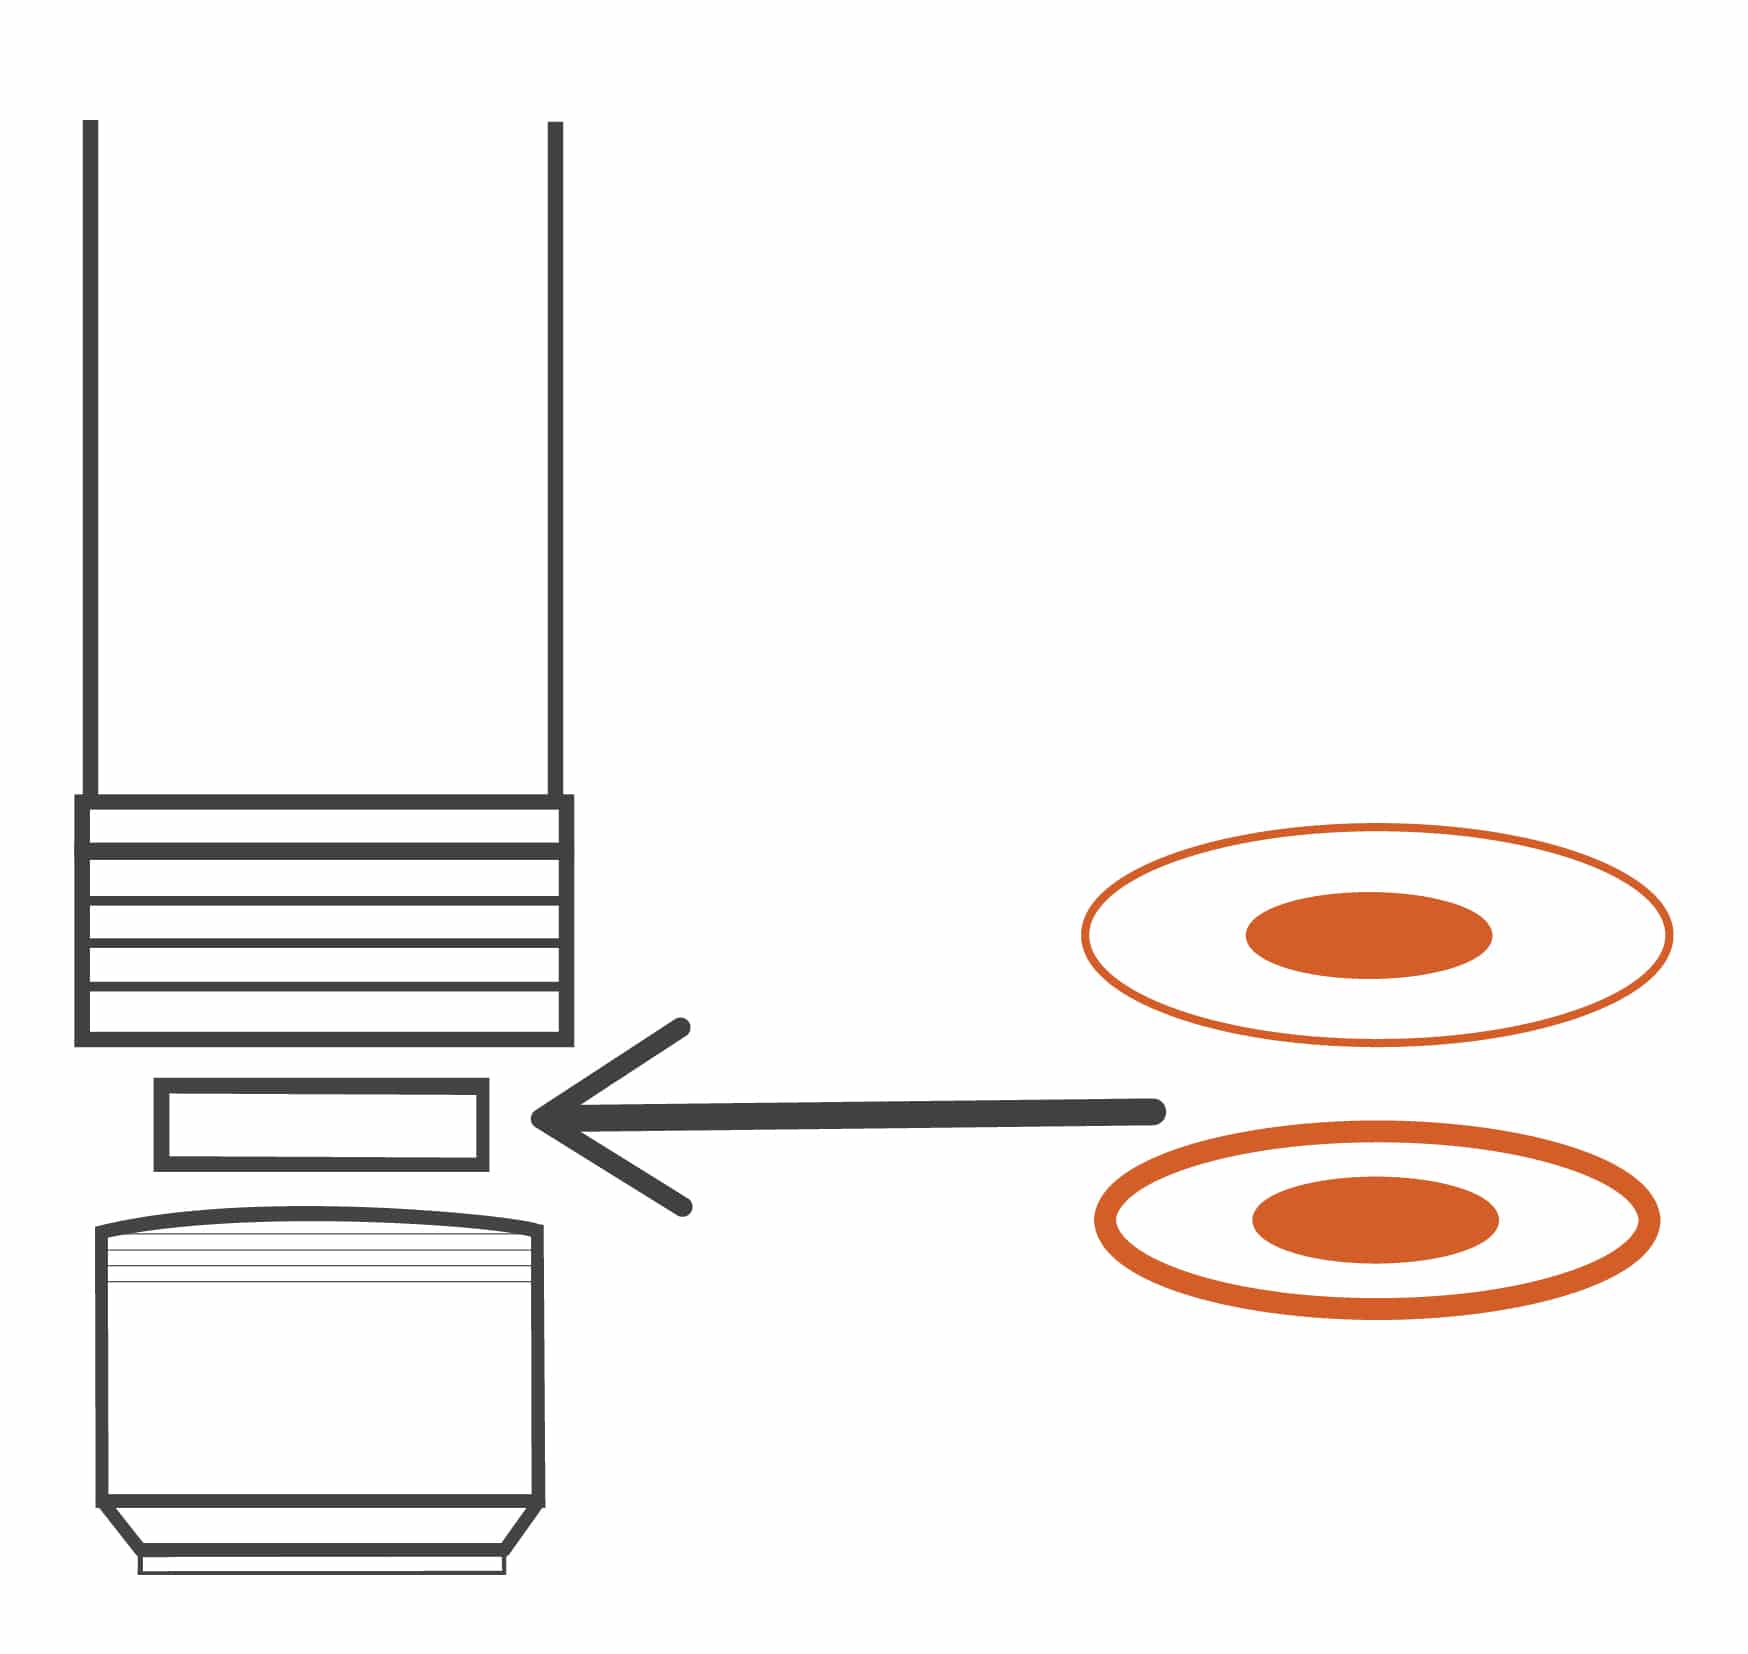 Check aerator assembly to assure proper setup. The 3. setup should be as follows: a thin rubber washer should be inside the aerator and a thick rubber washer on top.
 Screw aerator assembly onto faucet. (hand tighten)
If the faucet has external threads:
 Remove thick upper washer.
With thin washer in top of aerator, screw aerator onto faucet. (hand tighten)
NOTE: Remove aerator and rinse parts with water occasionally.
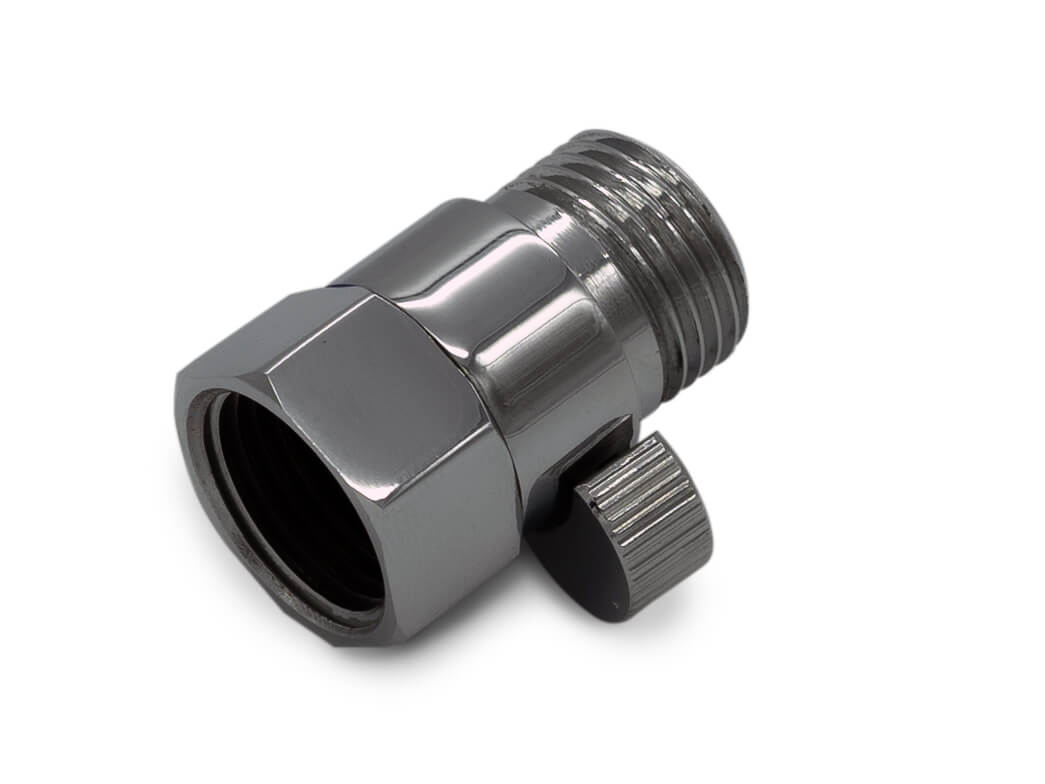
Shower On-Off Switch
 Turn off water valve.
 Remove shower head.
 Apply teflon tape to shower arm.
Apply a few layers of plumber’s tape directly to the shower arm threads in a clockwise direction to create a watertight seal.
 Screw volume control valve onto shower arm.
Apply teflon tape to volume control valve.
 Attach shower head to volume control valve.
How to install (for hand shower)
Turn off water valve.
Remove hand shower.
 Apply teflon tape to female thread of both volume control valve and hand shower.
 Attached hand shower to volume control valve and attach hose to the other side of valve.
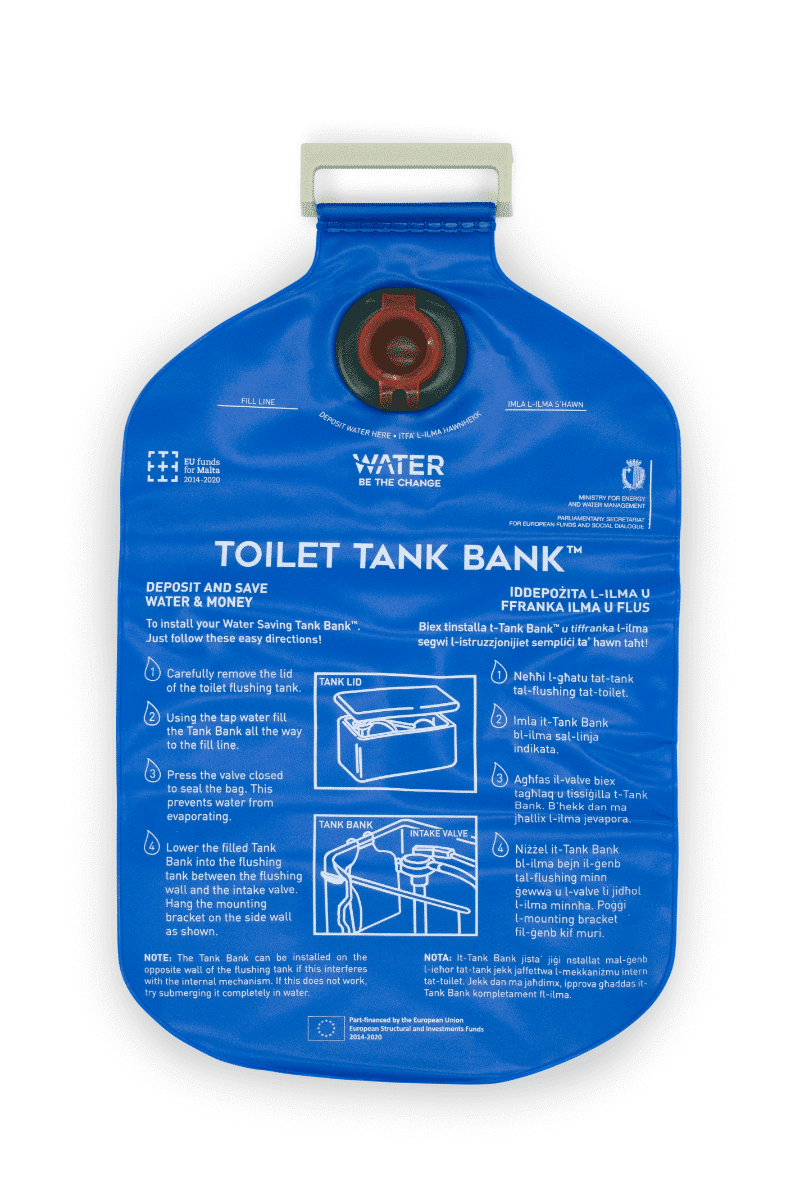
Flushing Tank Bag
Our flushing tank bag is an easy-to-use, quick-to-install, water-saving device that clips onto the inside of the
tank wall.
FEATURES
• Easy to use – fill to top, snap to close and hang in toilet
• Every flush saves up to 0.8 gallons per flush
• Constructed with non-corrosive materials that resist microbes and fungal growth
• Anti-evaporation snap-lock means the bag never needs refilling and prevents odors


