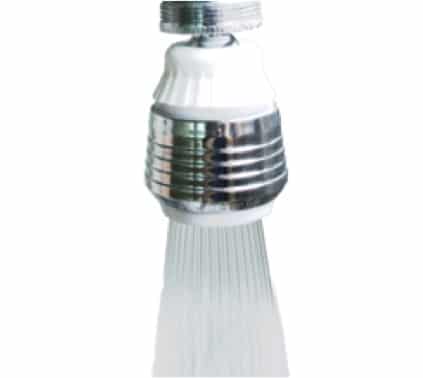
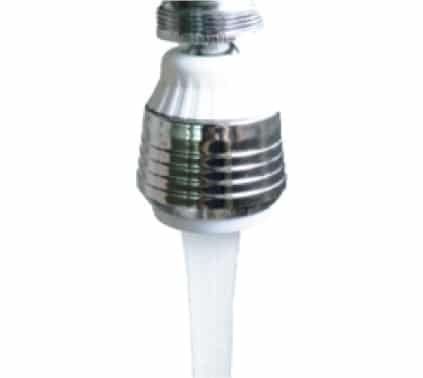
KITCHEN FAUCET AERATOR
To complete installation you will need:
kitchen faucet aerator (located in your kit), Teflon tape, Tongue and groove pliers, Old towel or rag, Old toothbrush
INSTRUCTIONS
REMOVE OLD AERATOR
1.Place an old towel or rag over the drain in the sink. This will prevent any washers or grit from the faucet arm falling down the drain.
2.To remove the old aerator from the faucet, cover the old aerator with an old towel or rag, and remove using tongue and groove pliers.
CLEAN EXISTING FAUCET
3.Using an old toothbrush and rag, clean and dry the threaded area of the faucet thoroughly.
FLUSH OUT FAUCET PIPE
4.Turn on the water and run for five to ten seconds. This will flush out any residue that might have come loose inside the faucet.
PREPARE FAUCET AERATOR
5.Remove the kitchen faucet aerator from the kit, and place the washers in the proper place after once again drying the faucet threads.
Note: The flip aerator is designed for use with inside and outside threaded faucets.
-External Threads: Use one rubber washer.
-Internal Threads: Use two rubber washers.
INSTALL NEW FAUCET AERATOR
6.Screw on the new kitchen faucet aerator clockwise and hand tighten until snug. Do not over-tighten.
7.Turn on the faucet and check for leaks. If it leaks, try adding some Teflon Tape in a clockwise direction to the threads of the aerator. That should do it!
Note: As a safety feature, the aerator will not completely stop the flow of water. This is to prevent buildup of hot water that might pose a threat to children.
Kit Instructions for the unlisted page (available only on link in leaflet) in a separate attachment.
Installation instructions
KITCHEN FAUCET AERATOR
To complete installation you will need:
kitchen faucet aerator (located in your kit), Teflon tape, Tongue and groove pliers, Old towel or rag, Old toothbrush
INSTRUCTIONS
REMOVE OLD AERATOR
1.Place an old towel or rag over the drain in the sink. This will prevent any washers or grit from the faucet arm falling down the drain.
2.To remove the old aerator from the faucet, cover the old aerator with an old towel or rag, and remove using tongue and groove pliers.
CLEAN EXISTING FAUCET
3.Using an old toothbrush and rag, clean and dry the threaded area of the faucet thoroughly.
FLUSH OUT FAUCET PIPE
4.Turn on the water and run for five to ten seconds. This will flush out any residue that might have come loose inside the faucet.
PREPARE FAUCET AERATOR
5.Remove the kitchen faucet aerator from the kit, and place the washers in the proper place after once again drying the faucet threads.
Note: The flip aerator is designed for use with inside and outside threaded faucets.
-External Threads: Use one rubber washer.
-Internal Threads: Use two rubber washers.
INSTALL NEW FAUCET AERATOR
6.Screw on the new kitchen faucet aerator clockwise and hand tighten until snug. Do not over-tighten.
7.Turn on the faucet and check for leaks. If it leaks, try adding some Teflon Tape in a clockwise direction to the threads of the aerator. That should do it!
Note: As a safety feature, the aerator will not completely stop the flow of water. This is to prevent buildup of hot water that might pose a threat to children.
Kit Instructions for the unlisted page (available only on link in leaflet) in a separate attachment.


